Wacky Watermelon

How time flies! We have already entered the second half of summer, having passed the longest day which seems to have come round faster than ever this year.

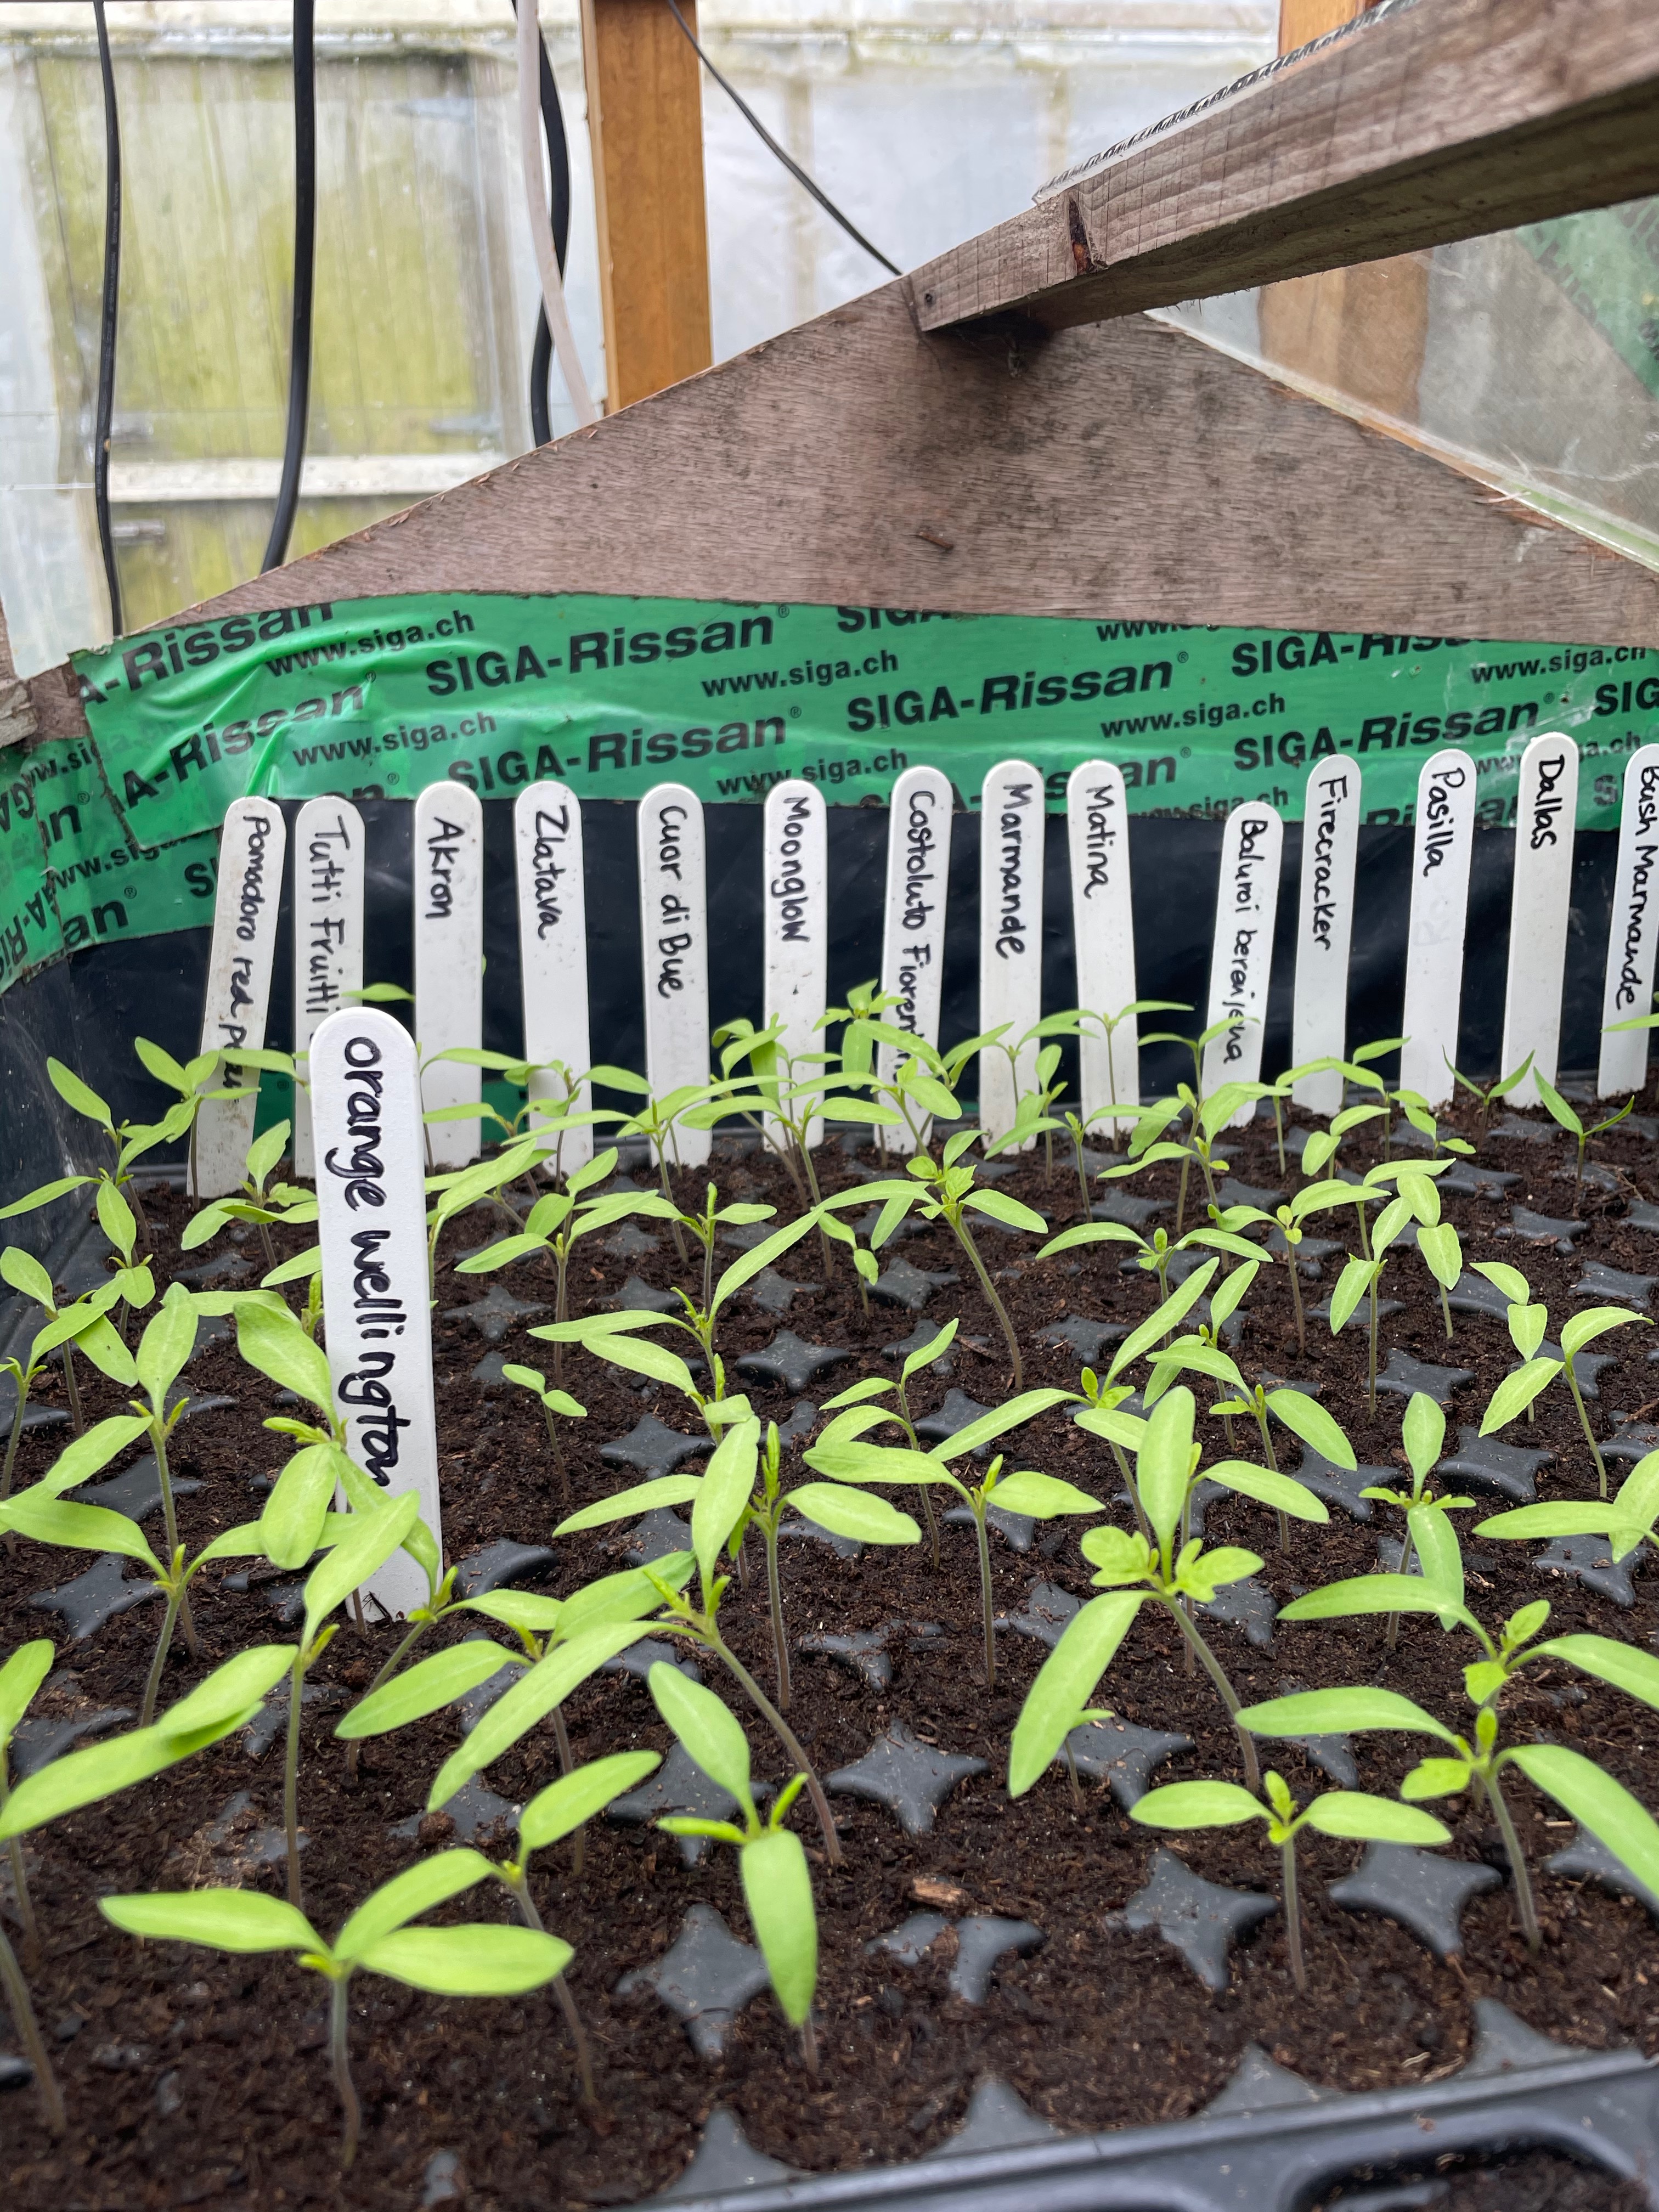
It may be the second half of summer but I’m still prowling around the courgettes plants waiting for them to spring into action, ditto with our broad beans and the tomatoes haven’t a notion of ripening yet. Luckily everything is looking healthy and with time we’ll have the usual gluts.

Meanwhile I’ve been obsessing about watermelons. This is in addition to my barbecuing obsession as I have this memory of a dish we ate whilst travelling 

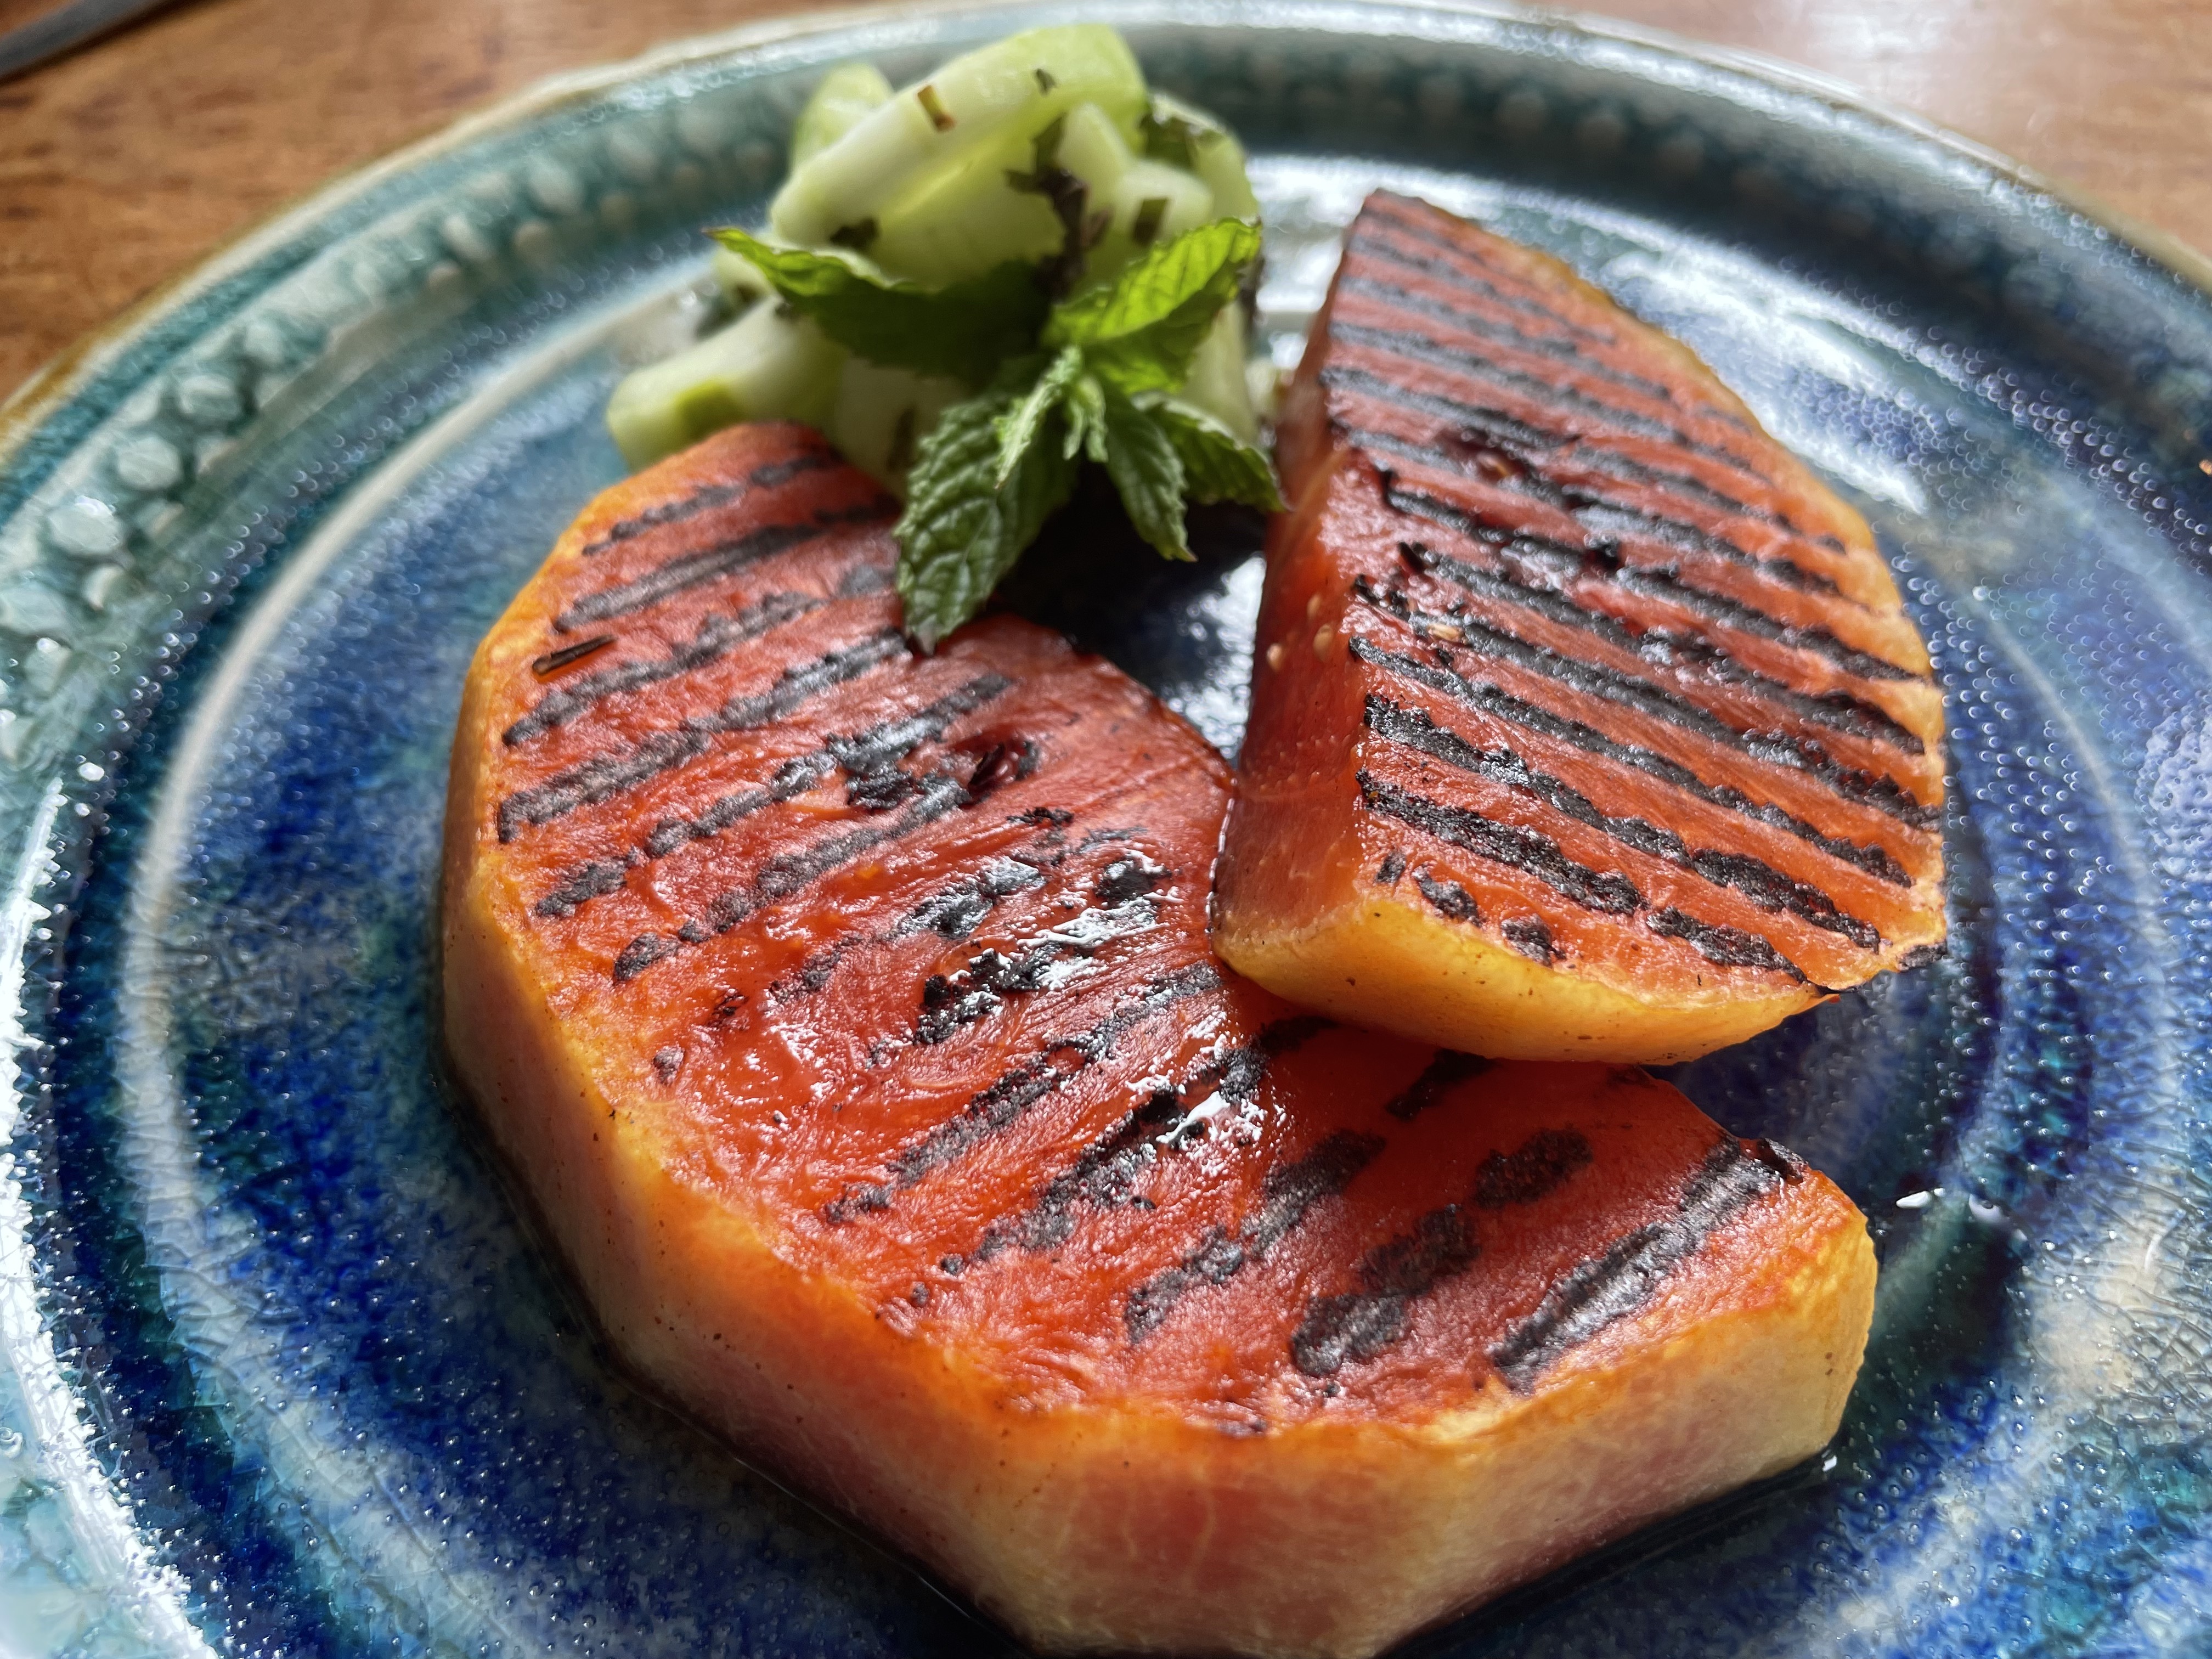
in Mexico. Long ago, before the lockdown, we were in Campeche on the Yucatan peninsula where I ate the most amazing grilled watermelon. It was one of the most memorable dishes that I had on that trip, maybe because it was so surprising. I ordered it as it sounded so odd. Grilled Watermelon Fillet with Recado Rojo. It came to the table, king of the plate with little piles of pickled vegetables and avocado around it. Pretty as a picture and the flavour and texture was so surprising. Later that day I  had the good fortune to pick the chefs brains and I jotted down the recipe, gram for gram in my notebook where it lounged until this summer when I bought my barbie.

I was slightly trepidatious the first time that I made it as good memories have been known to trick the taste buds but the recipe worked. Spot on and very simple, which truth be told is what you need for a barbecue. 

There is one small hitch – the recipe uses achiote paste, which is known as Recado Rojo in the Yucatan. Achiote is made from seeds of the annato plant, a small tropical evergreen plant that grows in Mexico. It’s an orange/red spice which smells a little peppery and tastes slightly earthy, sweet and nutty . I have a box of achiote which I bought home with me but I know it’s not always available, there’s not a lot where we live, so I googled for alternatives and came up with a recipe that has  accessible ingredients and is a good substitute. 

This recipe involves a little forward prep – the watermelon needs to be marinated for twenty four hours – but the beauty of this is that when it comes to the day of the barbecue all the work is done. Just put the watermelon on the grill, resist poking it until it’s lightly charred then flip, cook the  other side and serve.  We ate ours with lightly pickled cucumber and mint. 

Grilled Watermelon Fillet with Recado Rojo 

Serves 6

1 small watermelon 

25g achiote/recado rojo/or the paste below

200mls white wine vinegar

500mls water

4g salt

2g cracked black pepper

Homemade Recado Rojo/Achiote paste substitute

1 ½ tsp sweet paprika

1tbs white wine vinegar

¾ tsp oregano

¼ tsp ground cumin

¼ tsp ground cloves

½ tsp turmeric

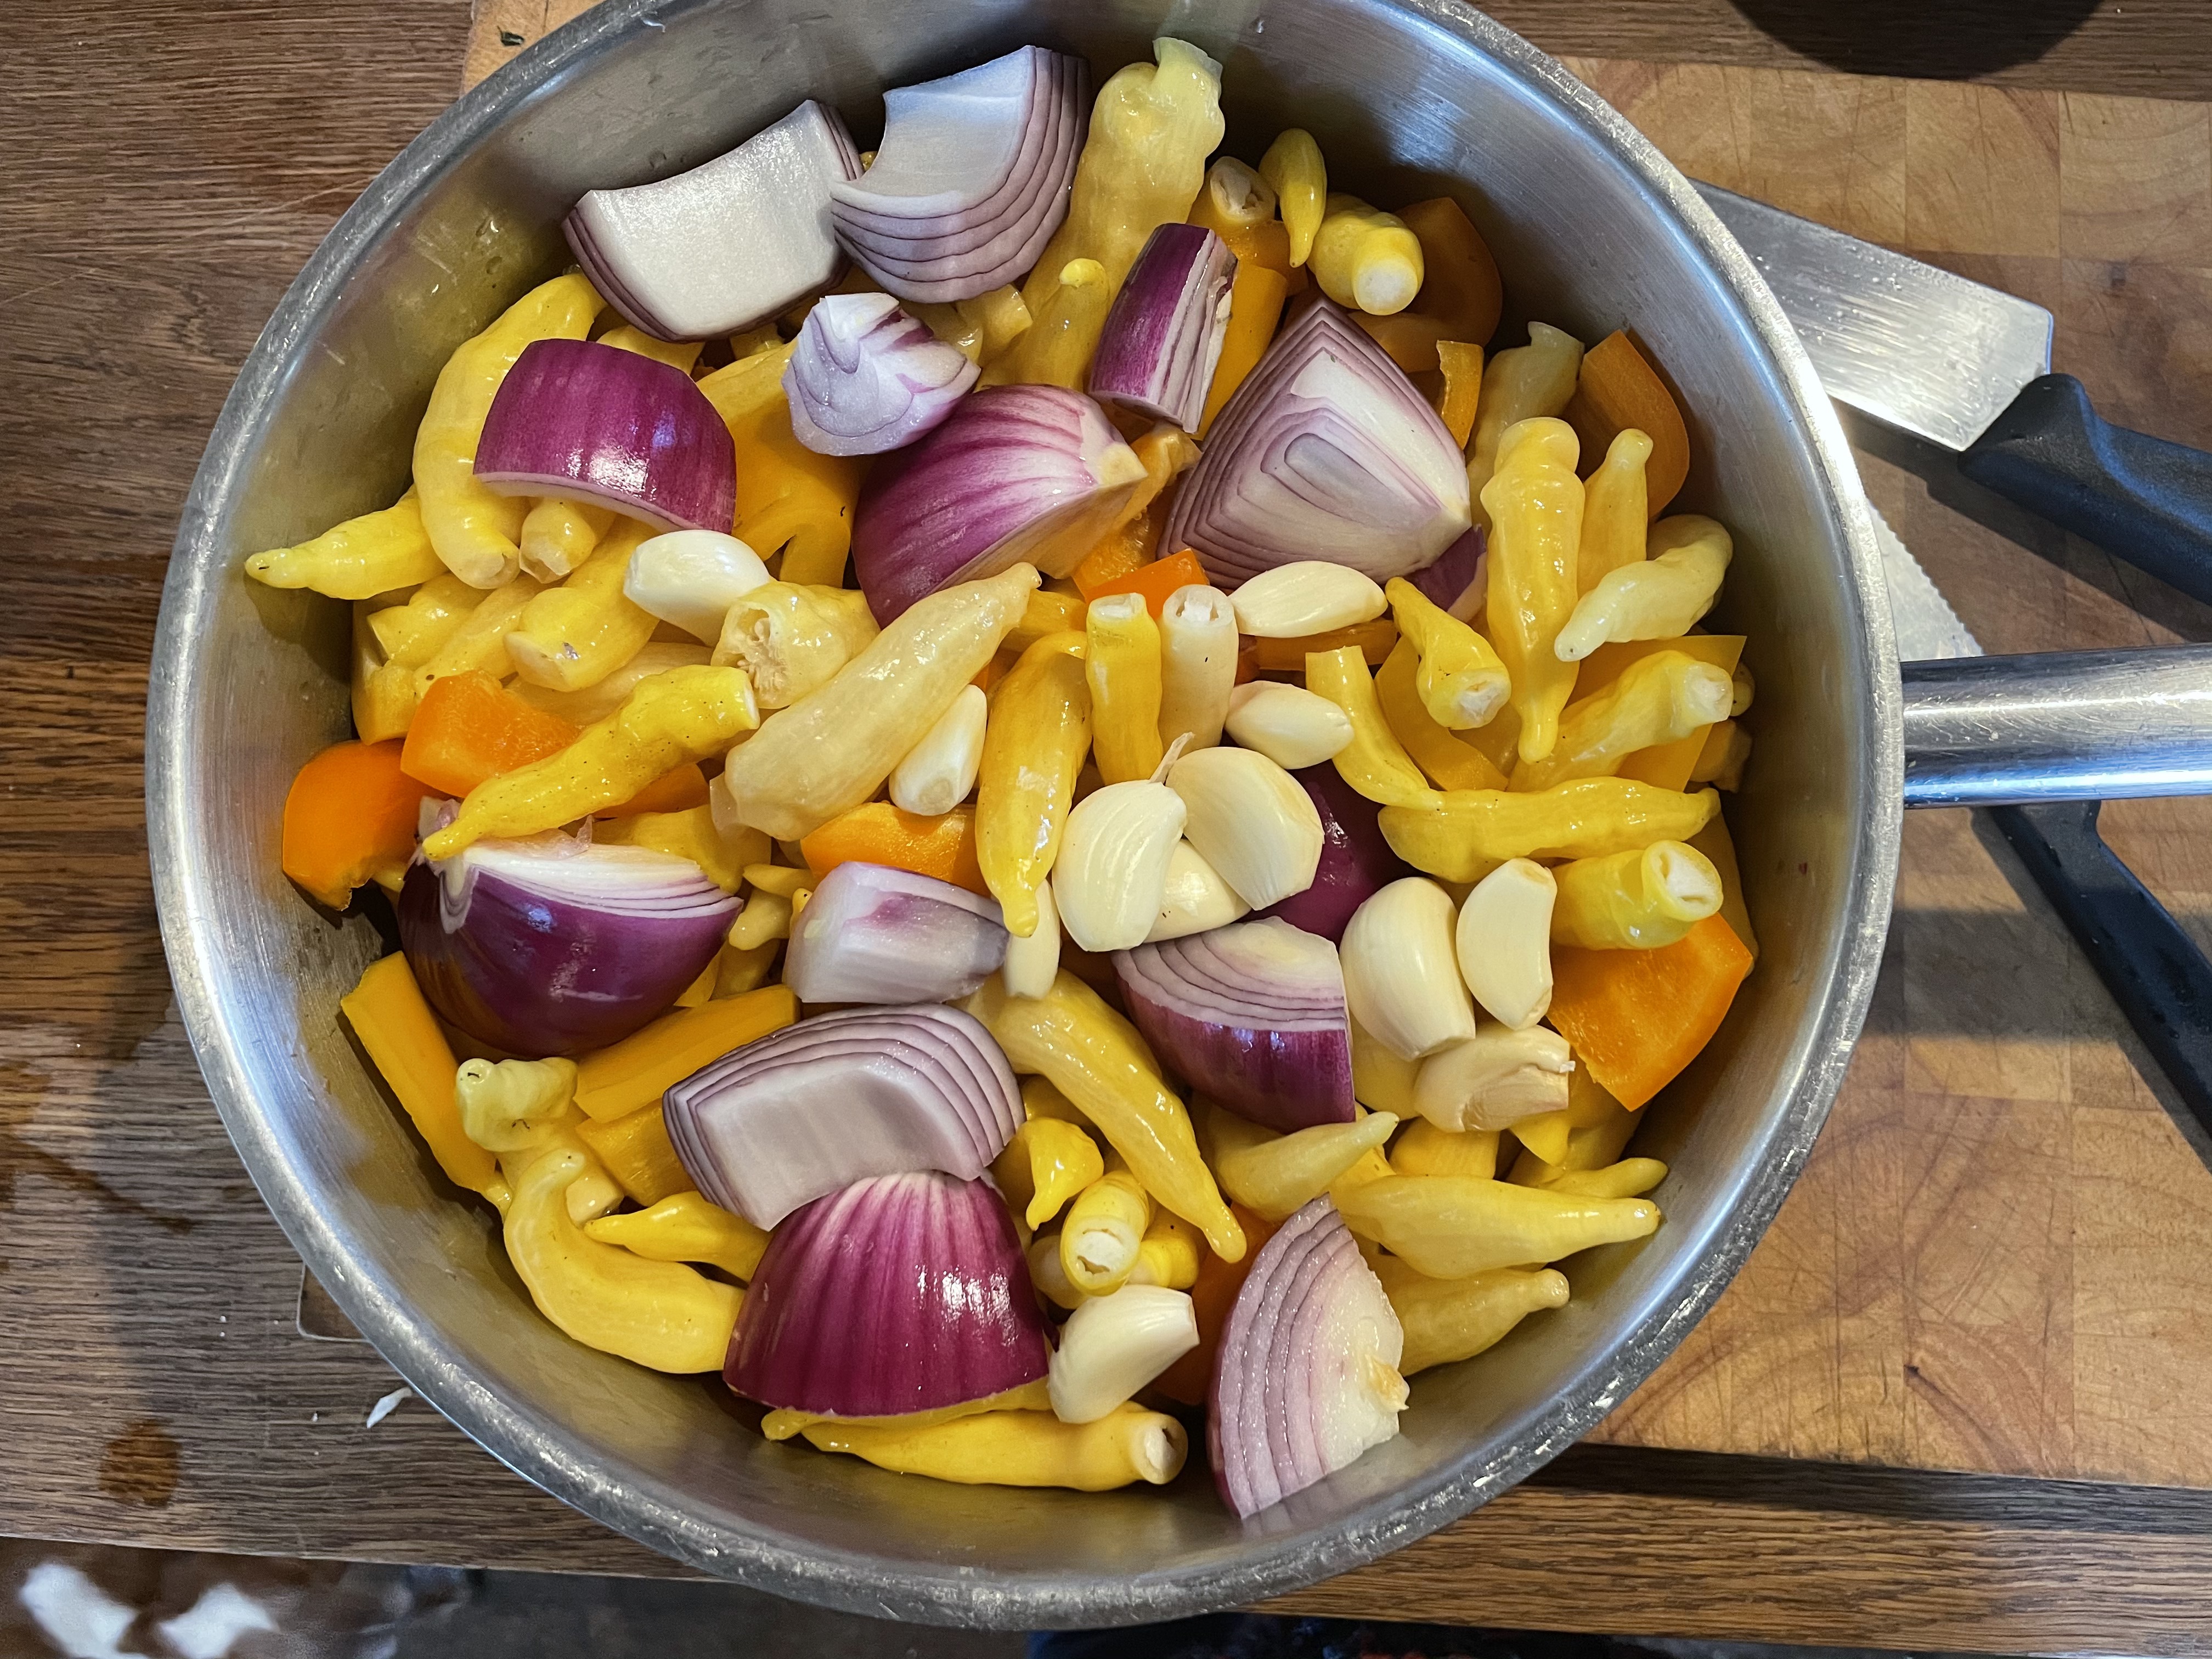
2 cloves garlic, peeled and very finely chopped

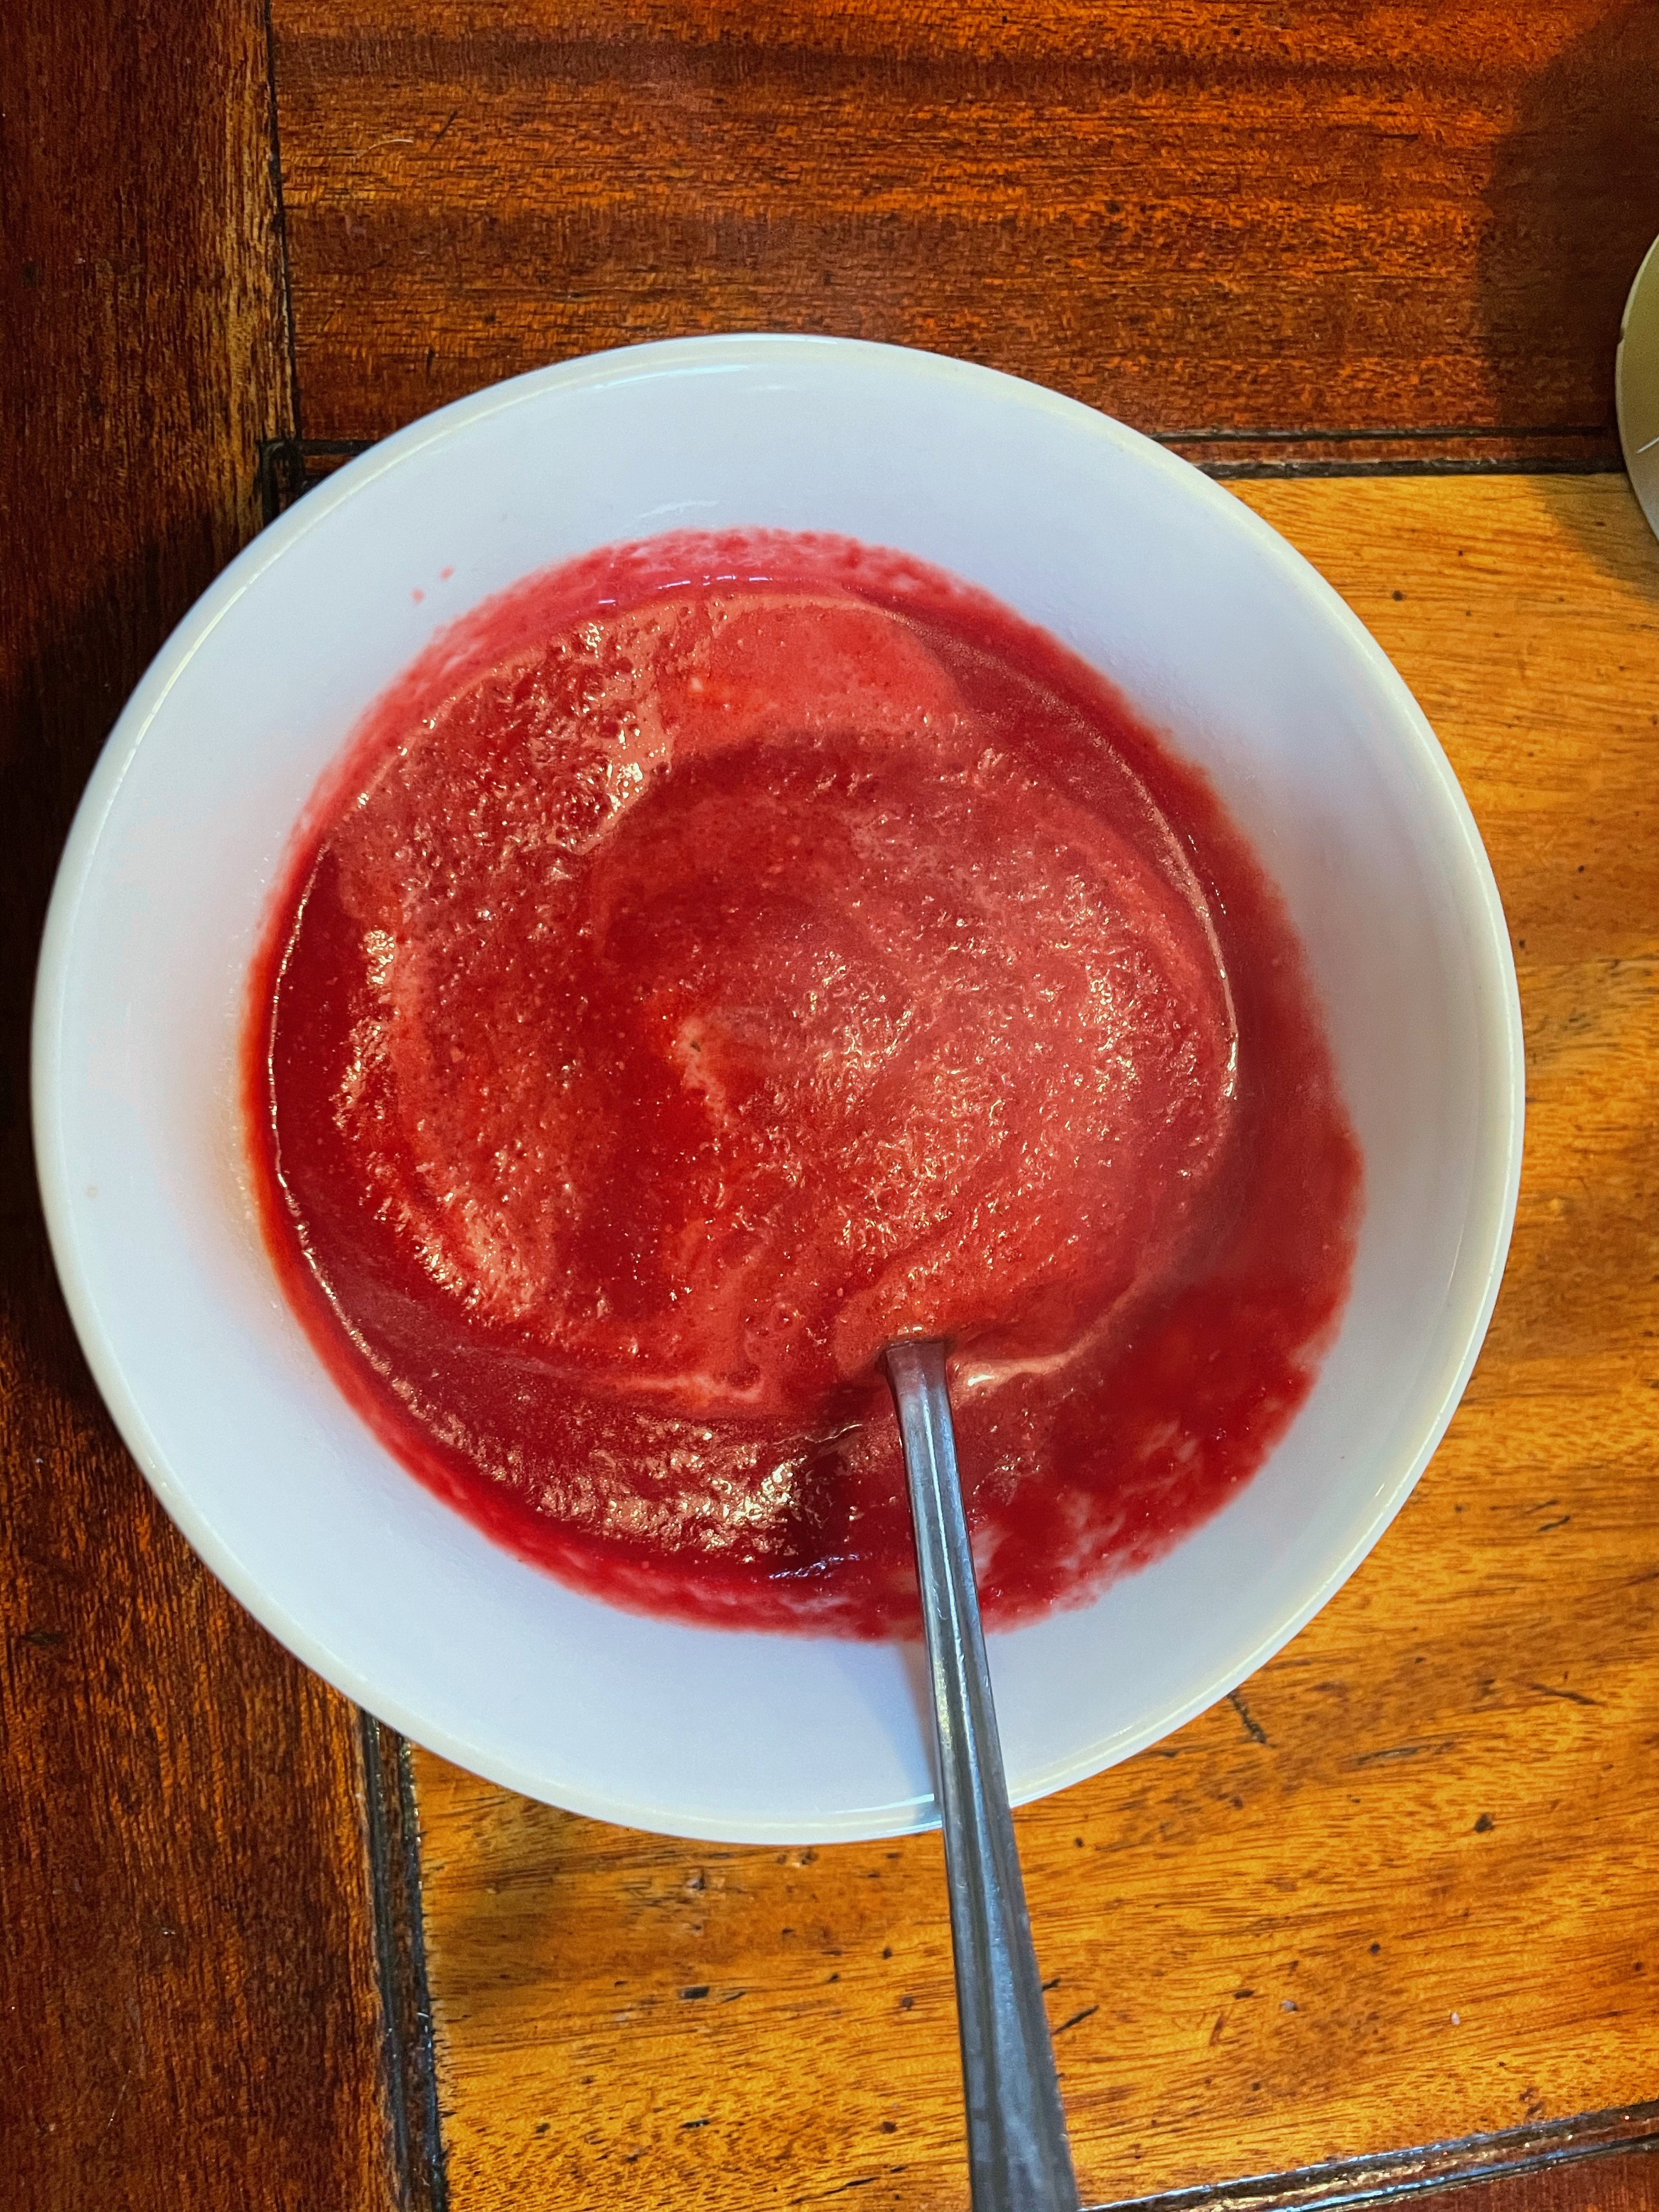
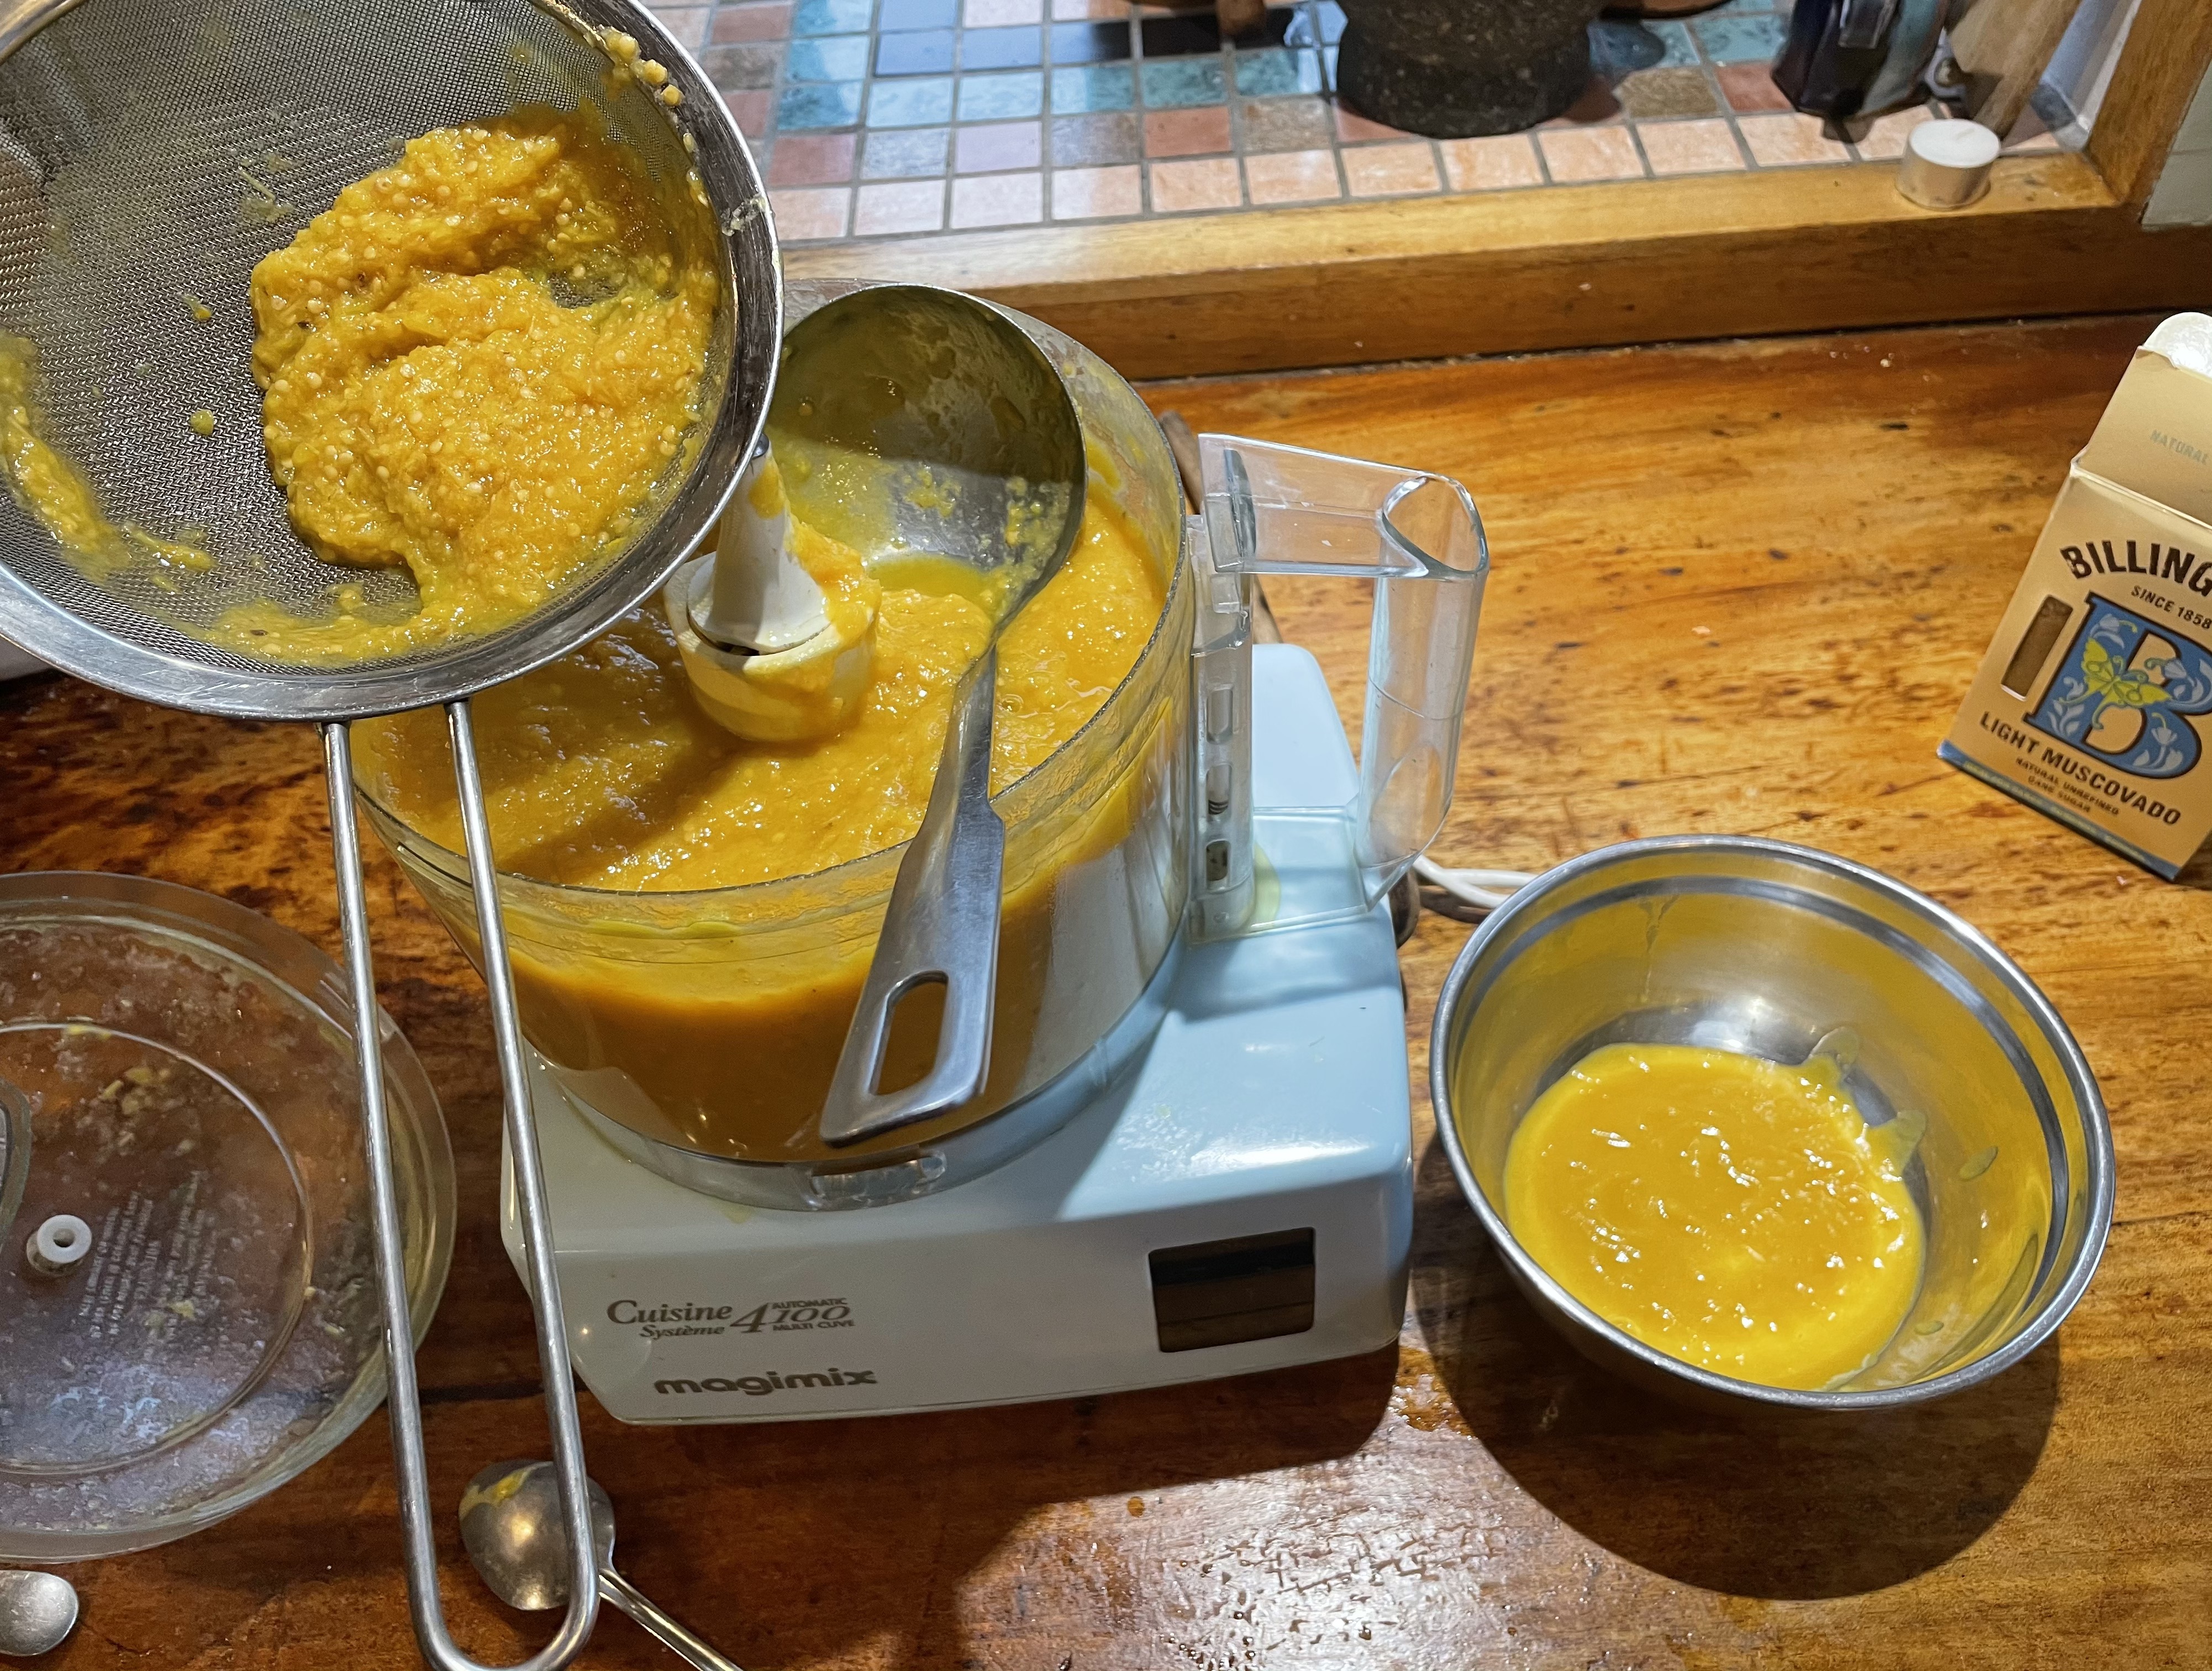
Mix all of the ingredients to a smooth paste.

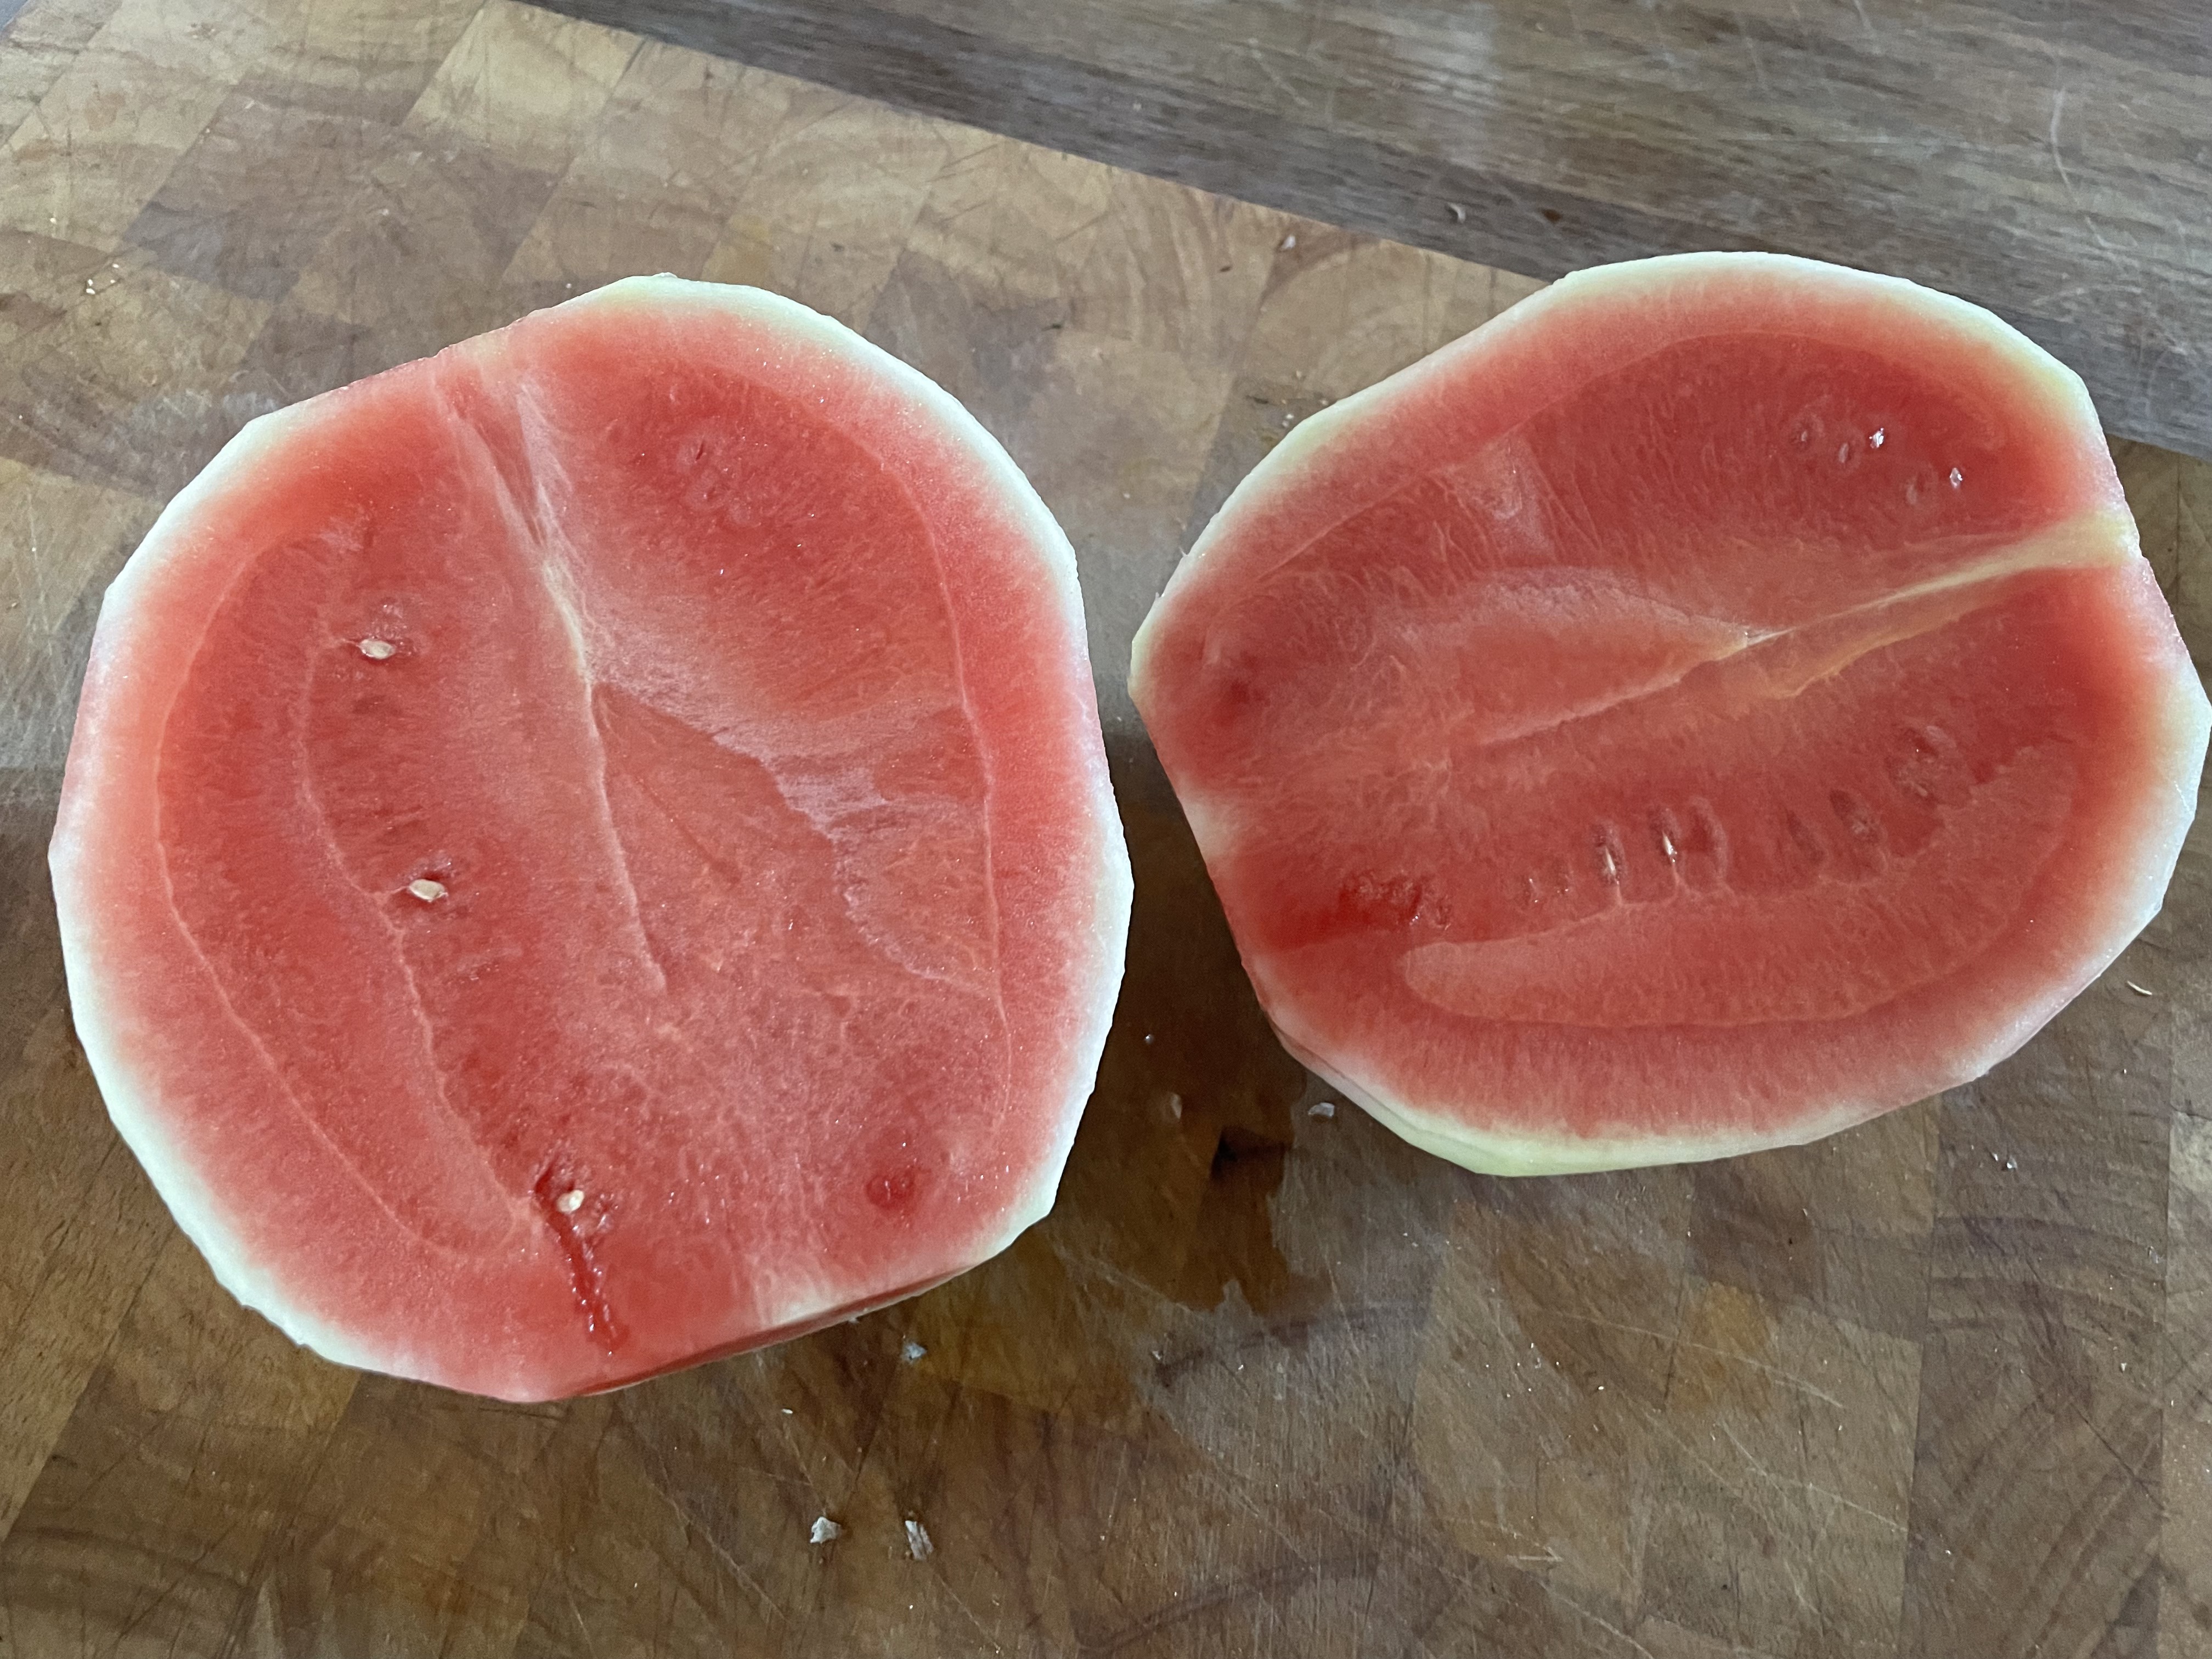
First peel the water melon.

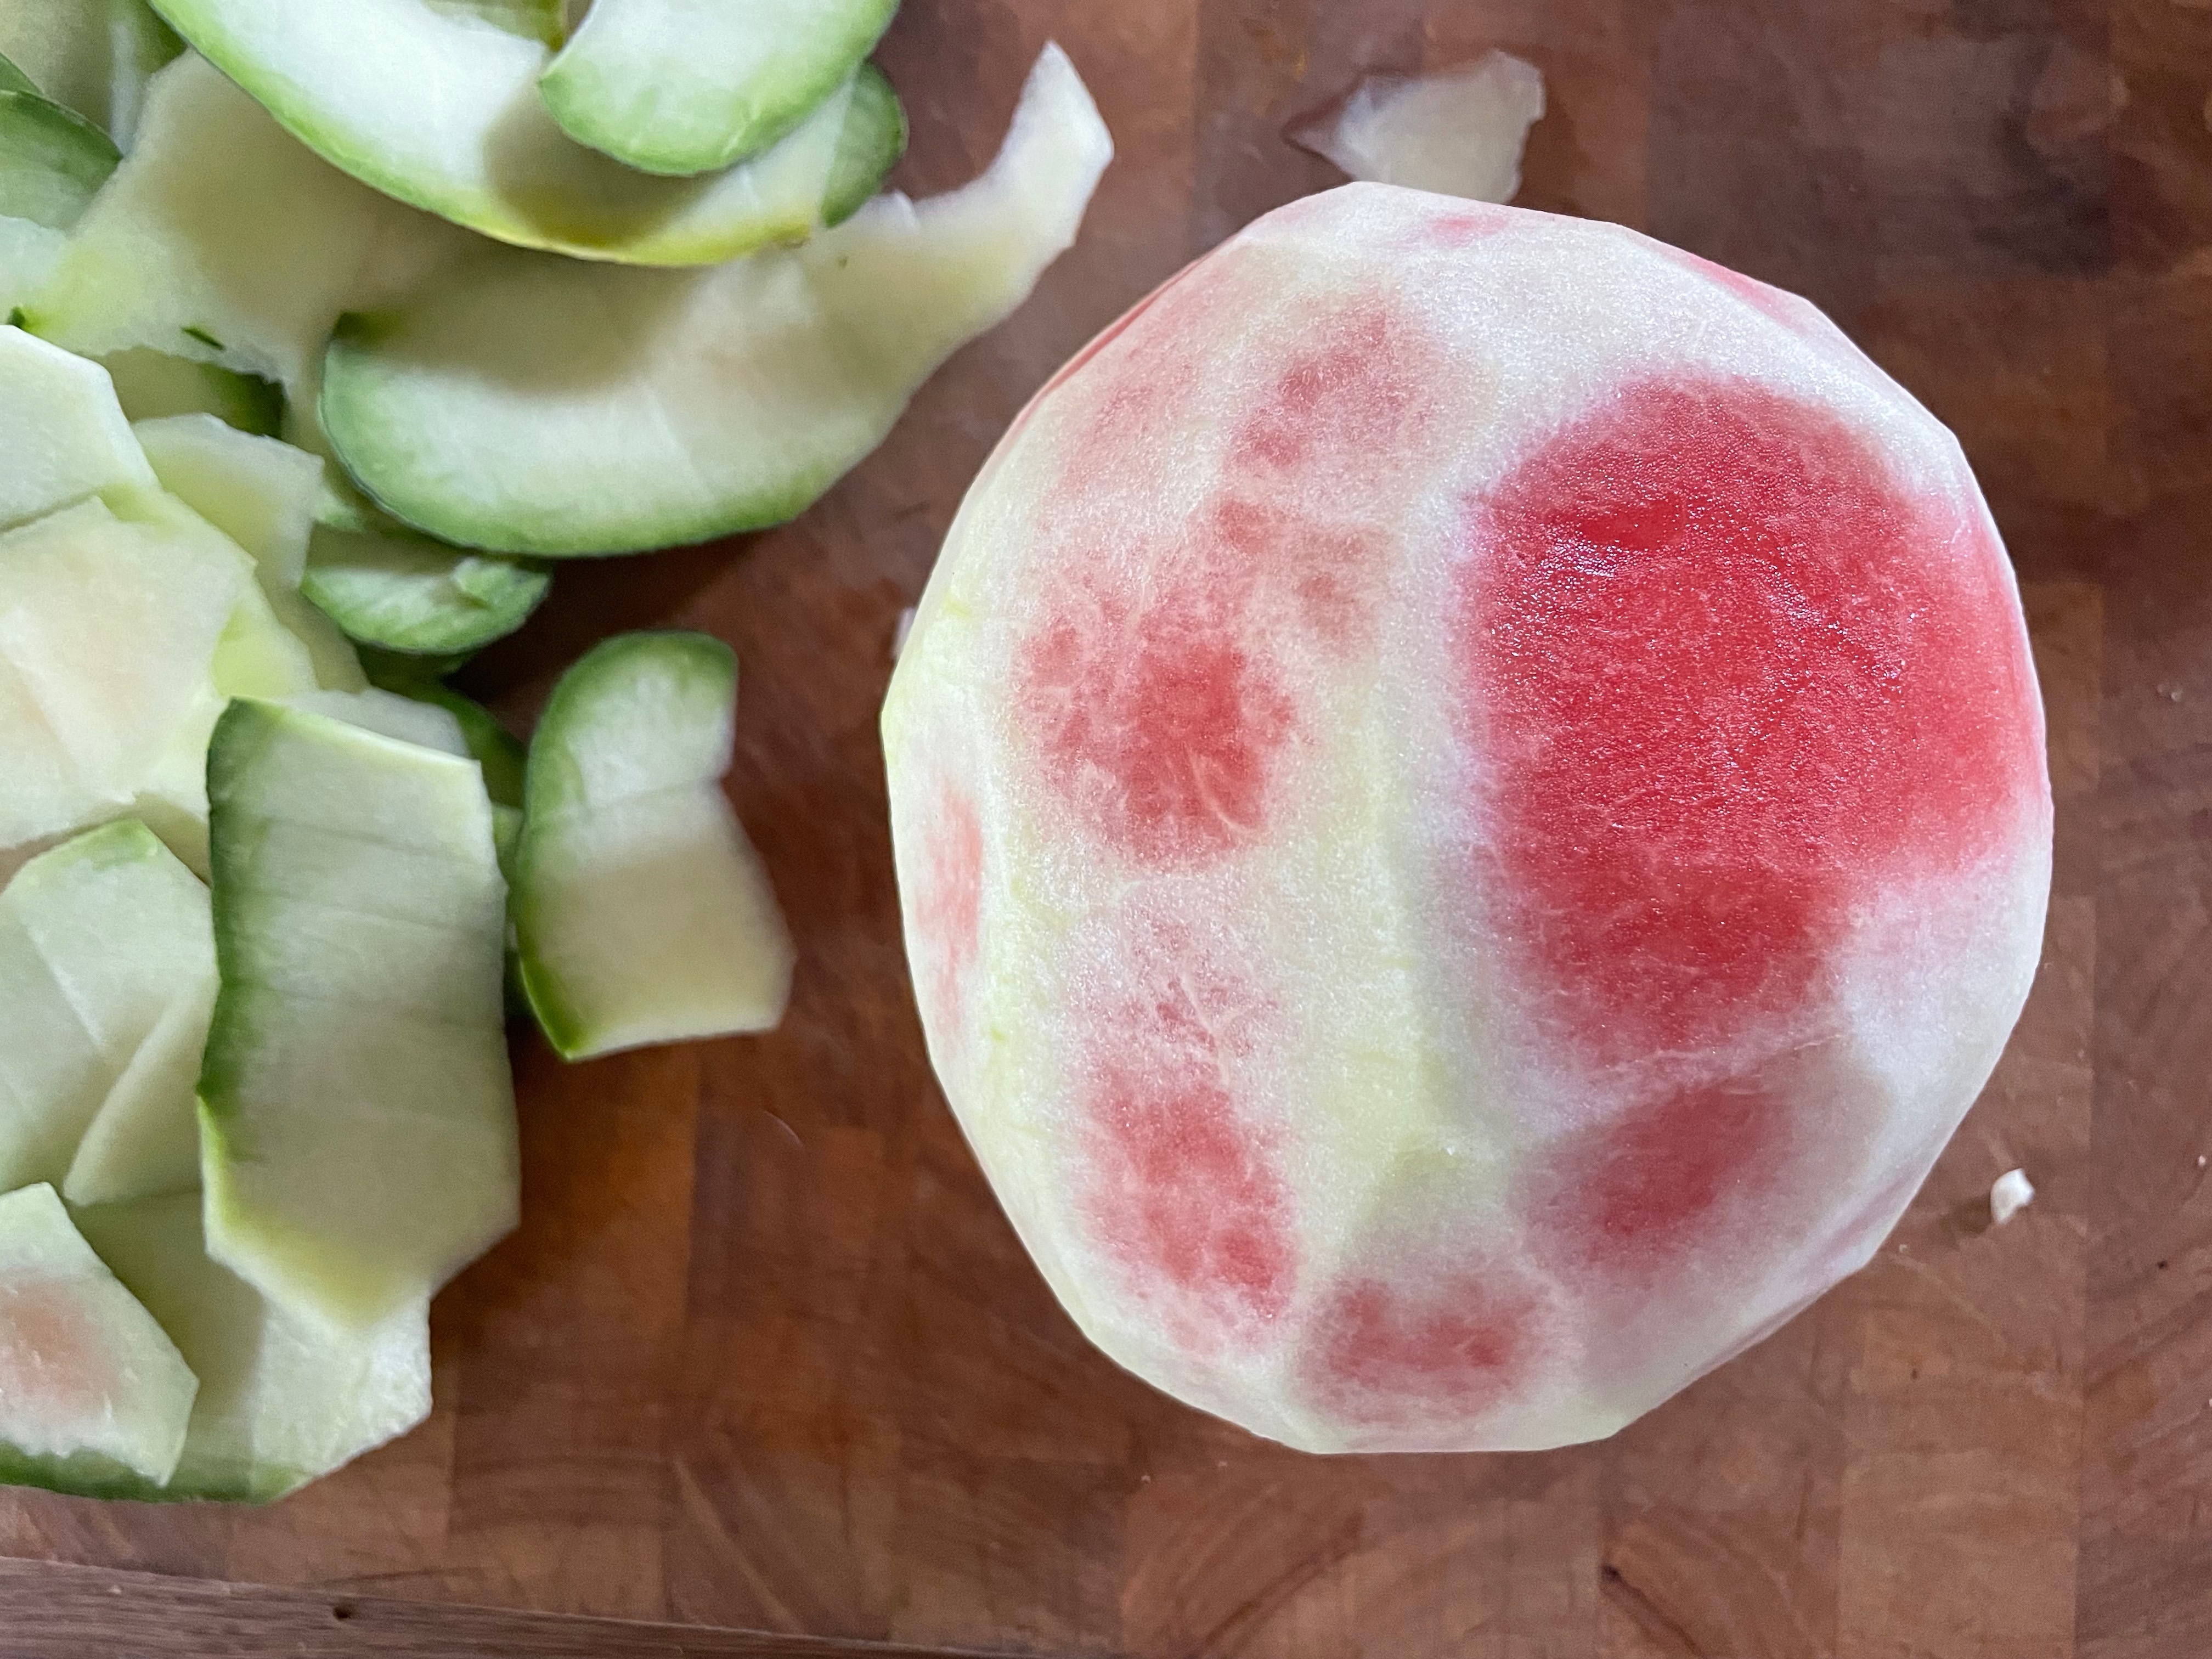
Using a sharp knife slice off the top and the bottom of the melon.  Place the melon on the chopping board bottom side down, this will give you a steady melon to work with. Carefully peel the melon rind away, cutting downwards then turn the melon over and repeat.

Chop the peeled melon into half then chop each half into 4cm slices.

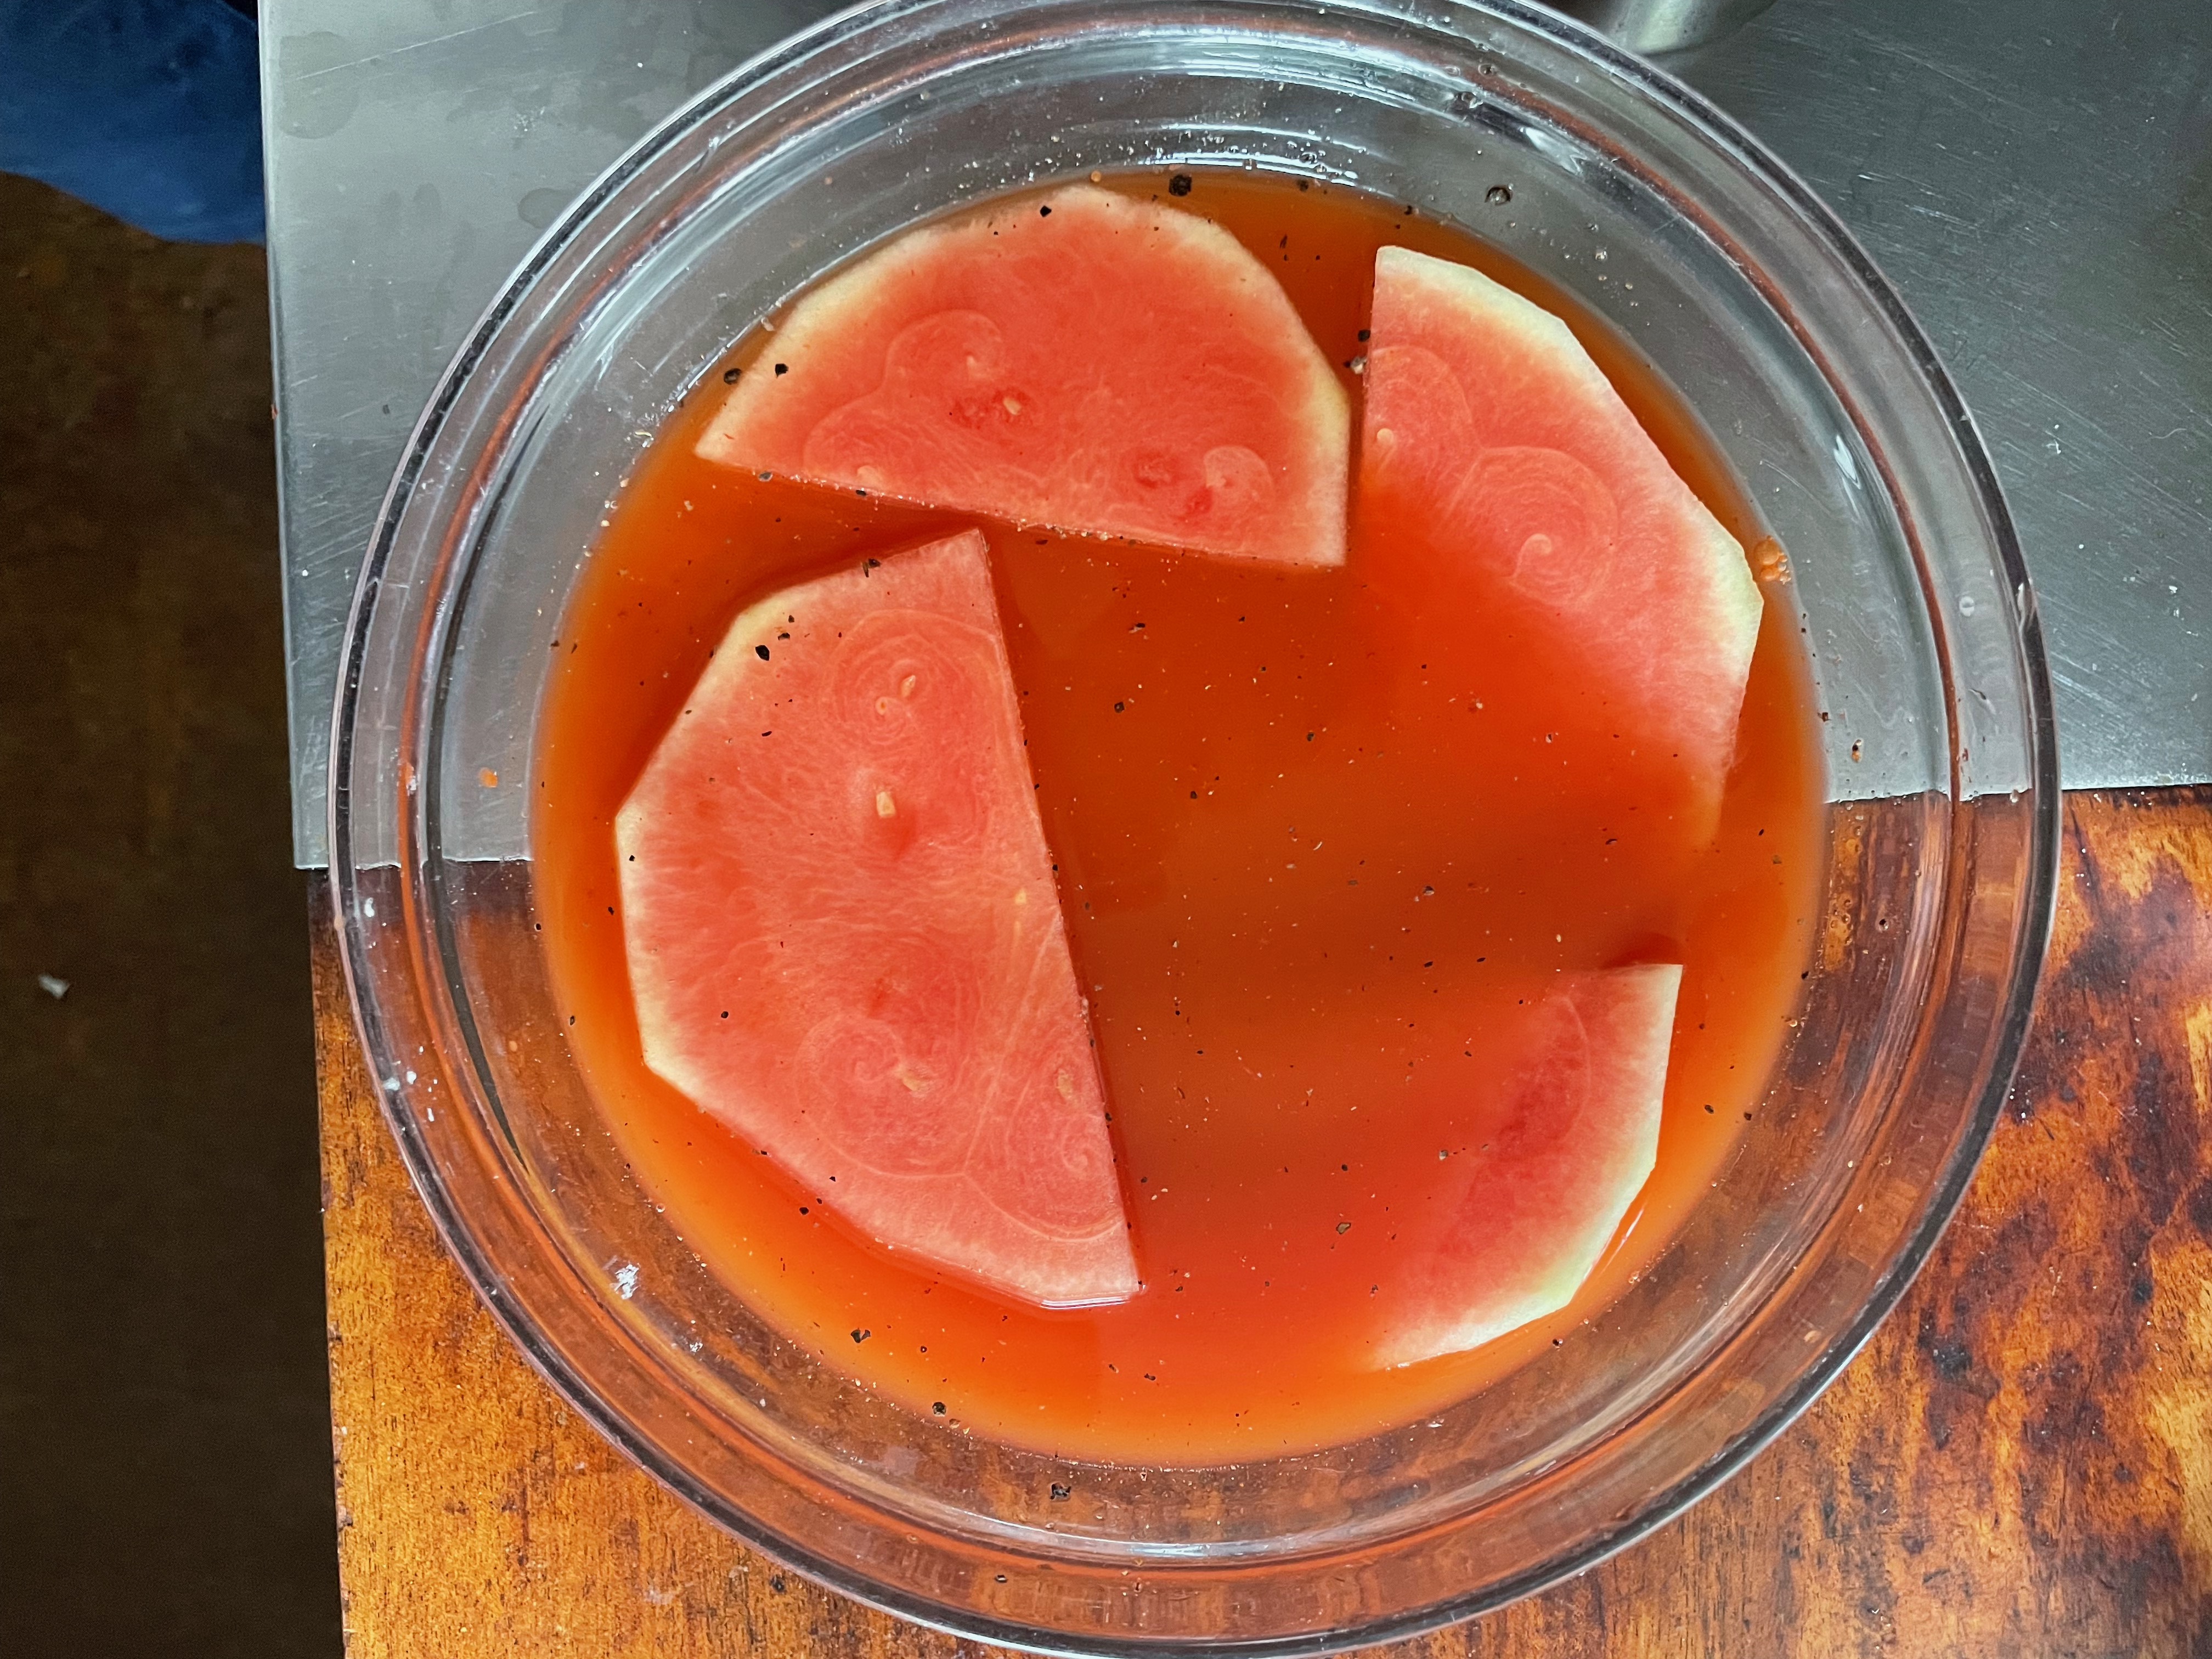
Mix 25g of the achiote/recardo Rojo paste together in a fairly big bowl with the vinegar until it has dissolved then add the water and salt and pepper. 

Submerge the watermelon slices by carefully arranging them in the bowl – it will be quite a snug fit . Cover and leave aside in a cool place for 24hours.

To cook the melon fire up the barbecue or heat a grill pan

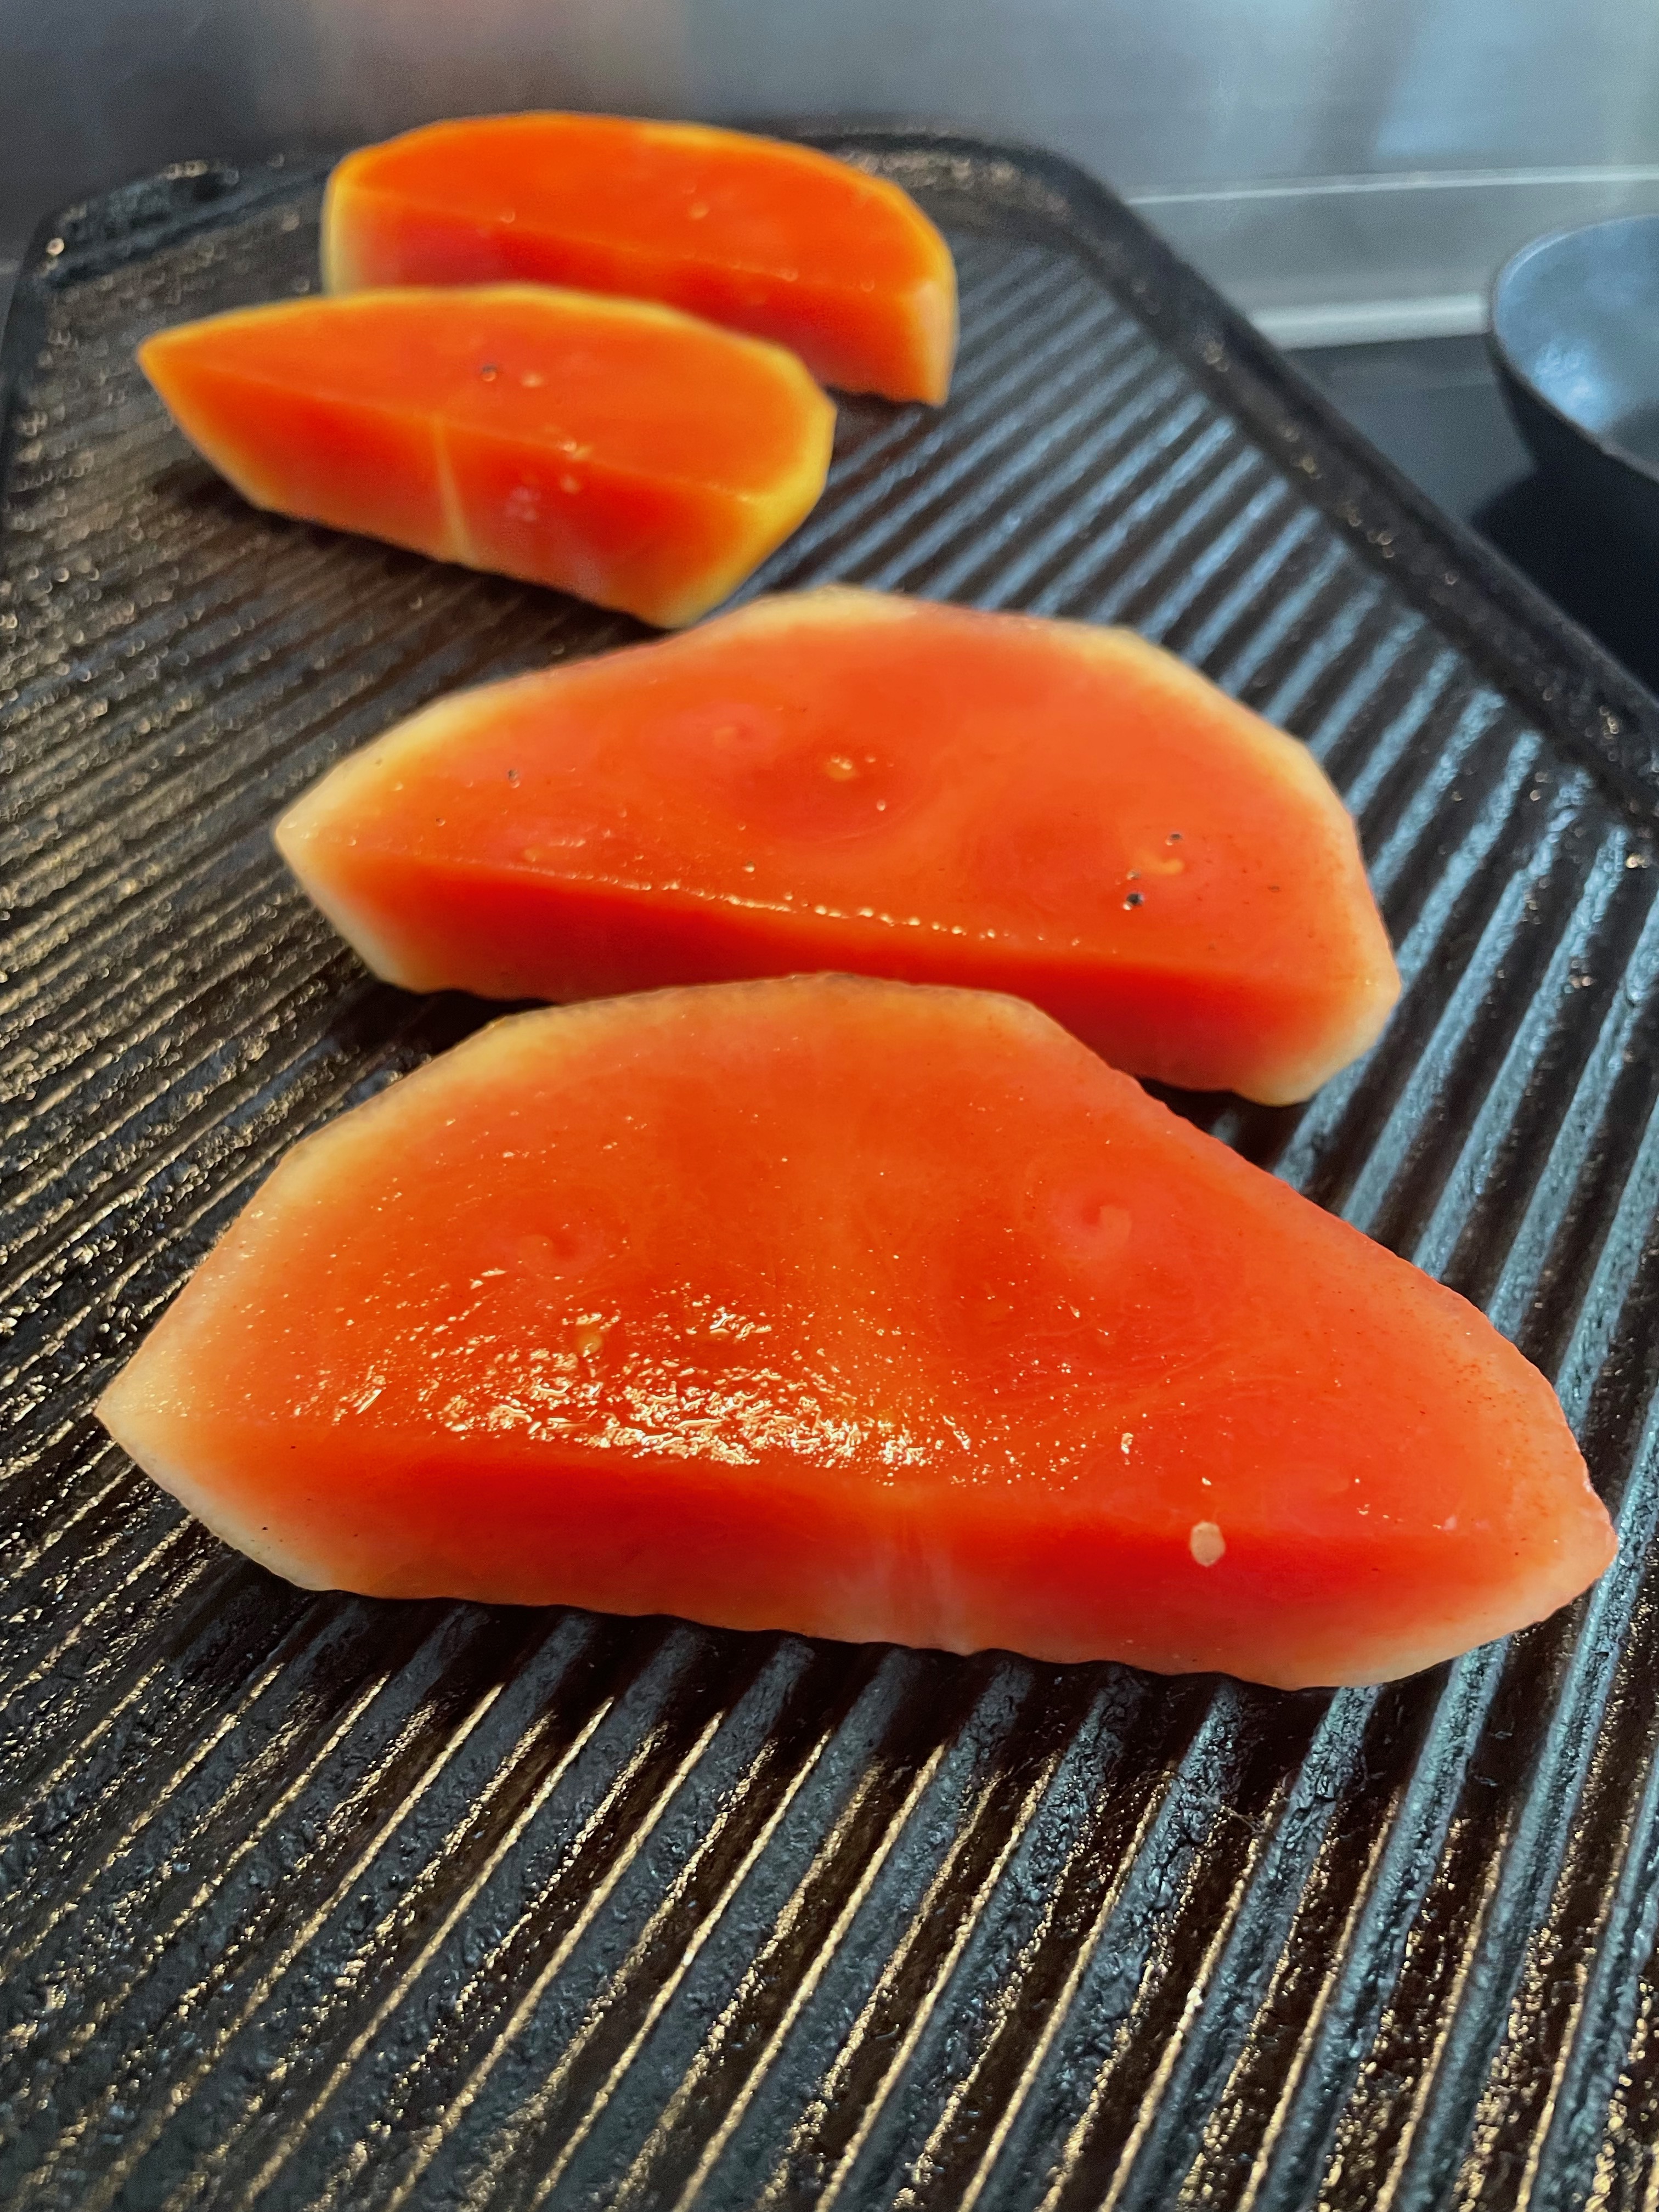
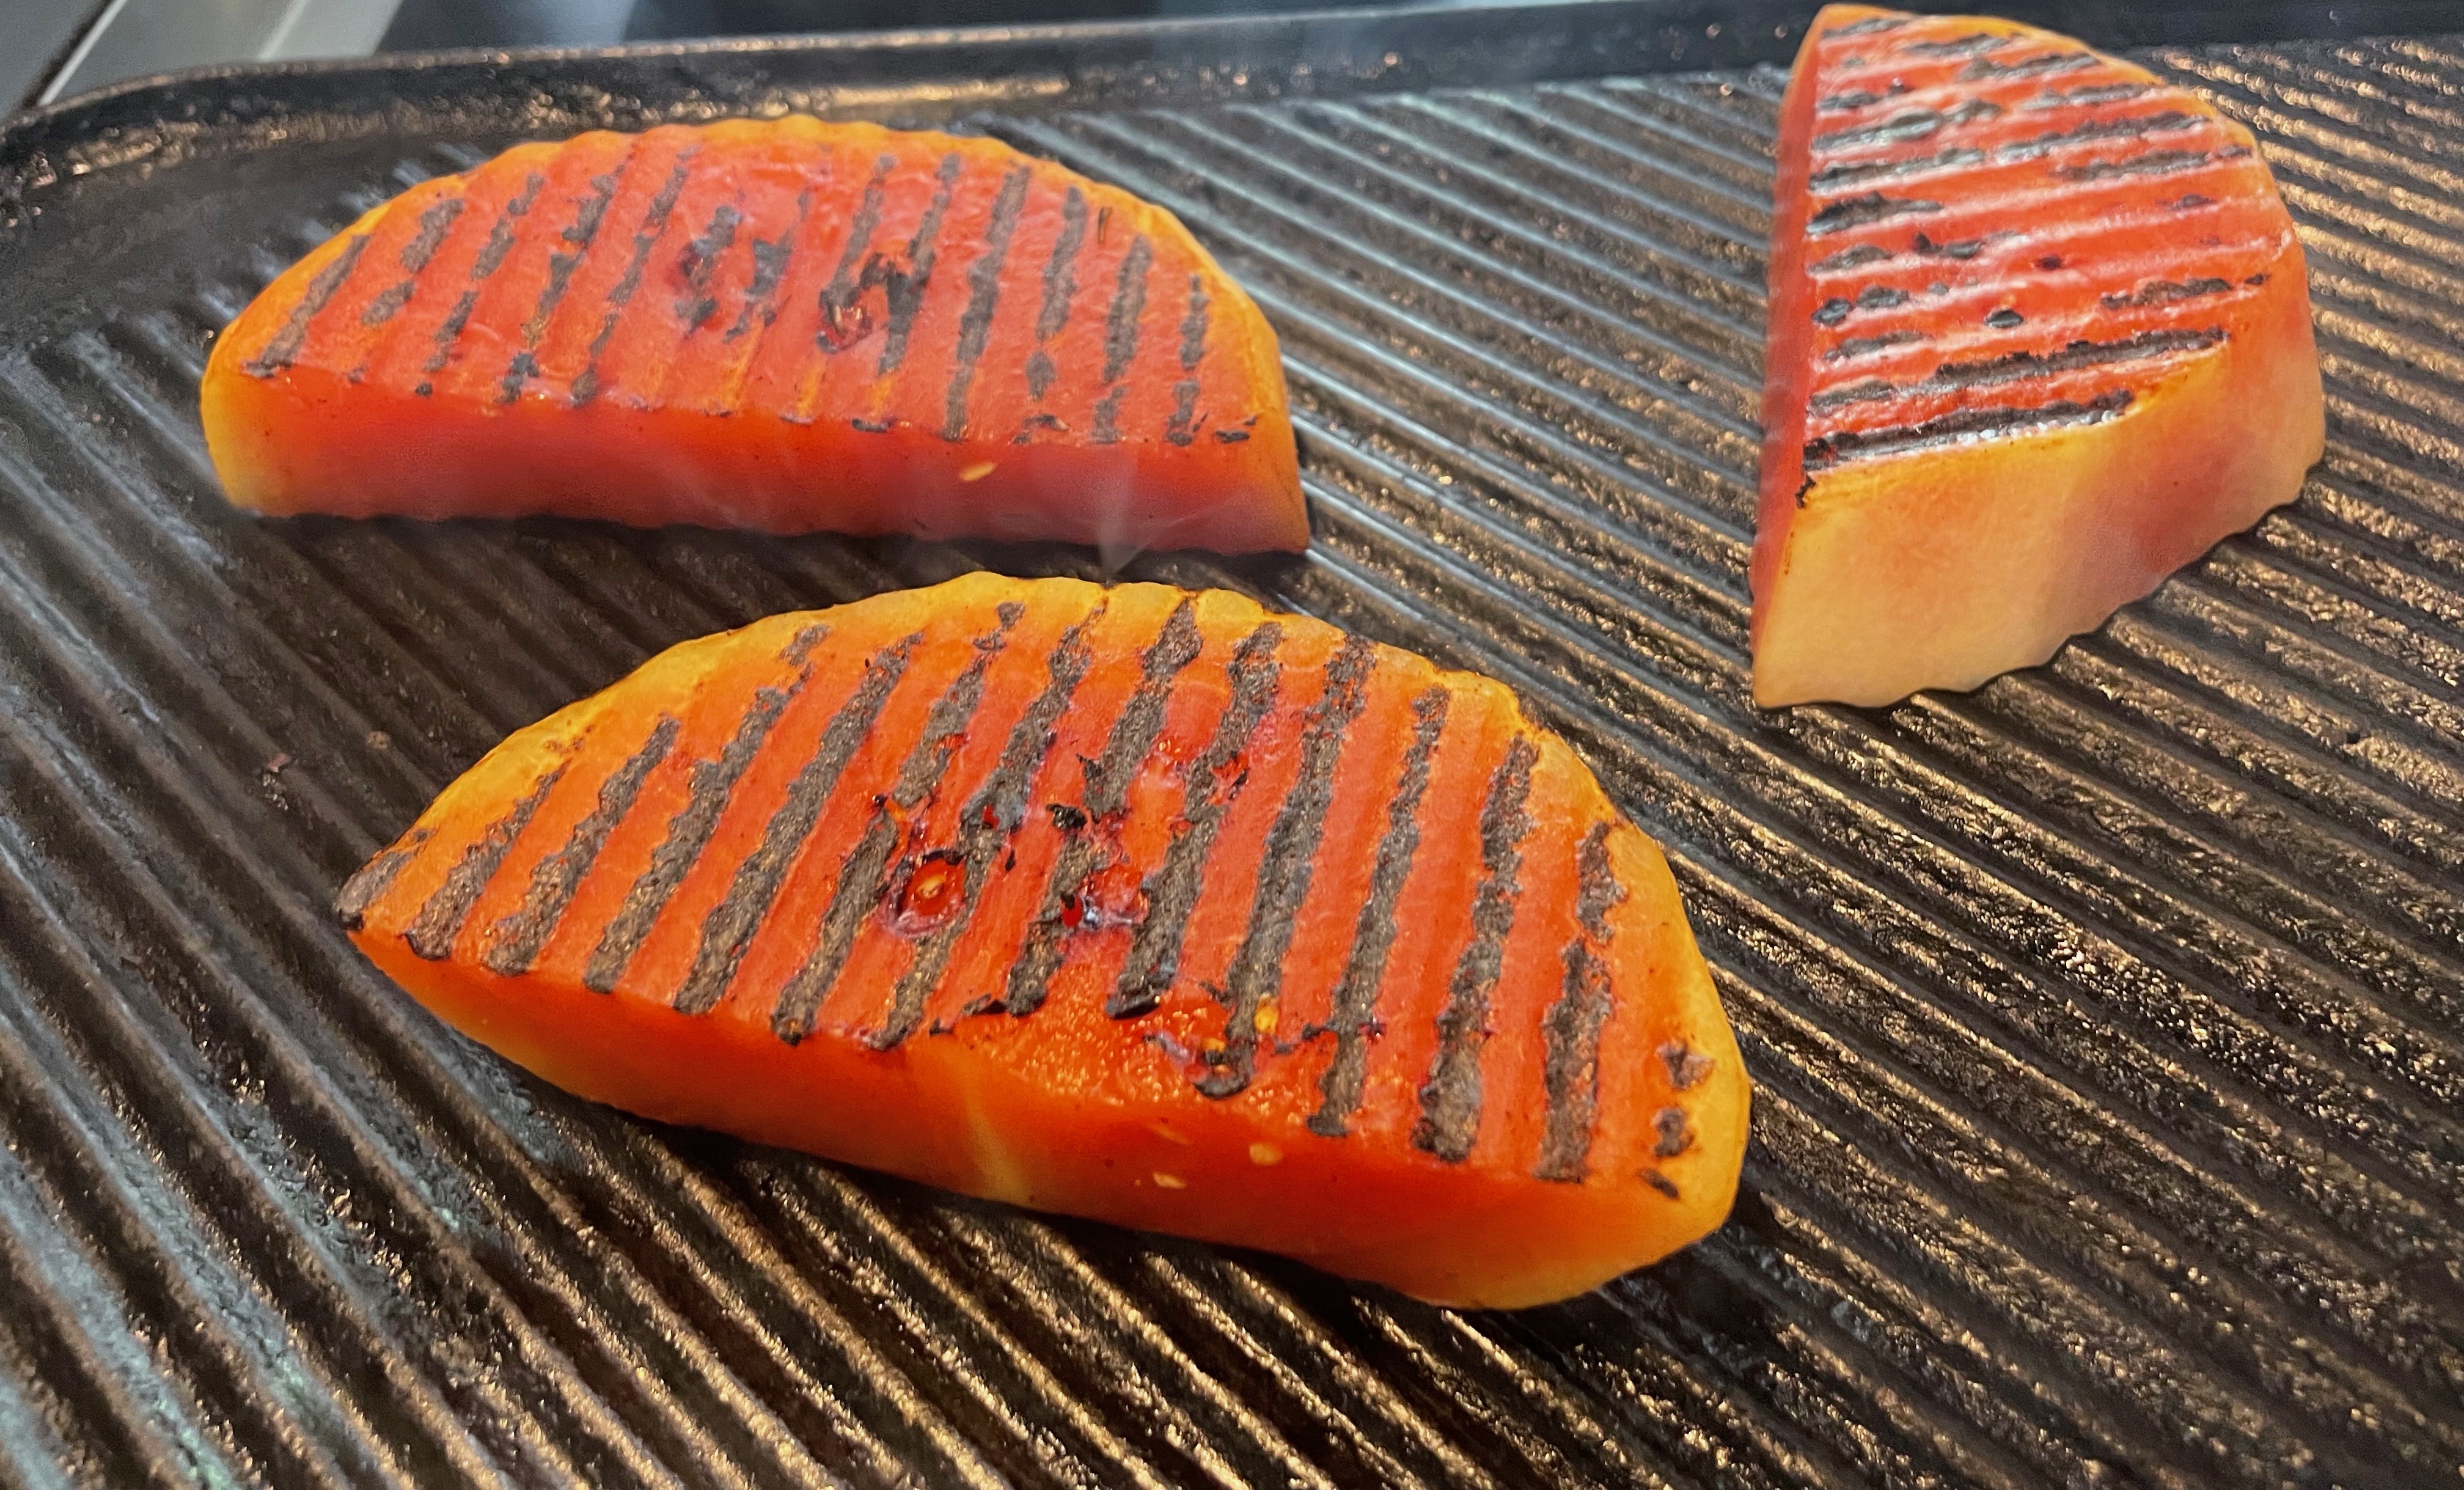
Take the melon from the marinade, shake off excess marinade then place on a hot grill. Grill each side for 2-3 minutes until nicely charred.

Serve with little piles of pickled cucumber.

Lightly Pickled Cucumber and Mint

1 cucumber

100mls white wine vinegar

2tbs sugar

½ tsp salt

A bunch of fresh mint.

Put the vinegar, sugar and salt into a bowl then mix together to dissolve

Peel the cucumbers, cut them in half lengthwise then remove the seeds with spoon.

Place the cucumber on a chopping board then cut into skinny slices on the diagonal.

Strip the mint from the stems and chop finely.

Put the mint and cucumber into the vinegar mix and toss well. Leave aside for at least 15 minutes.

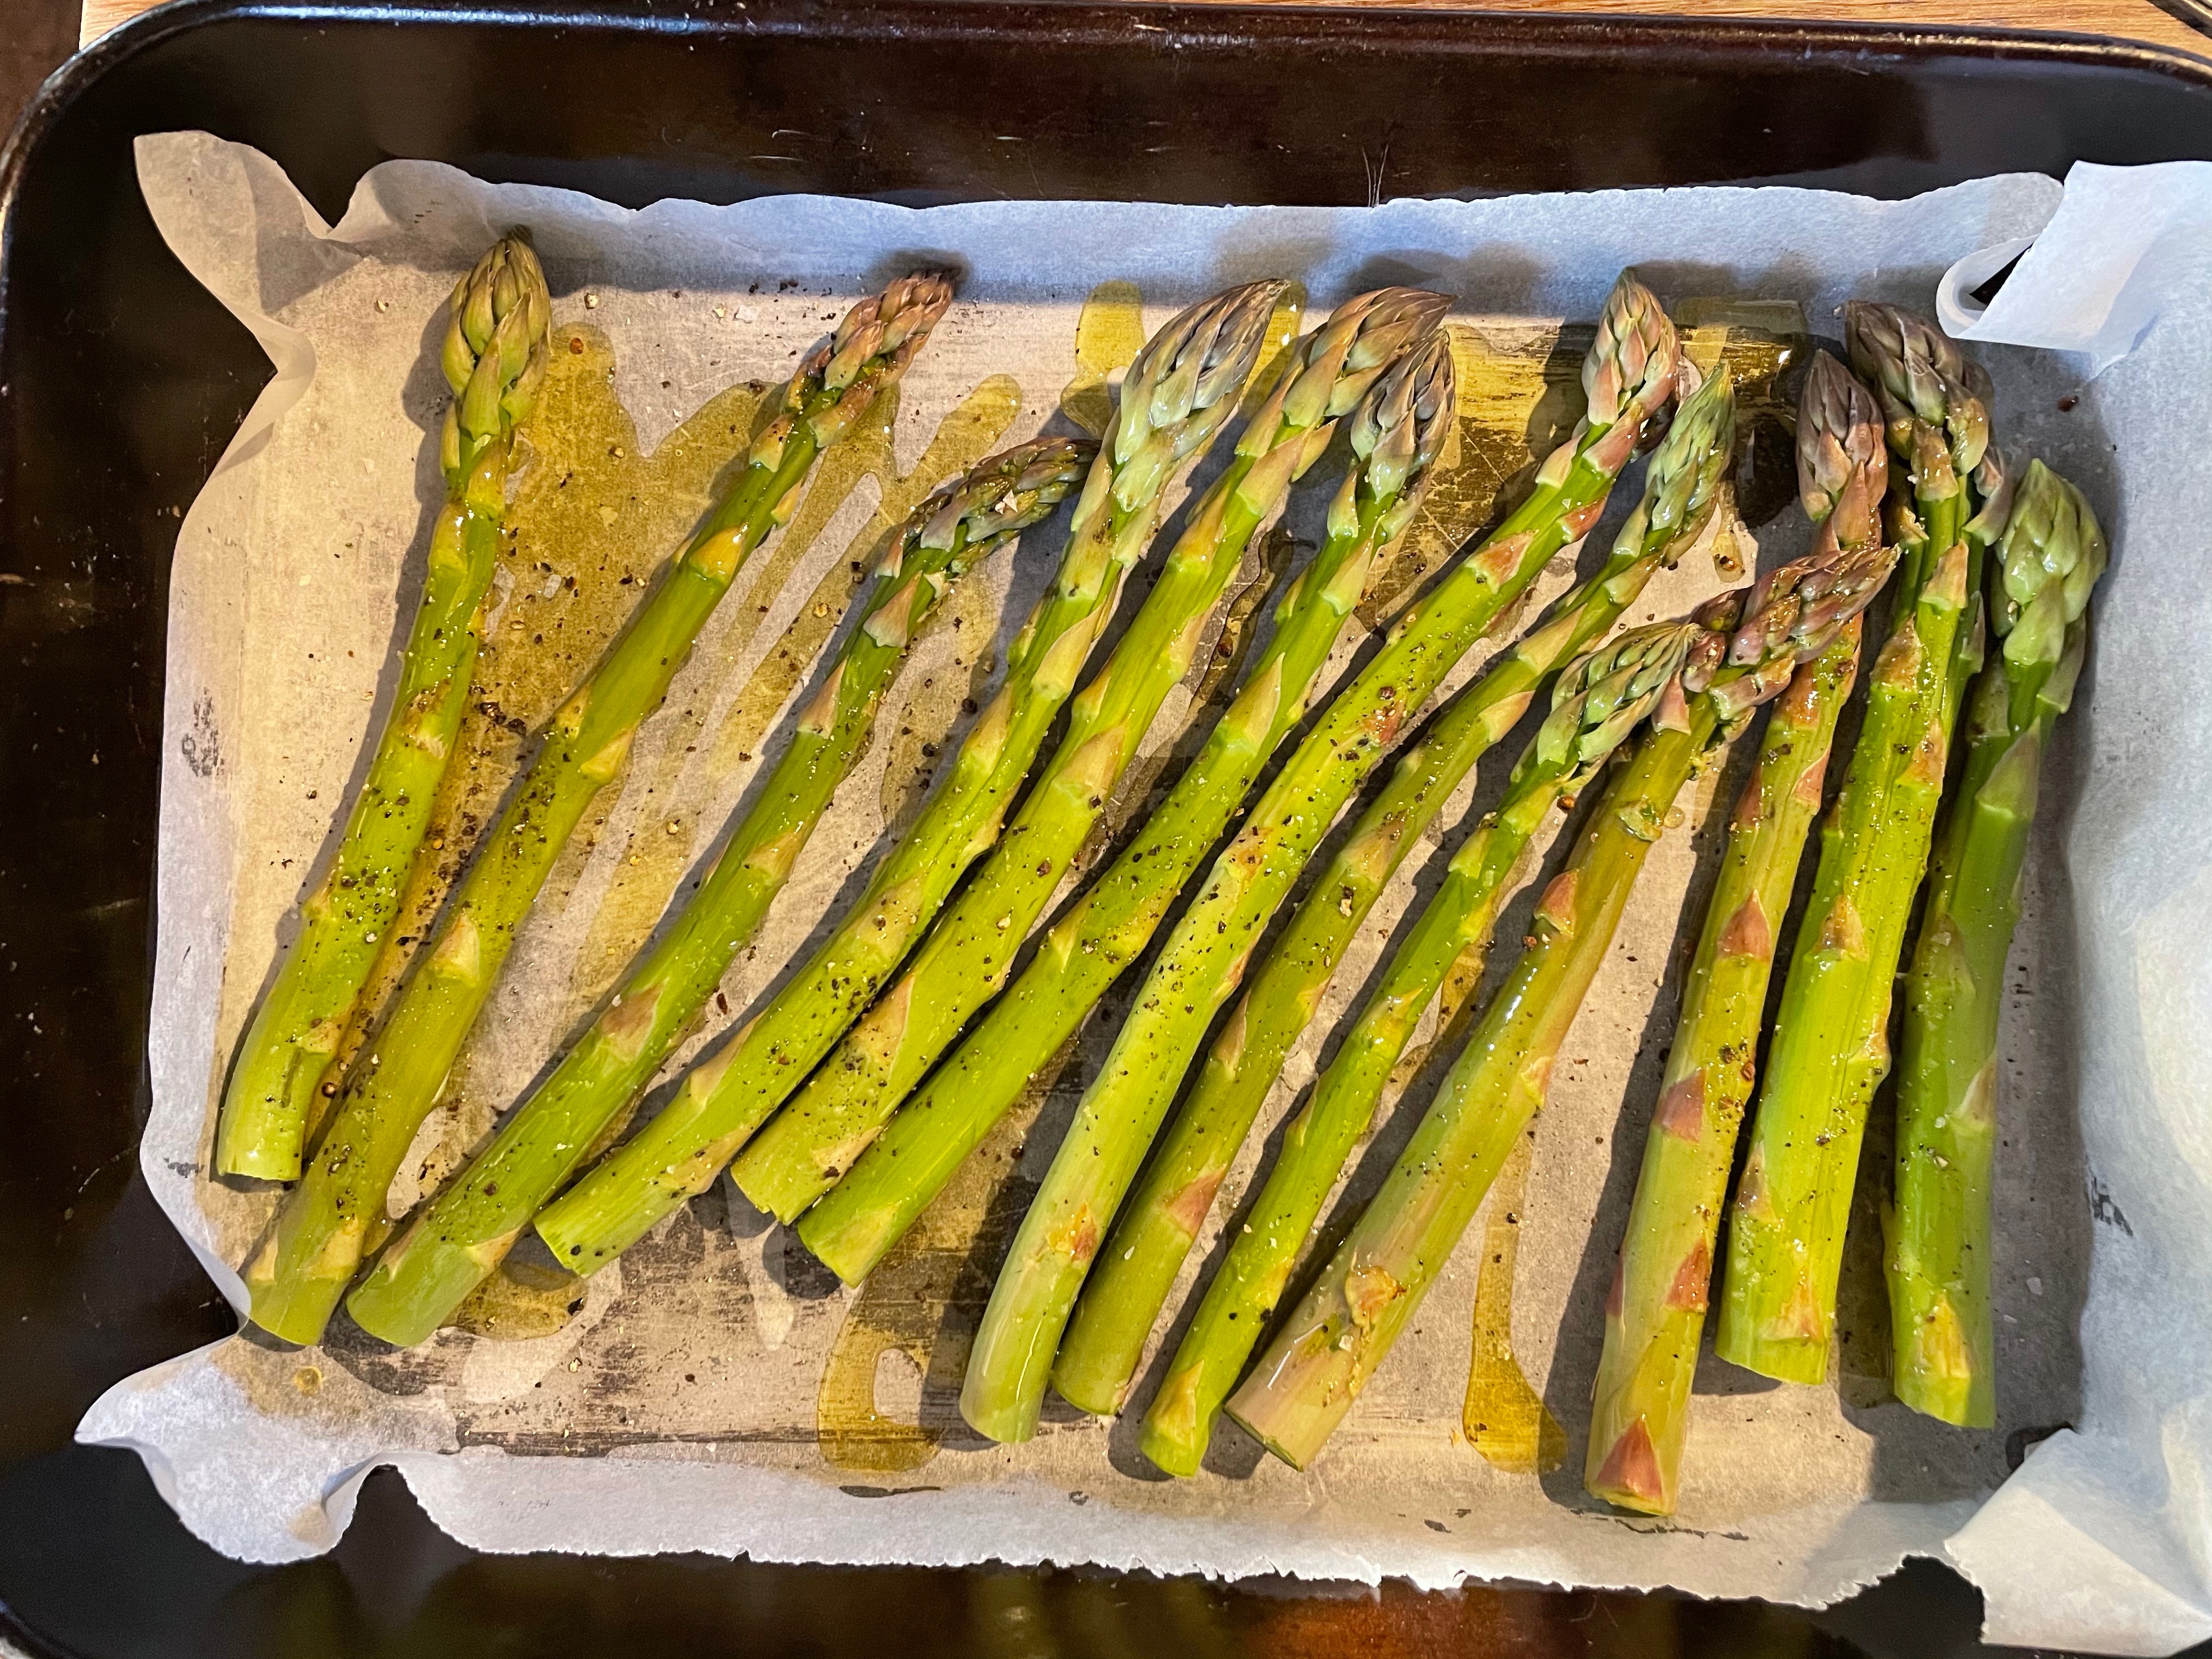
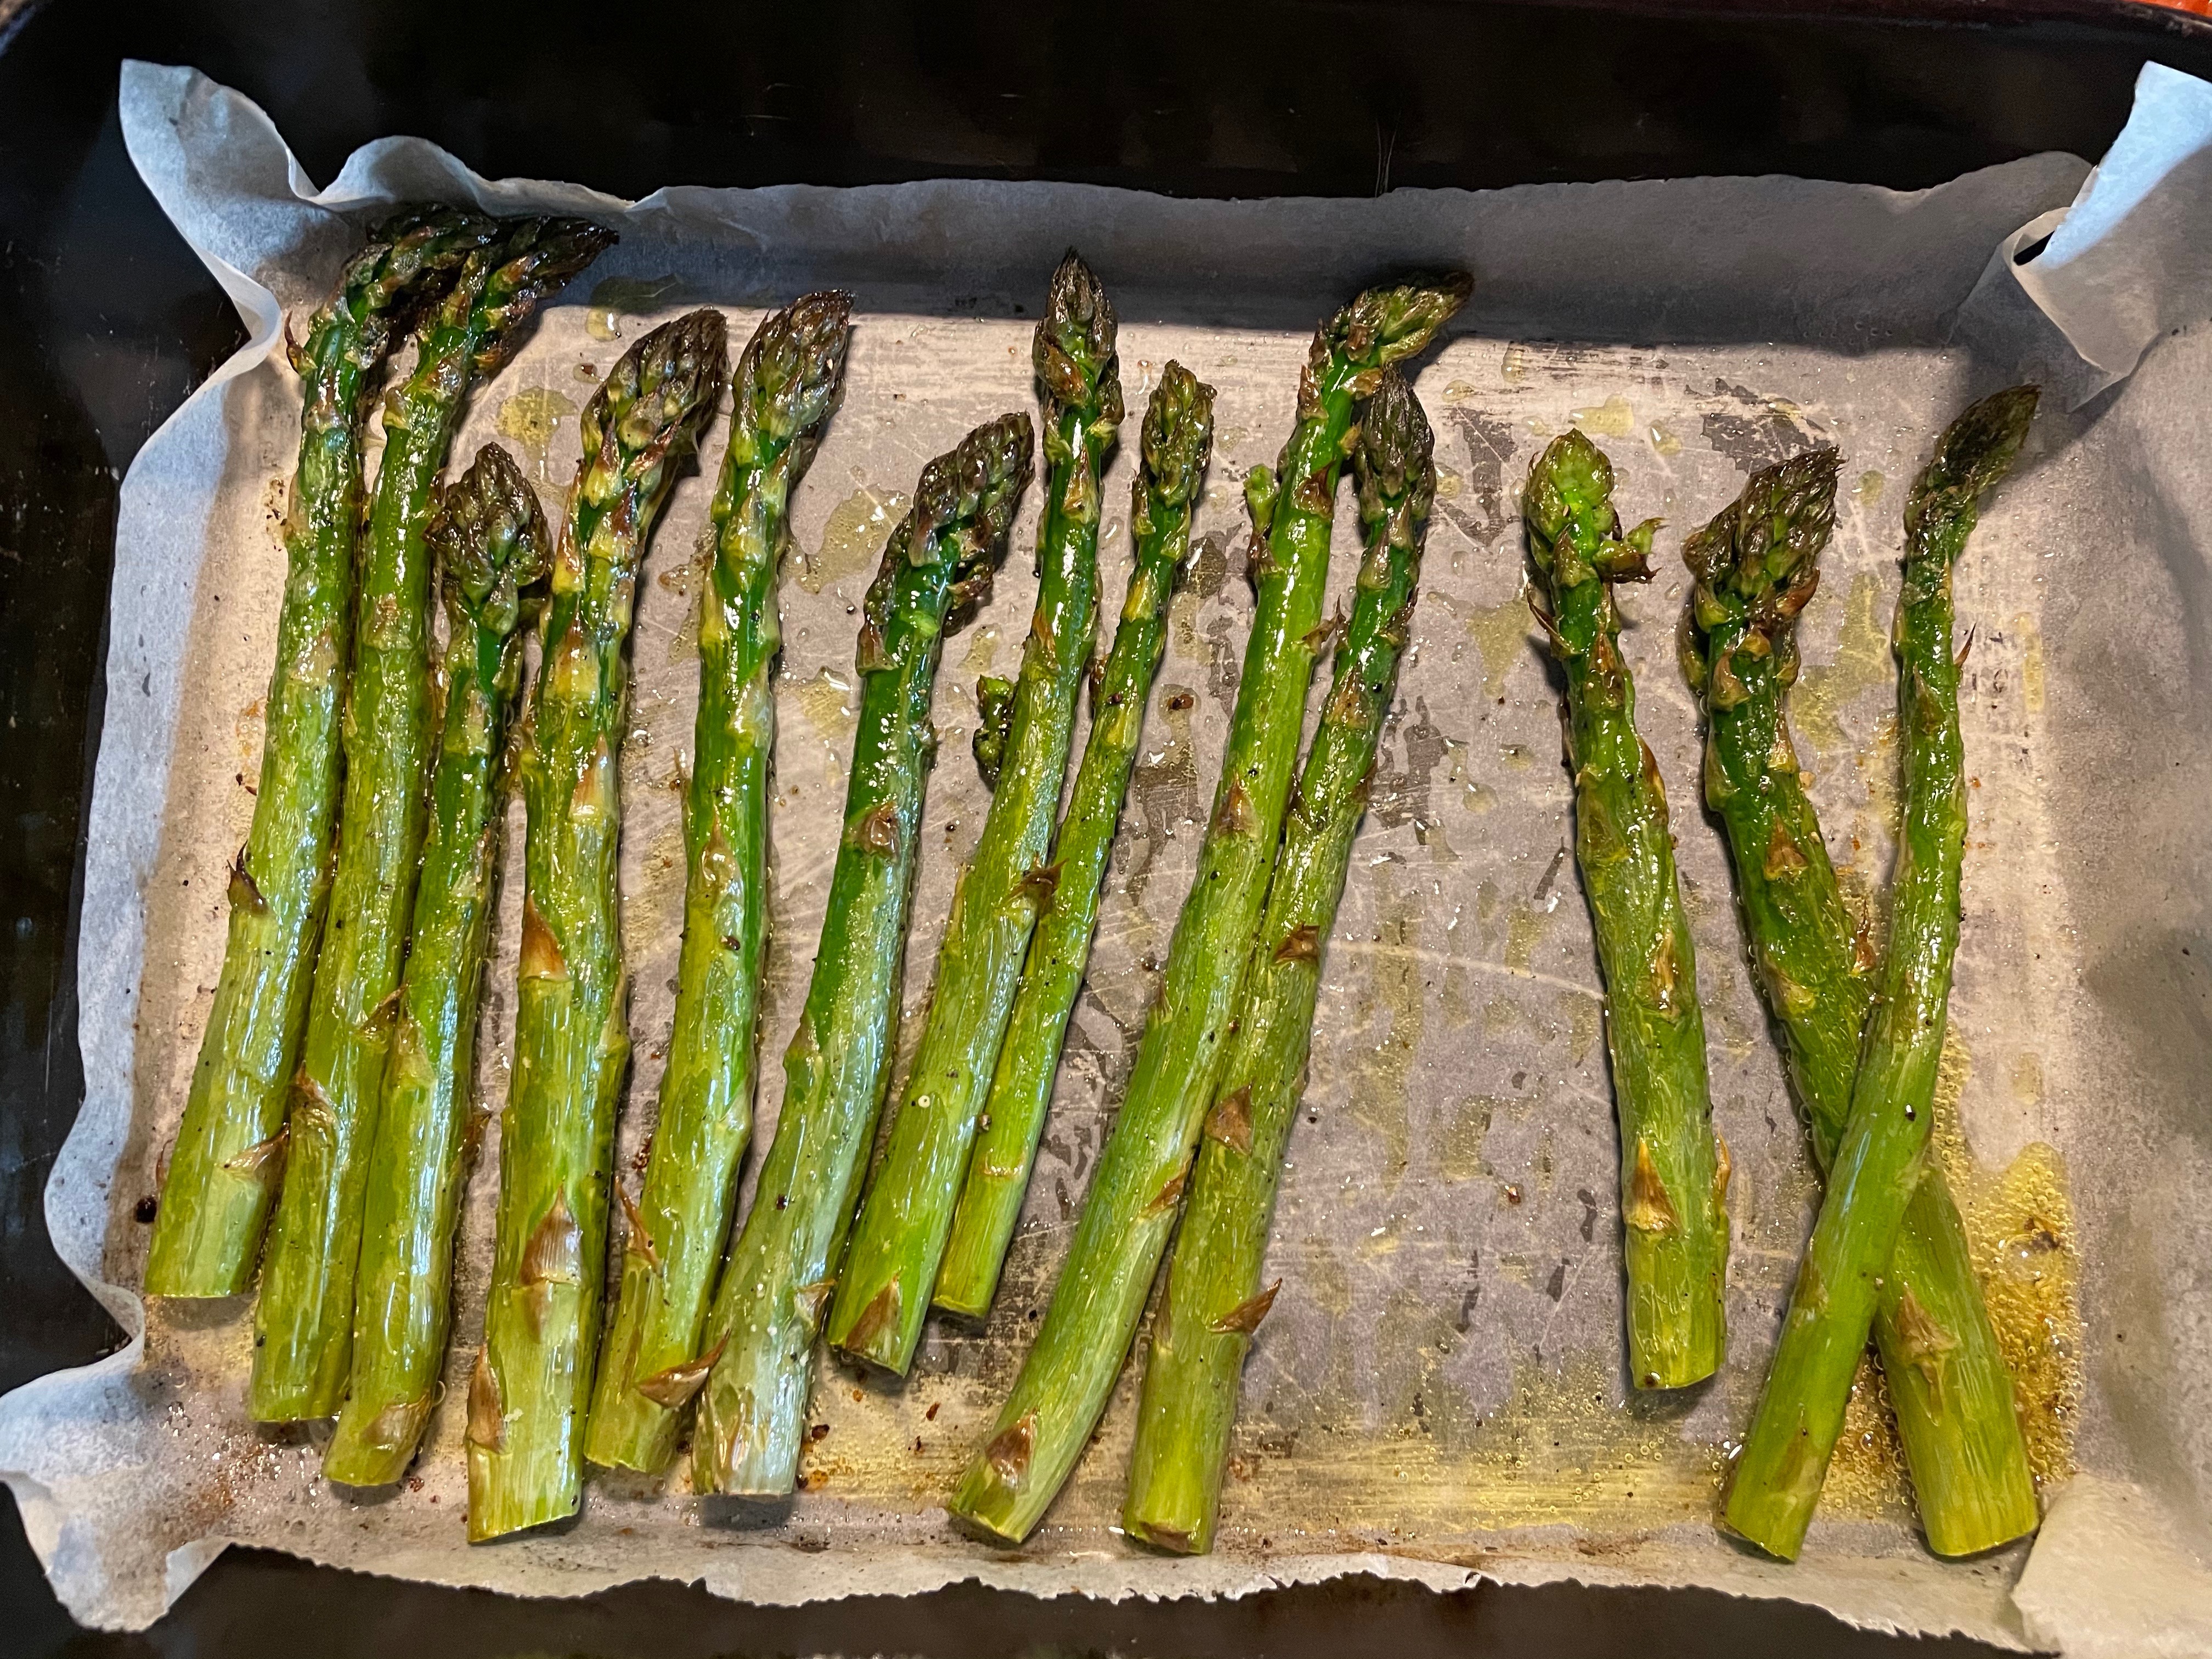
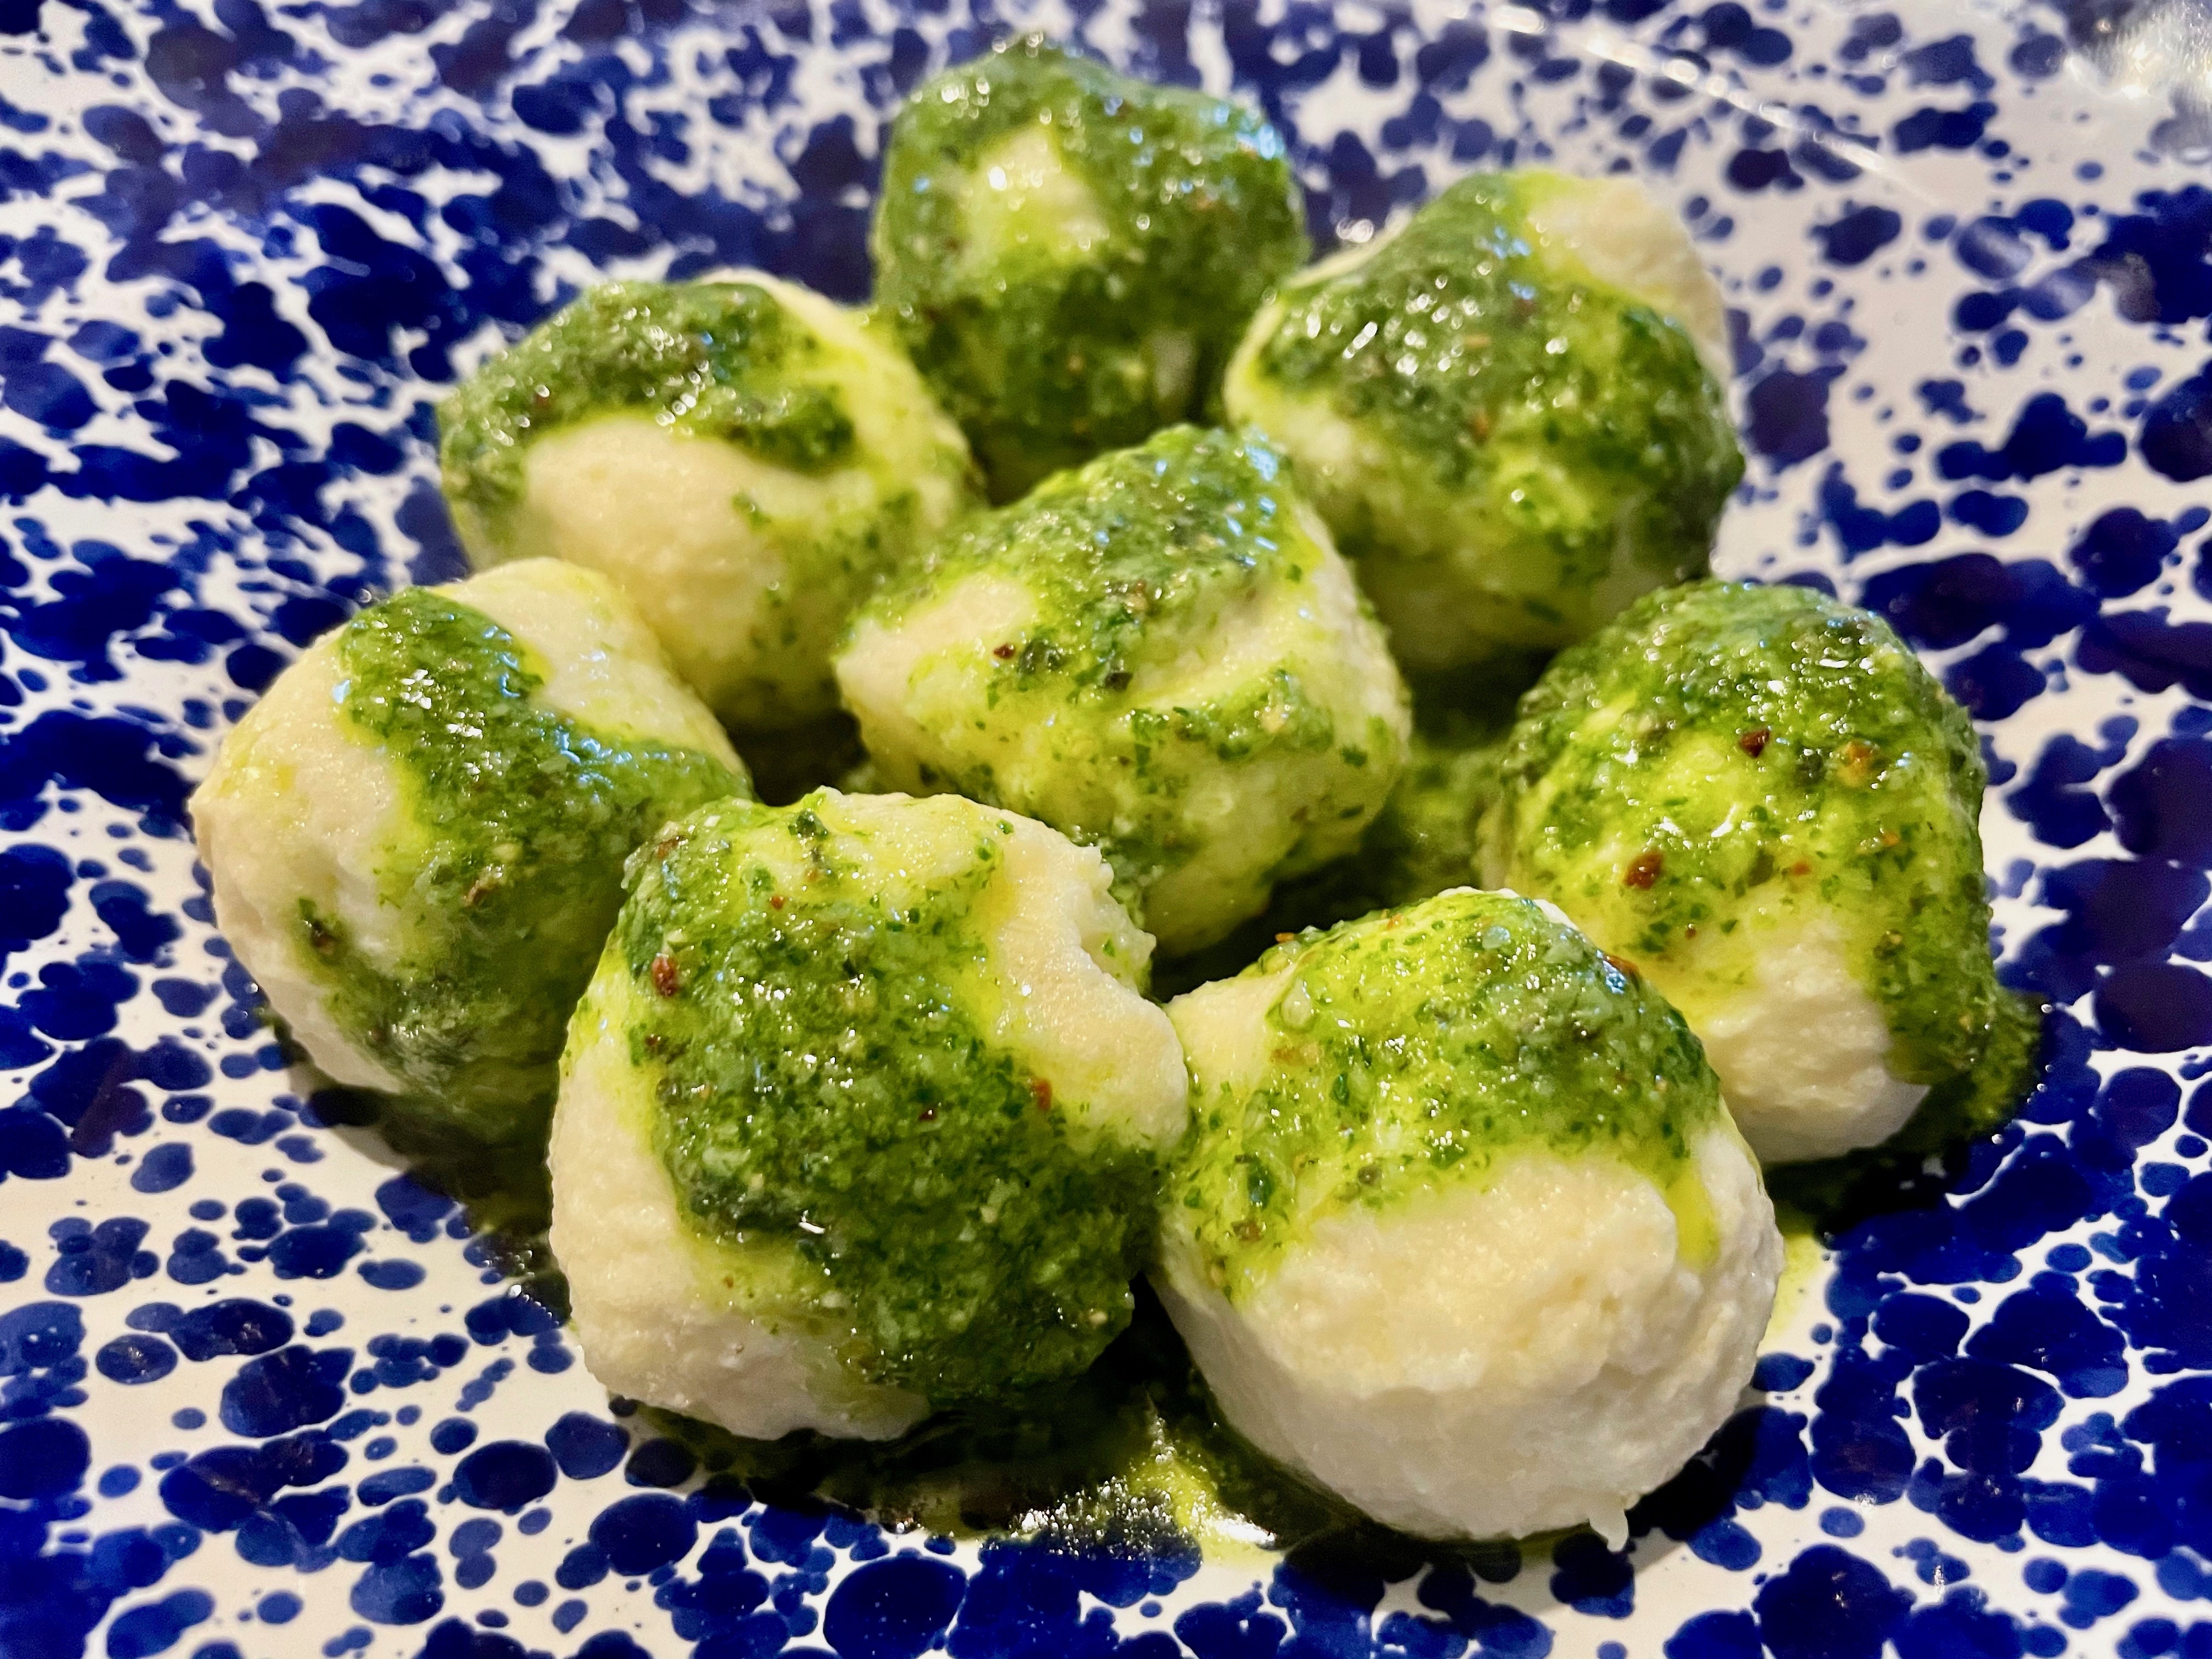
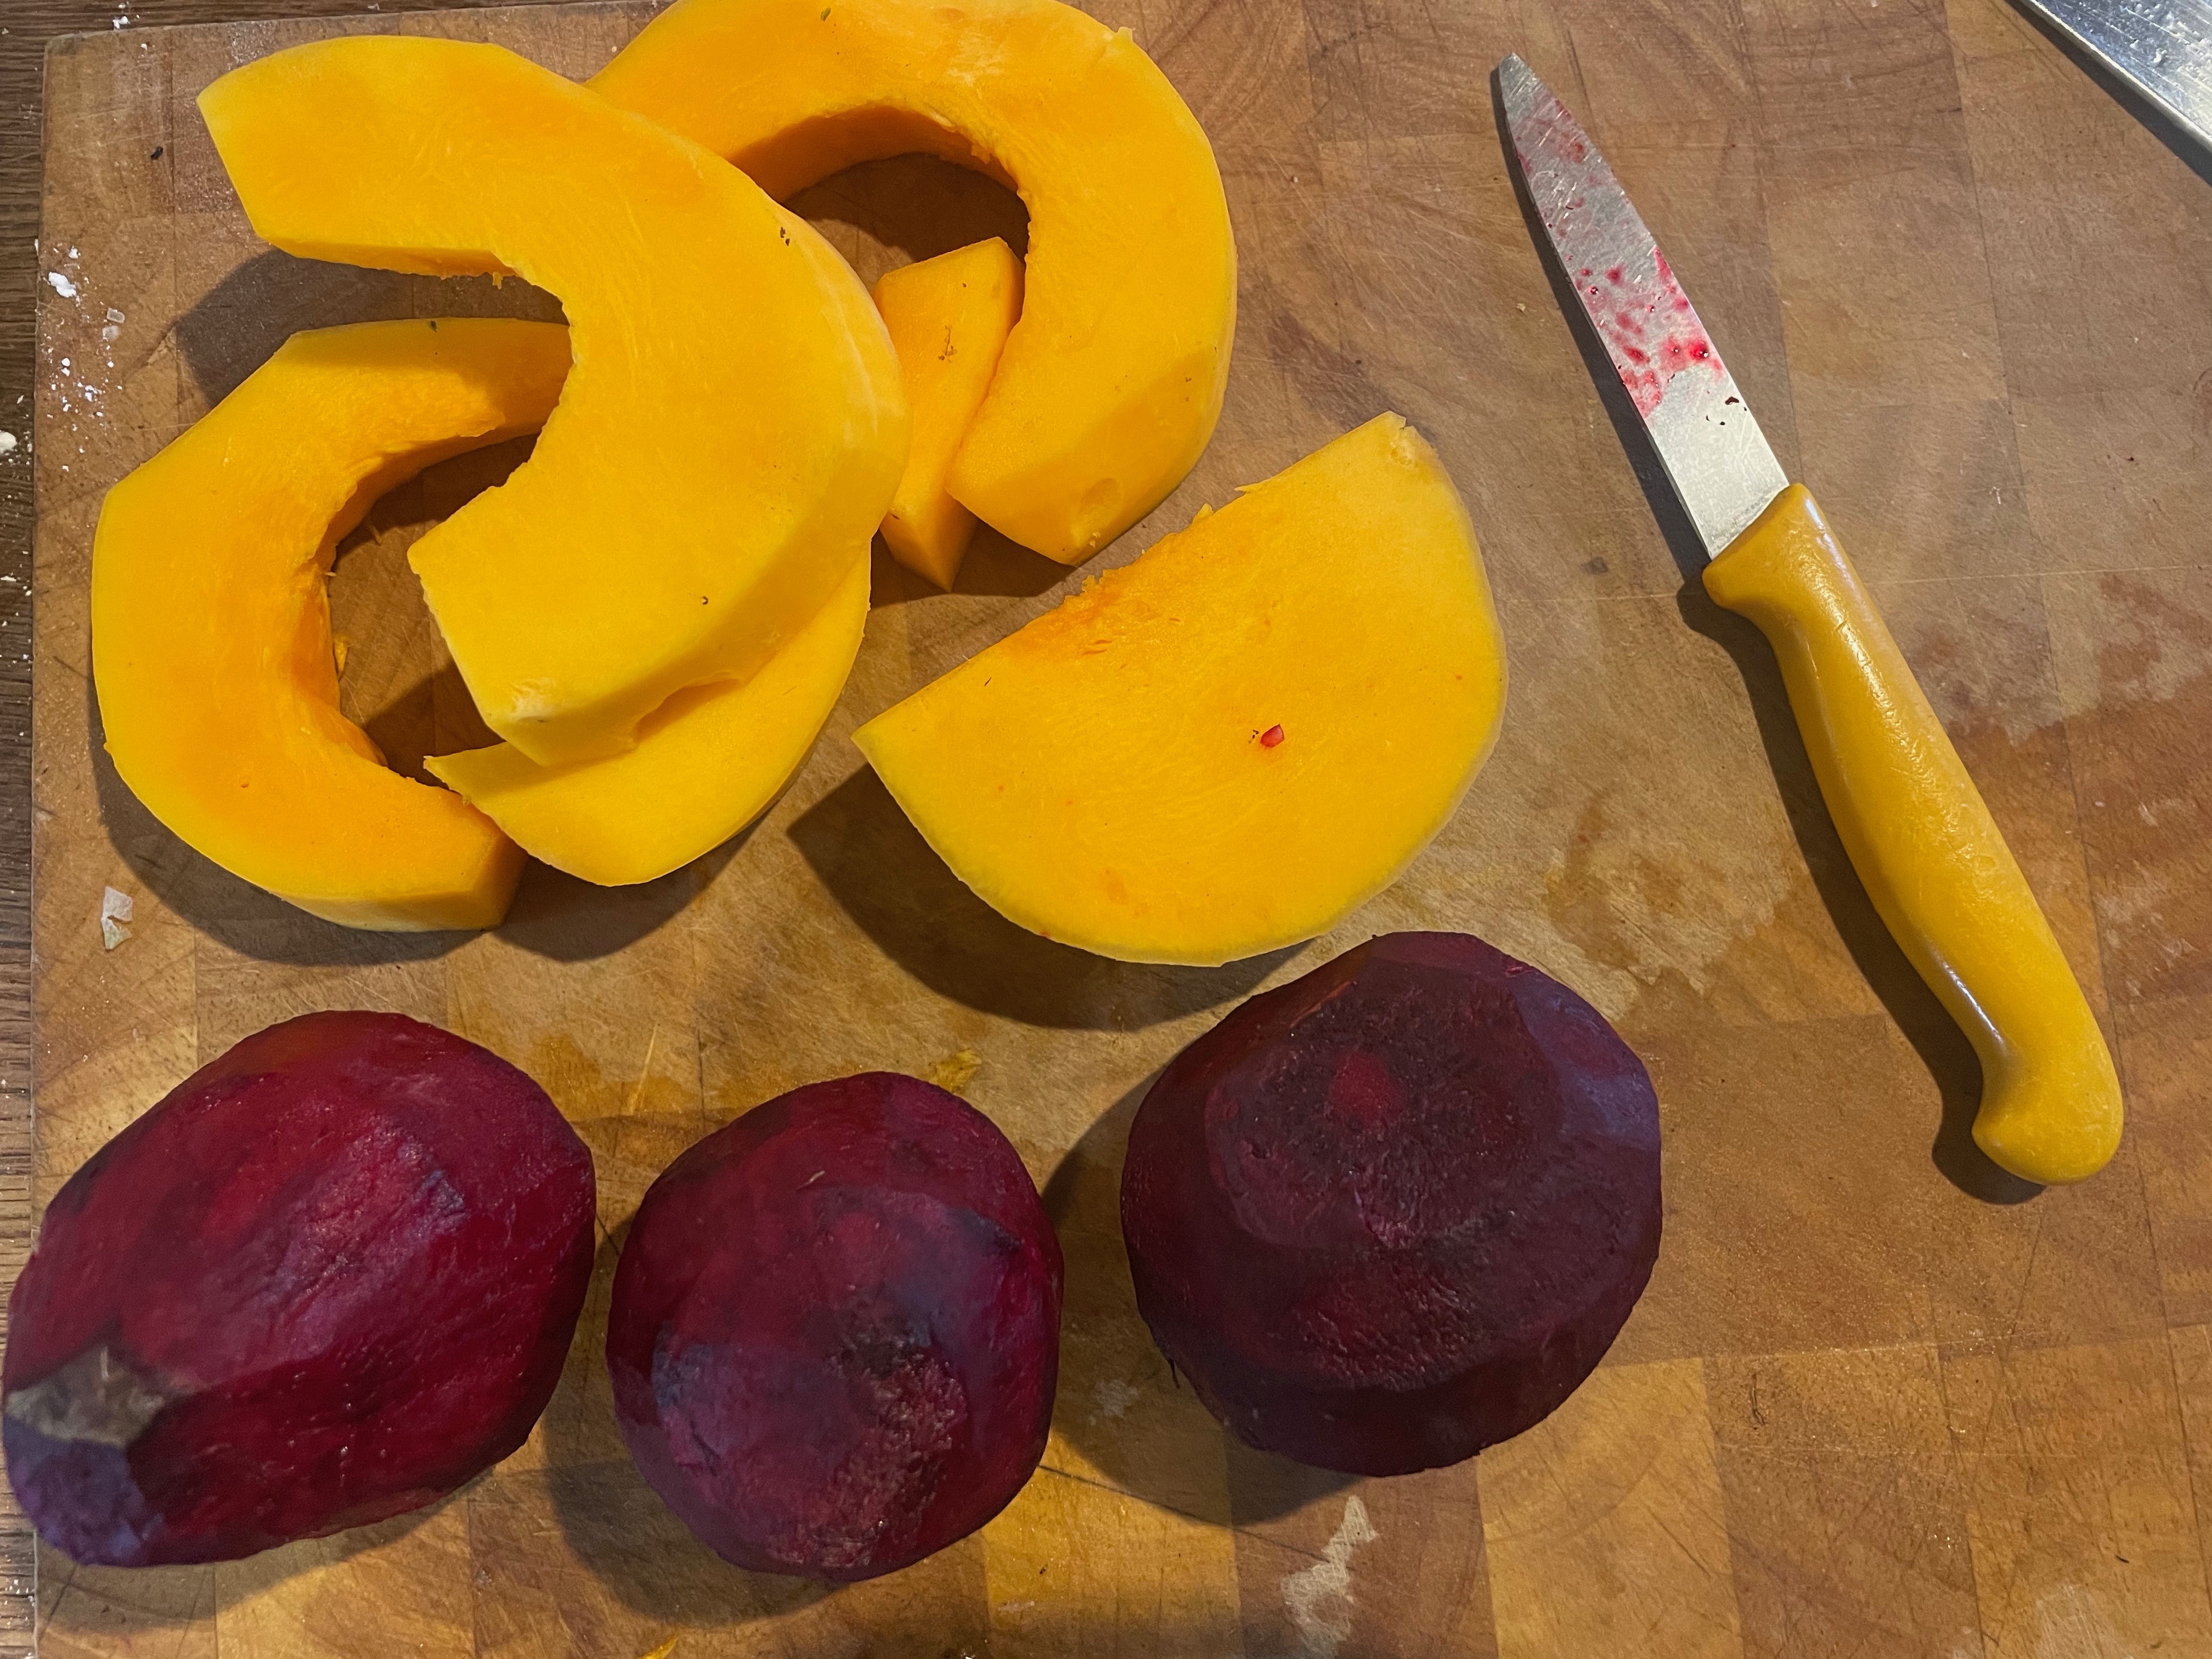
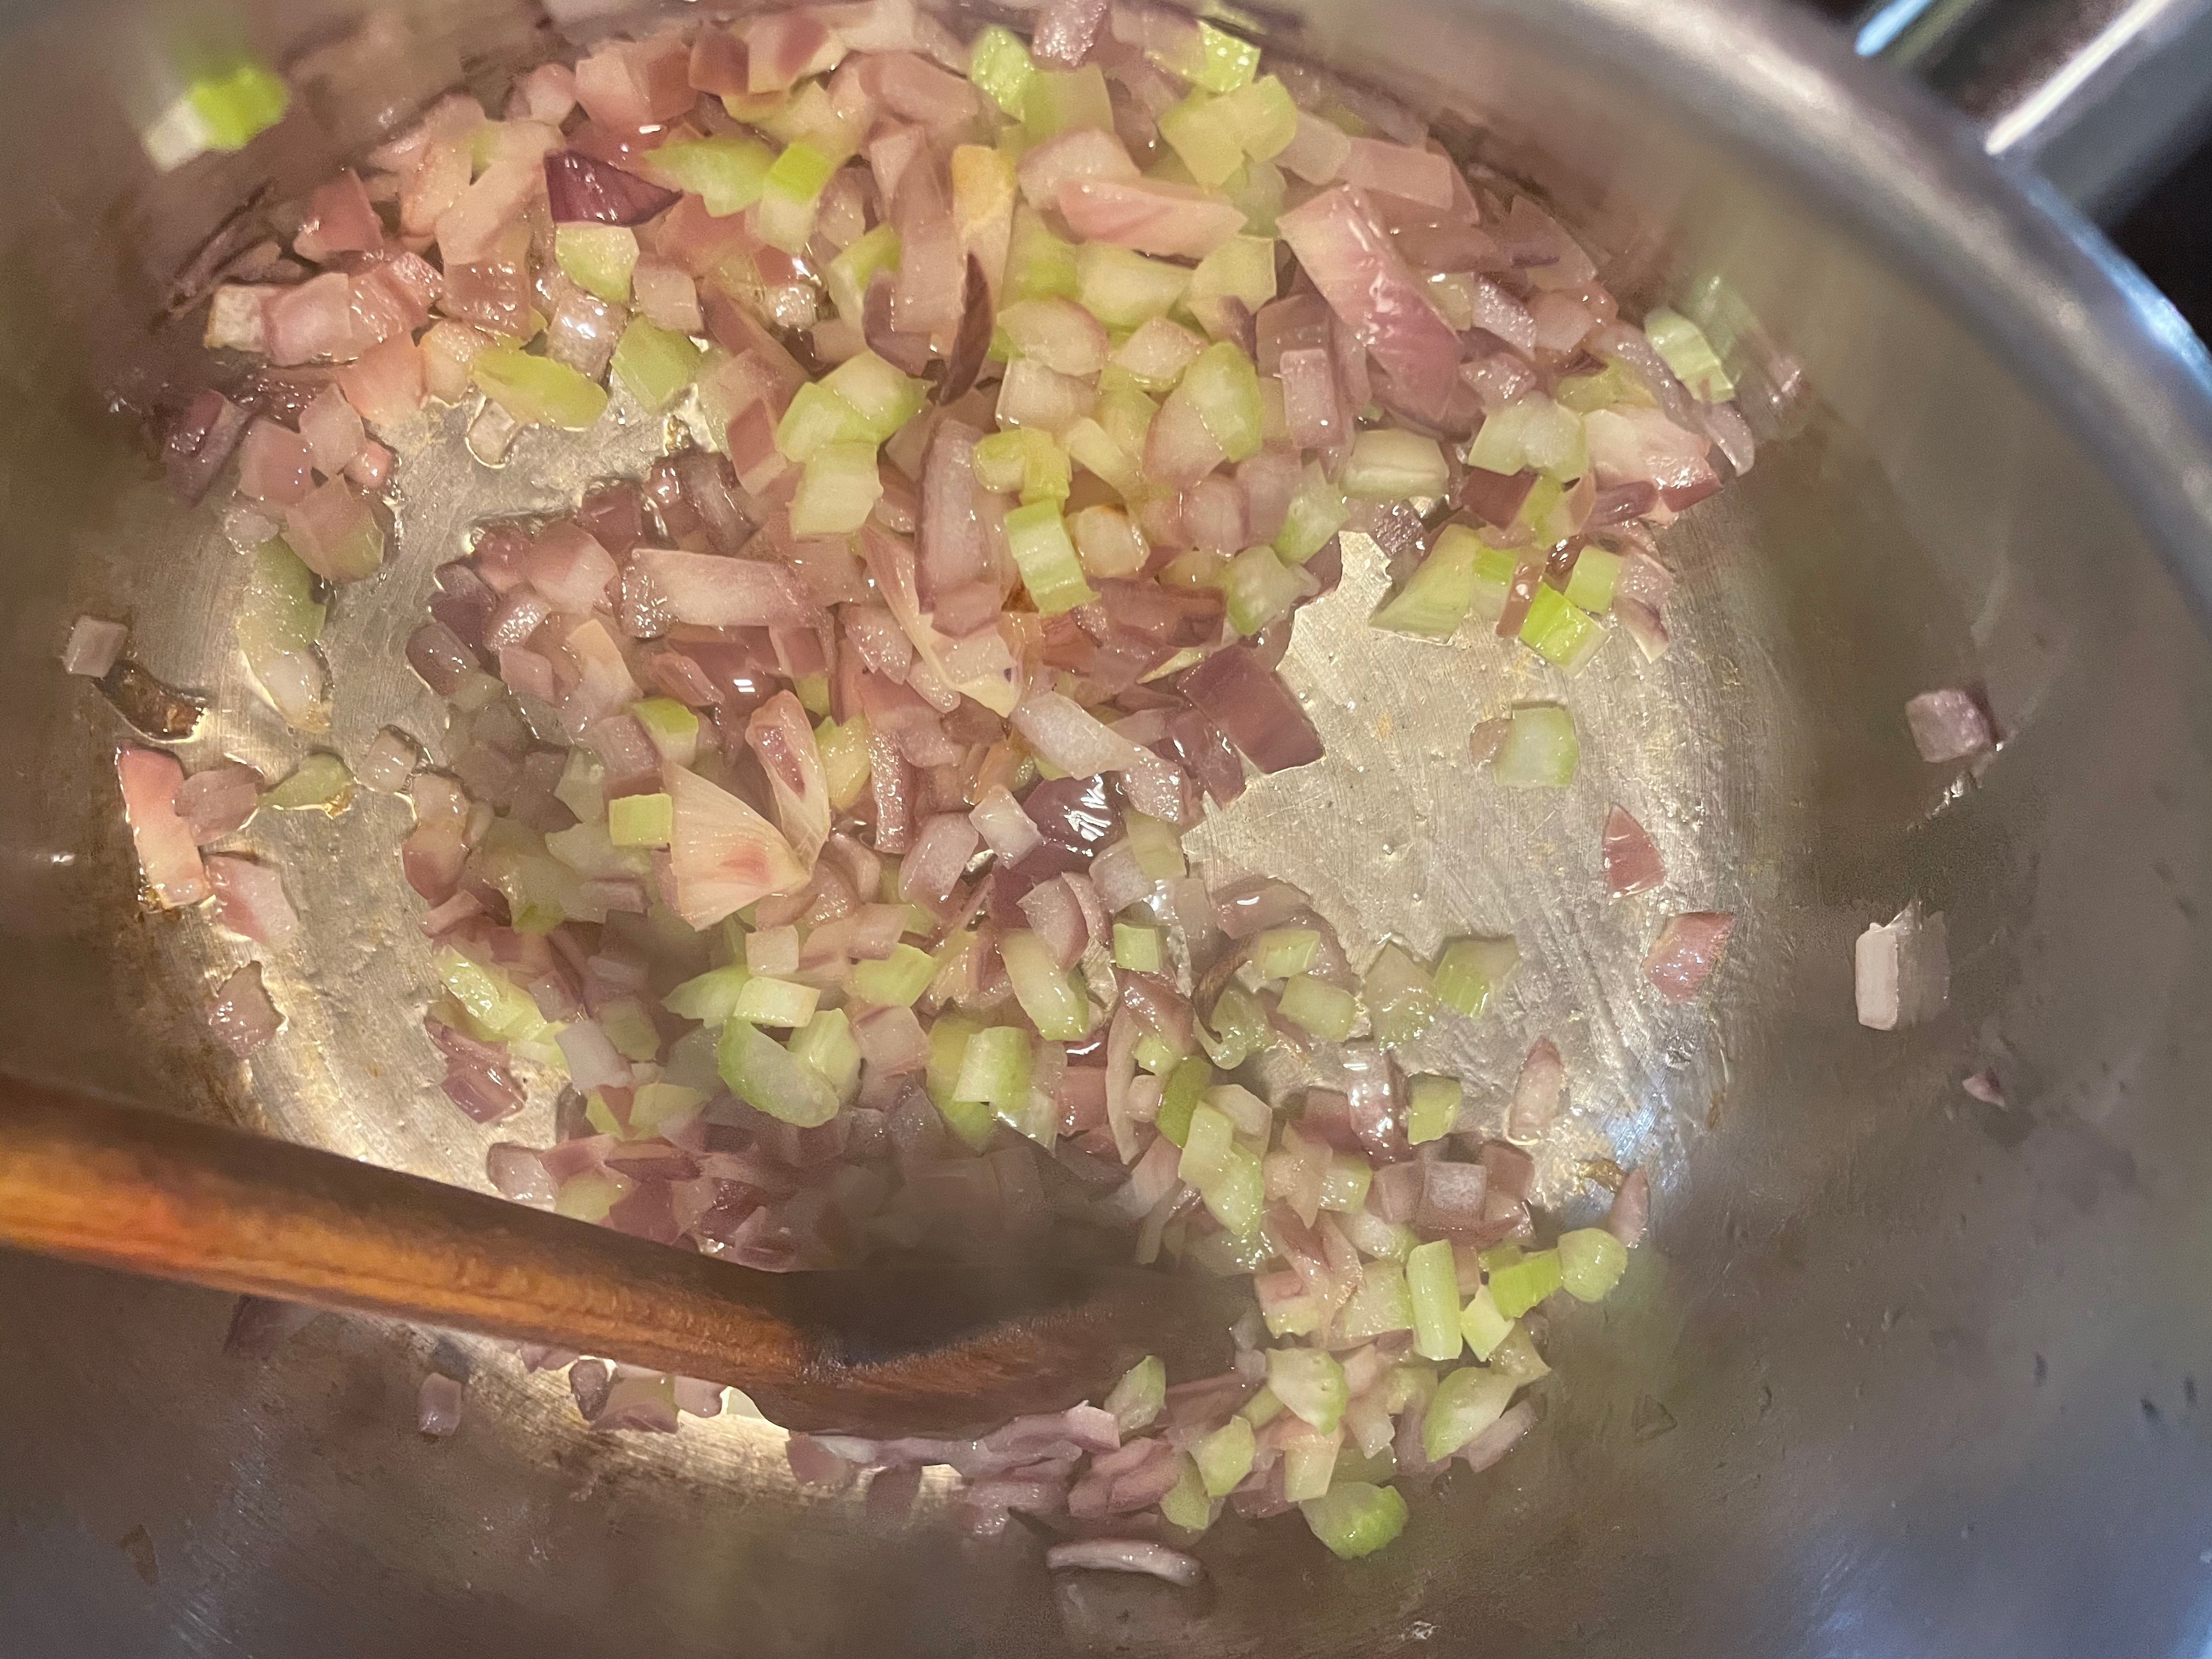
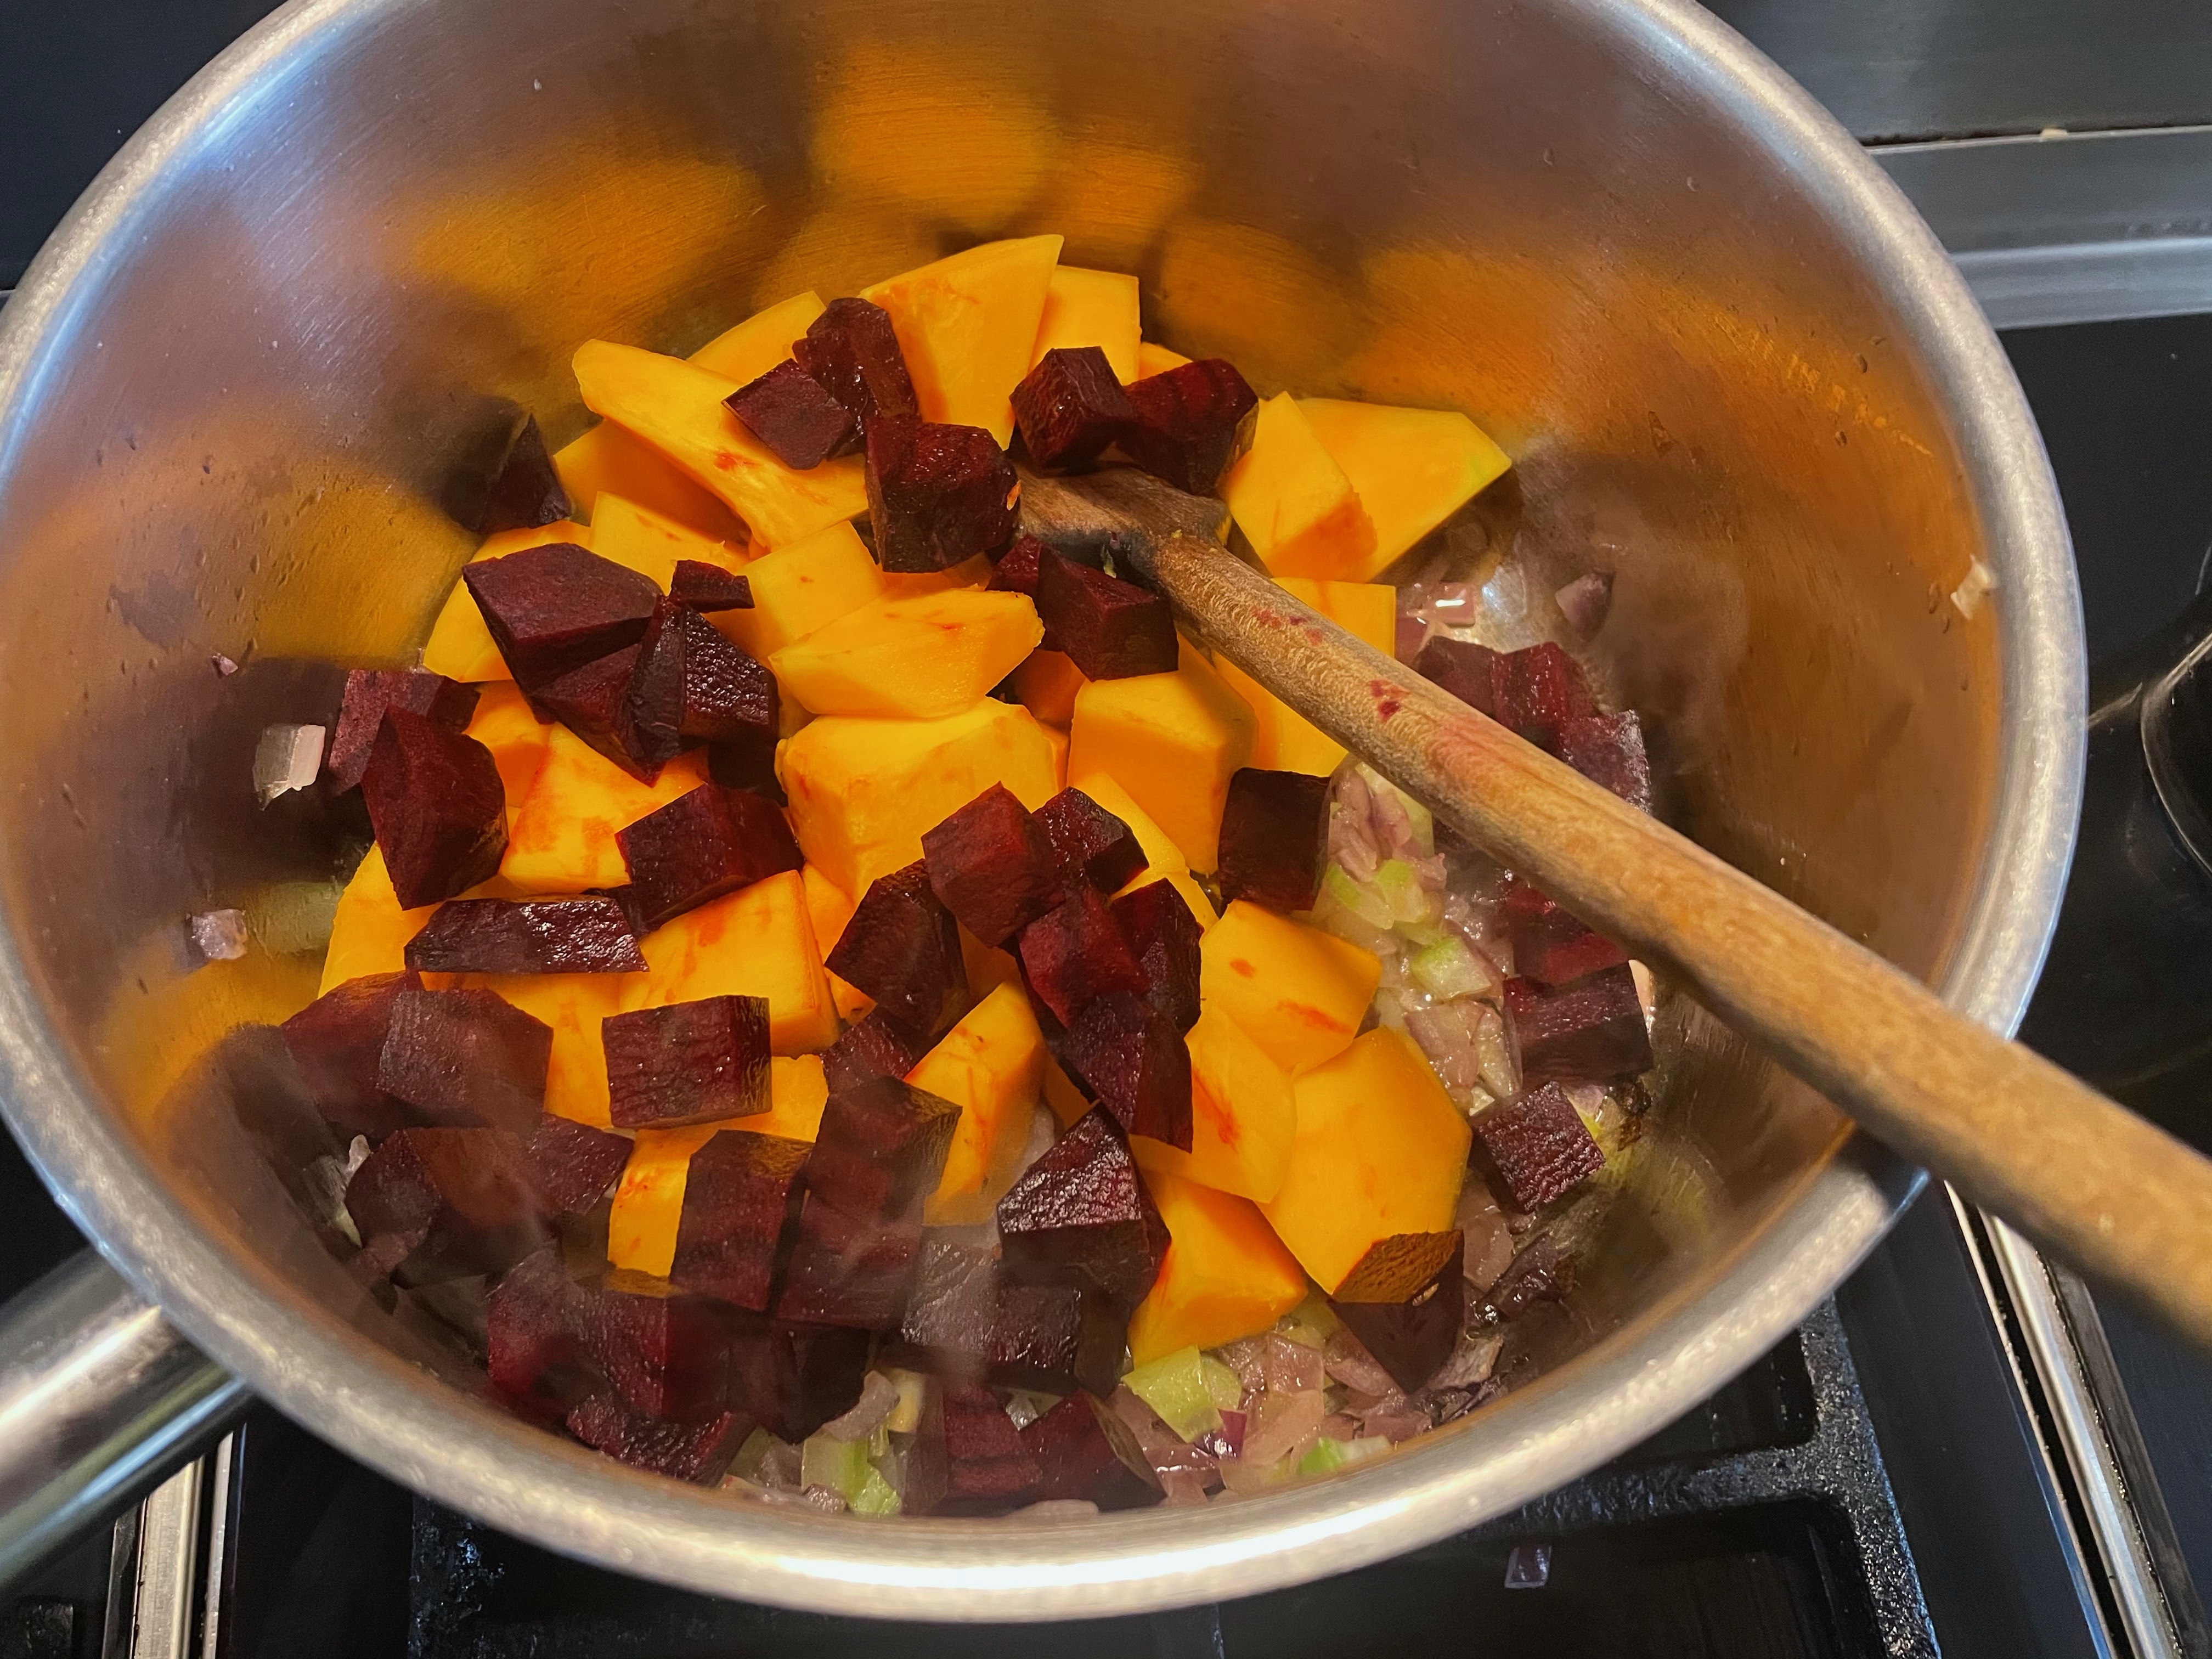
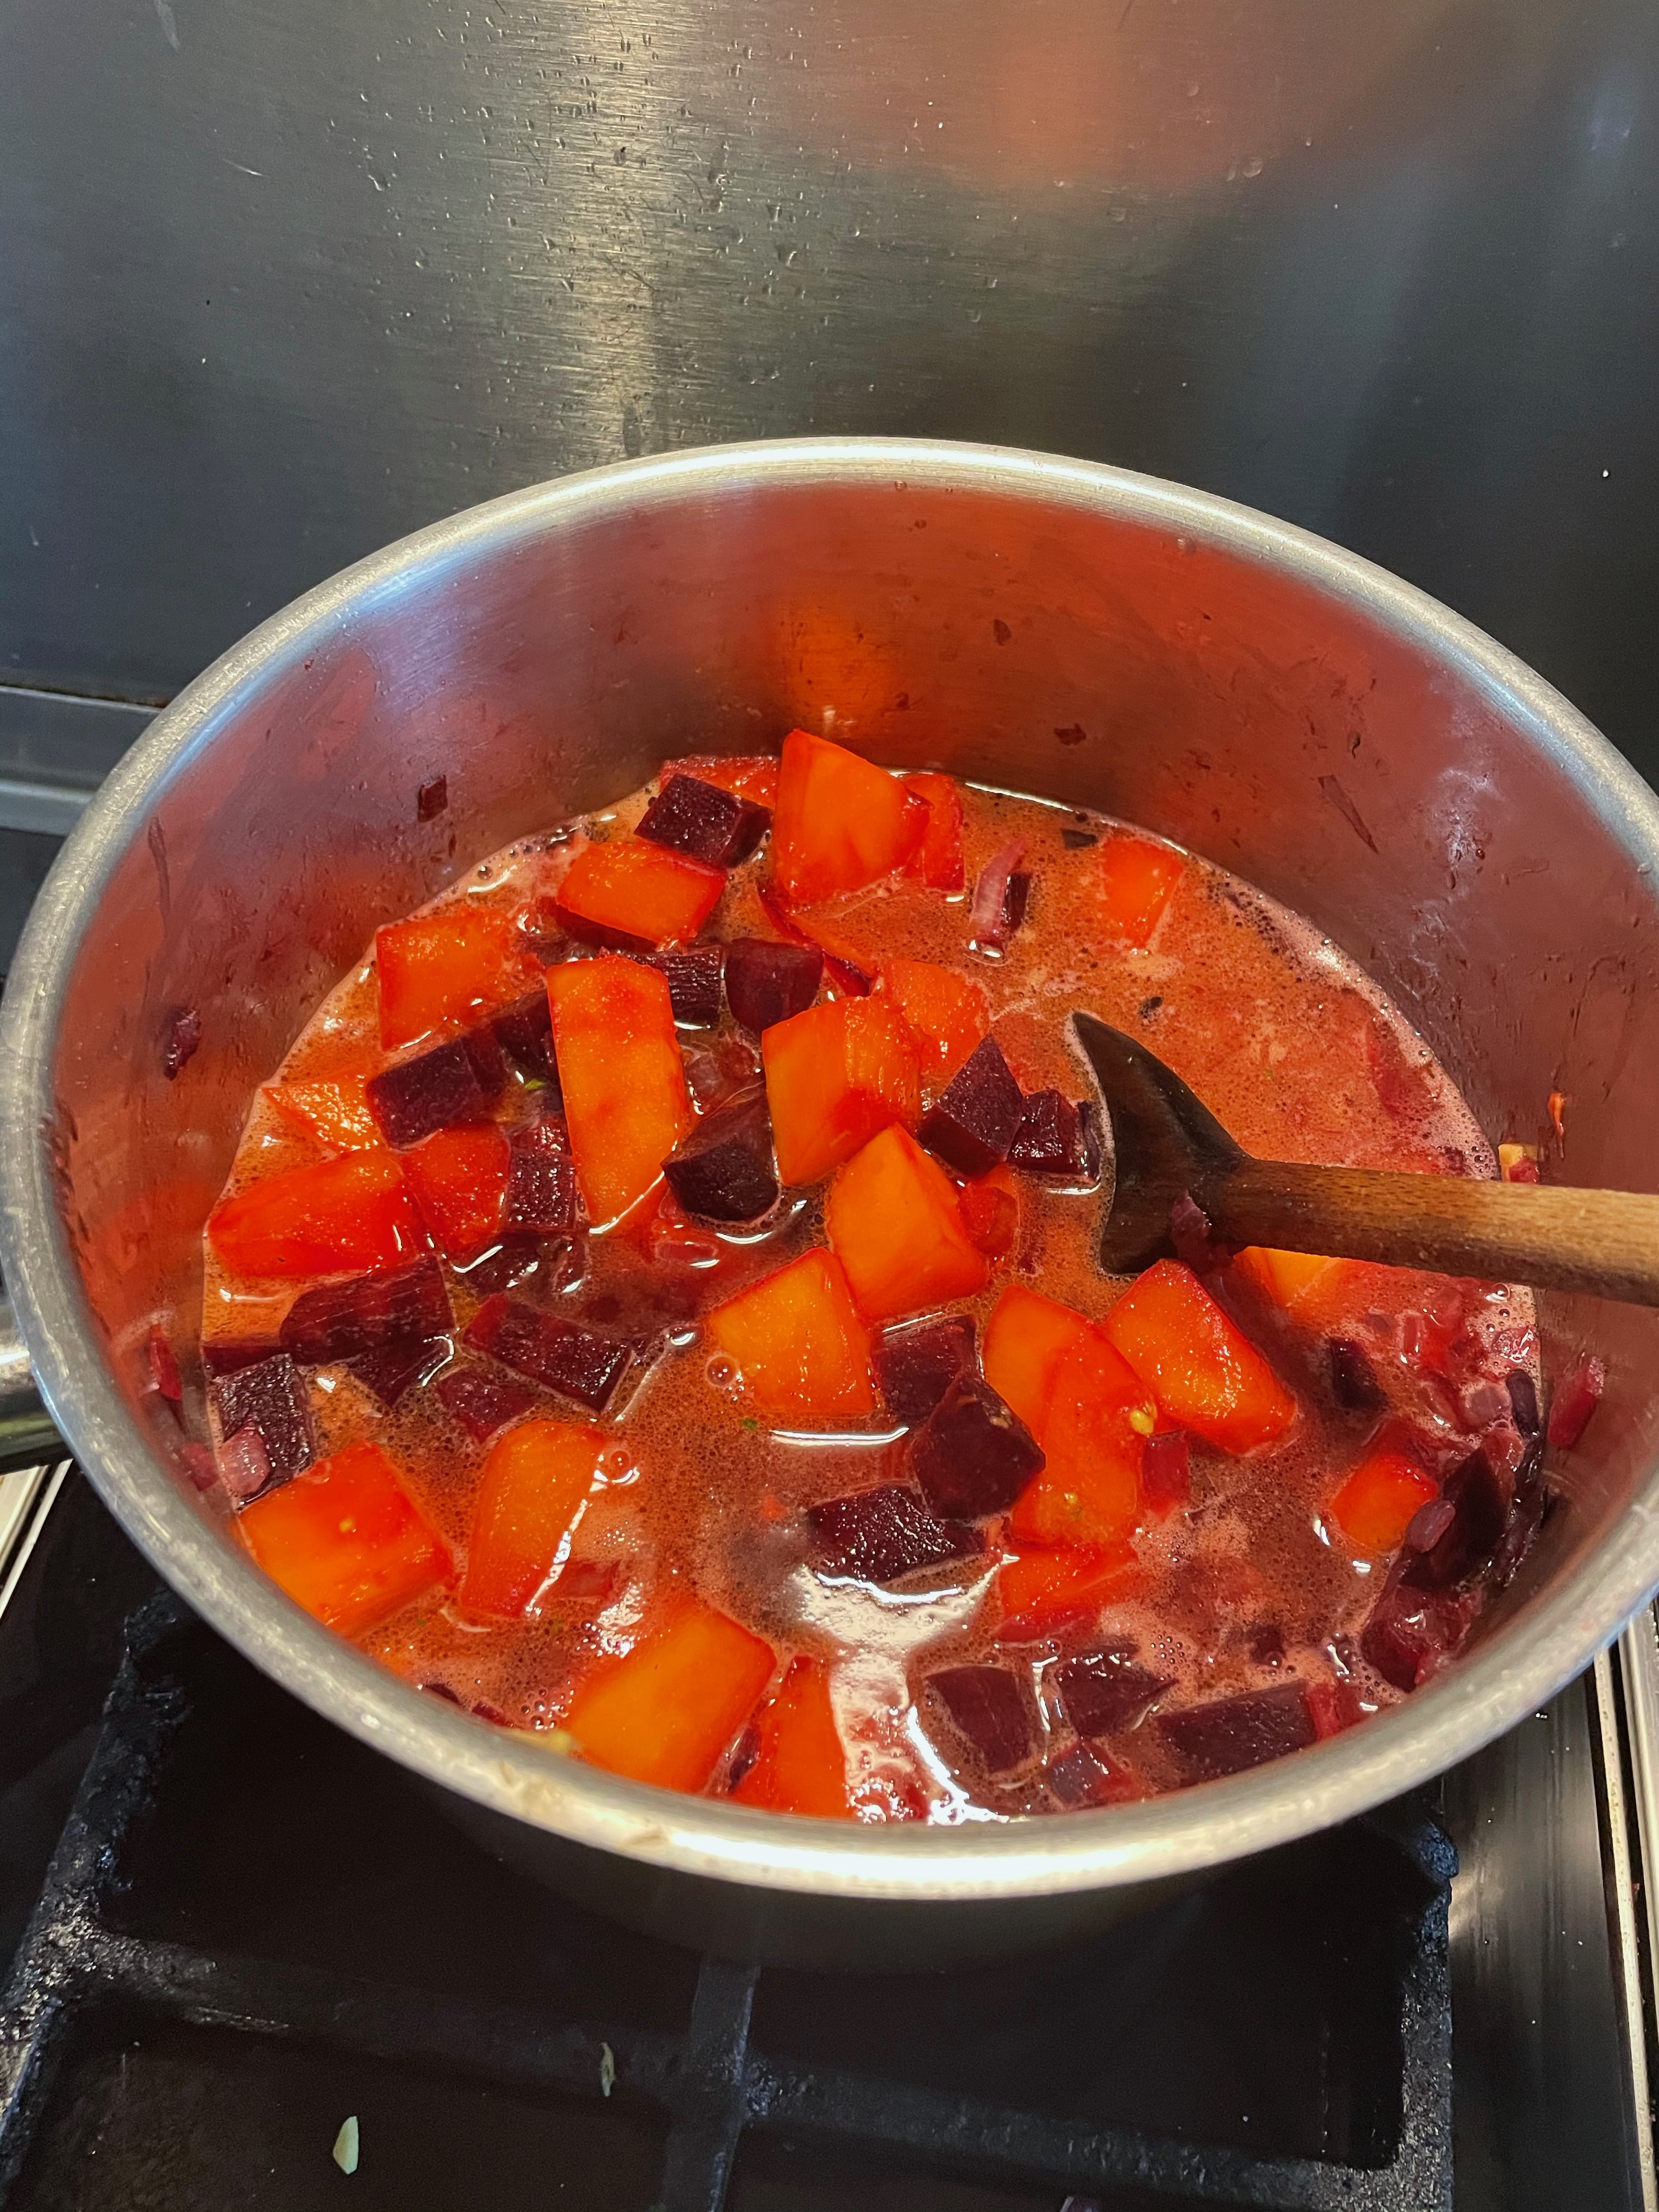
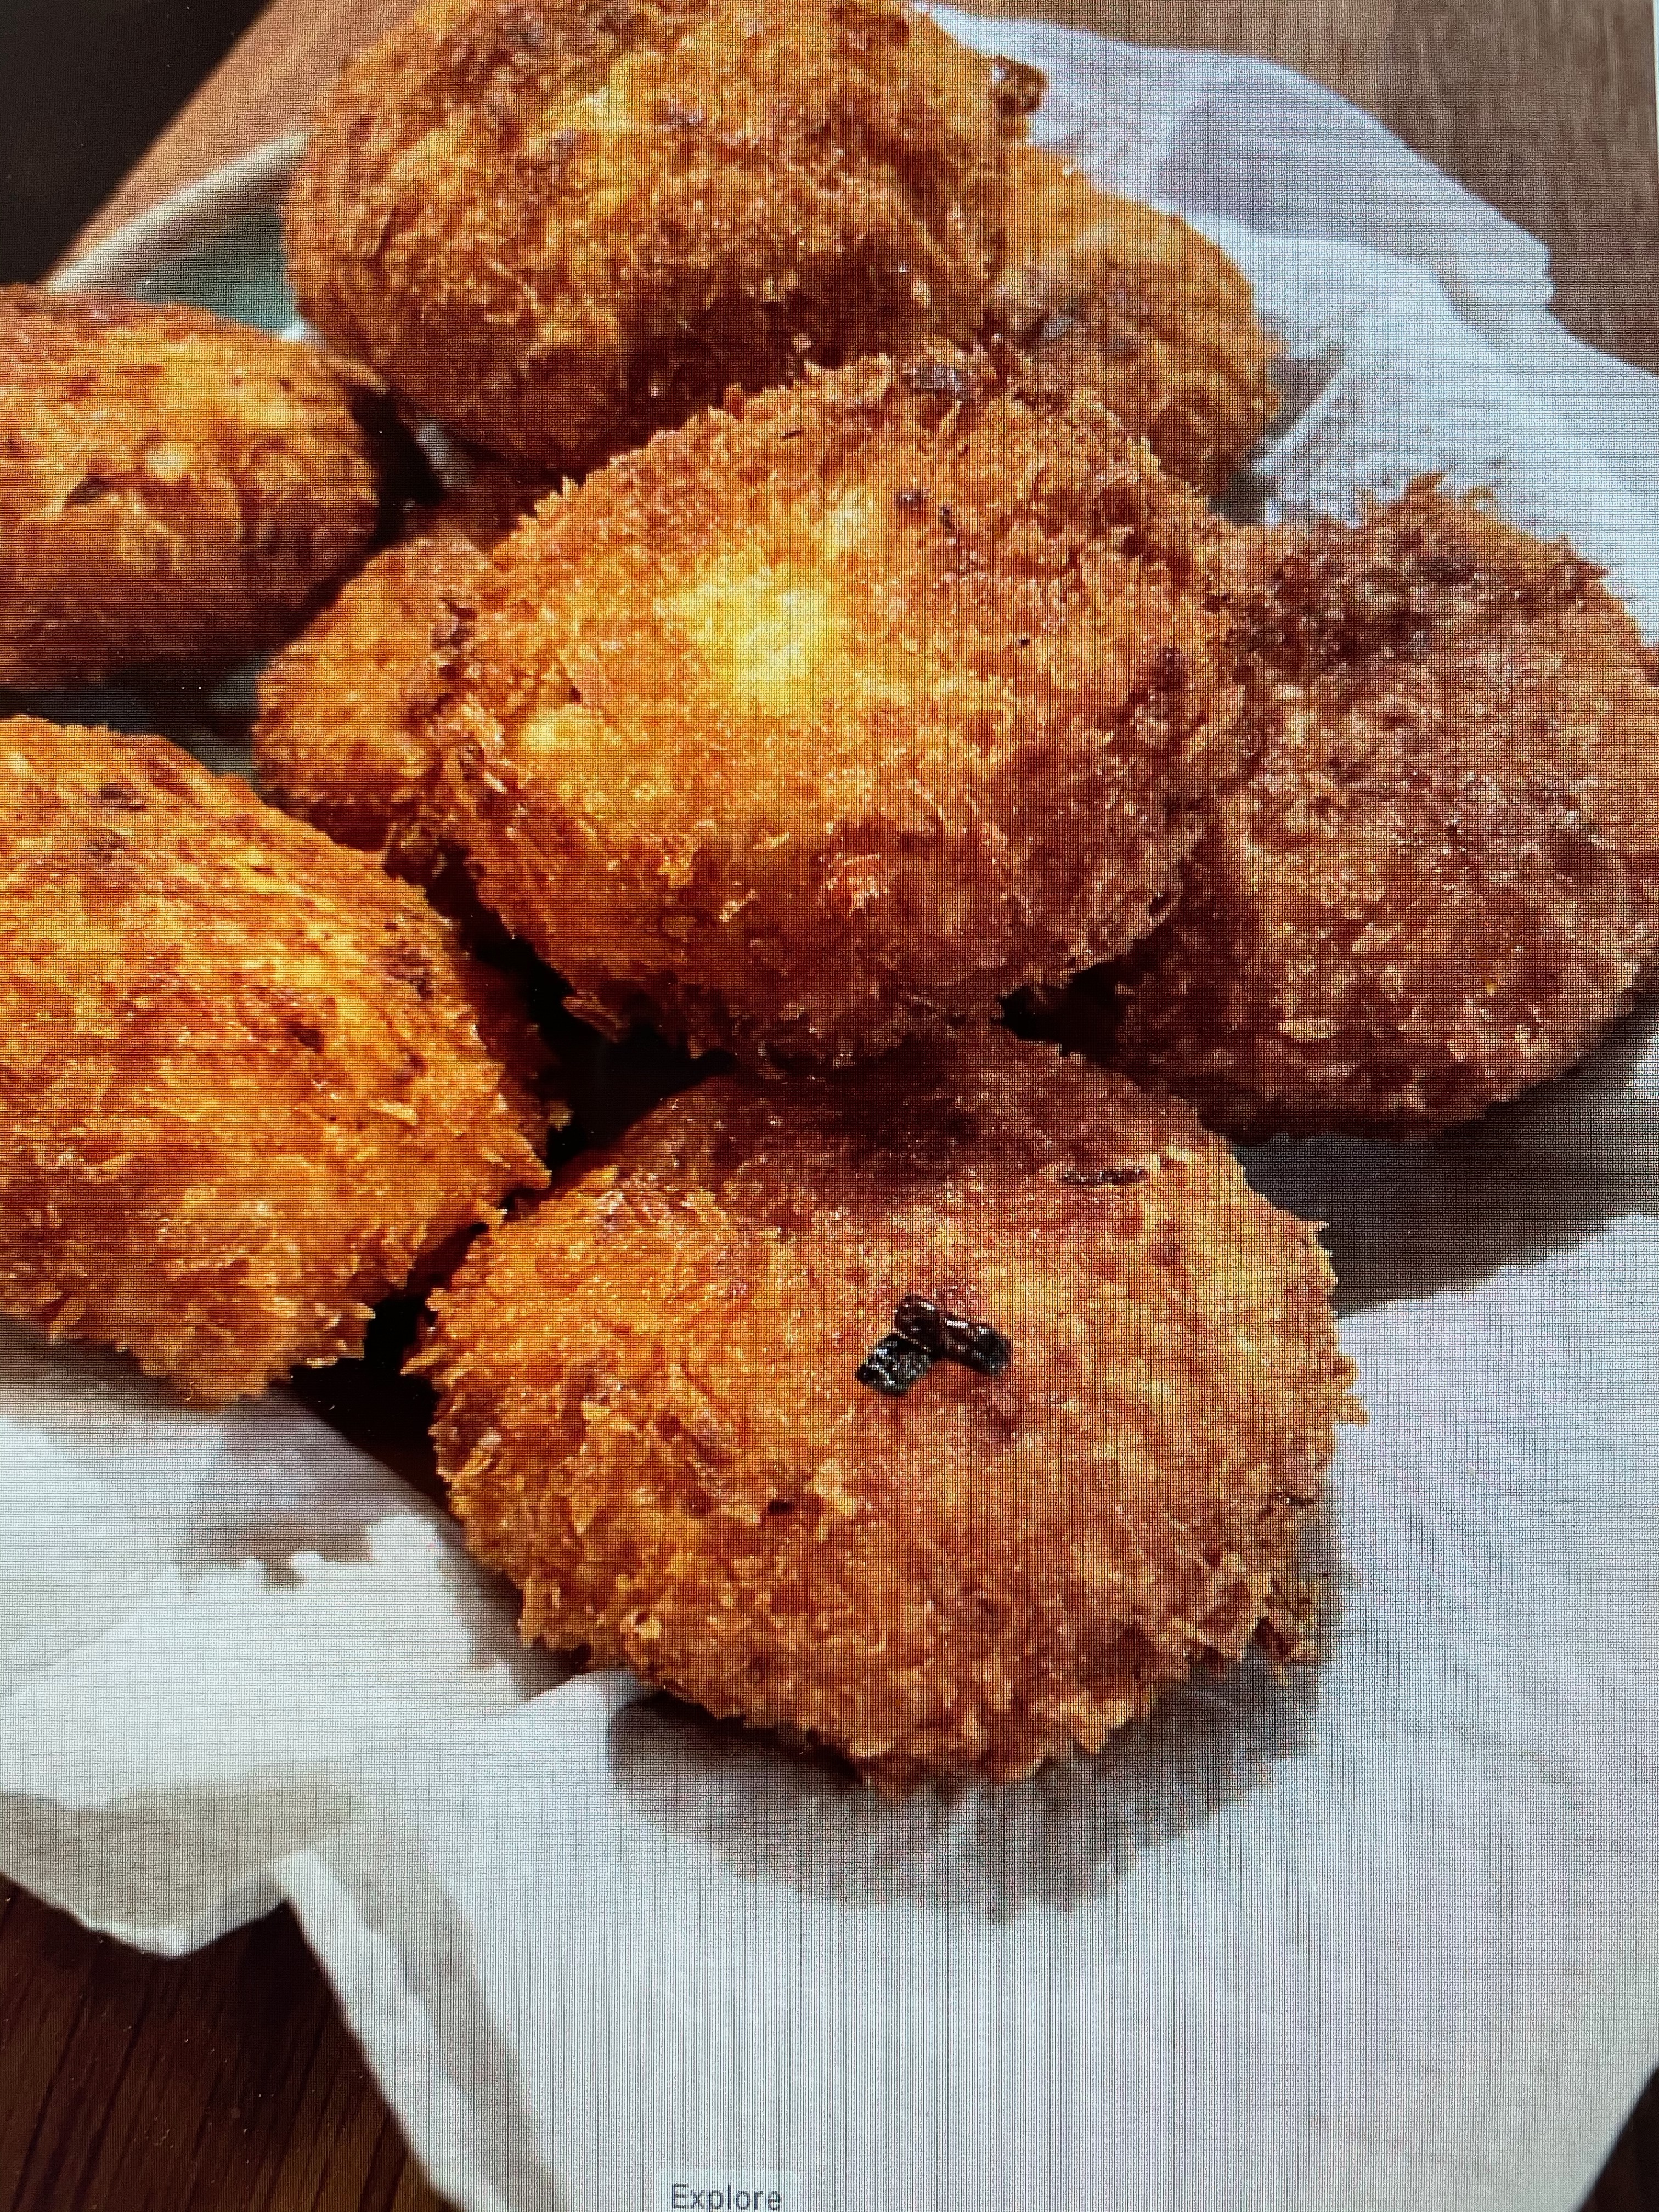
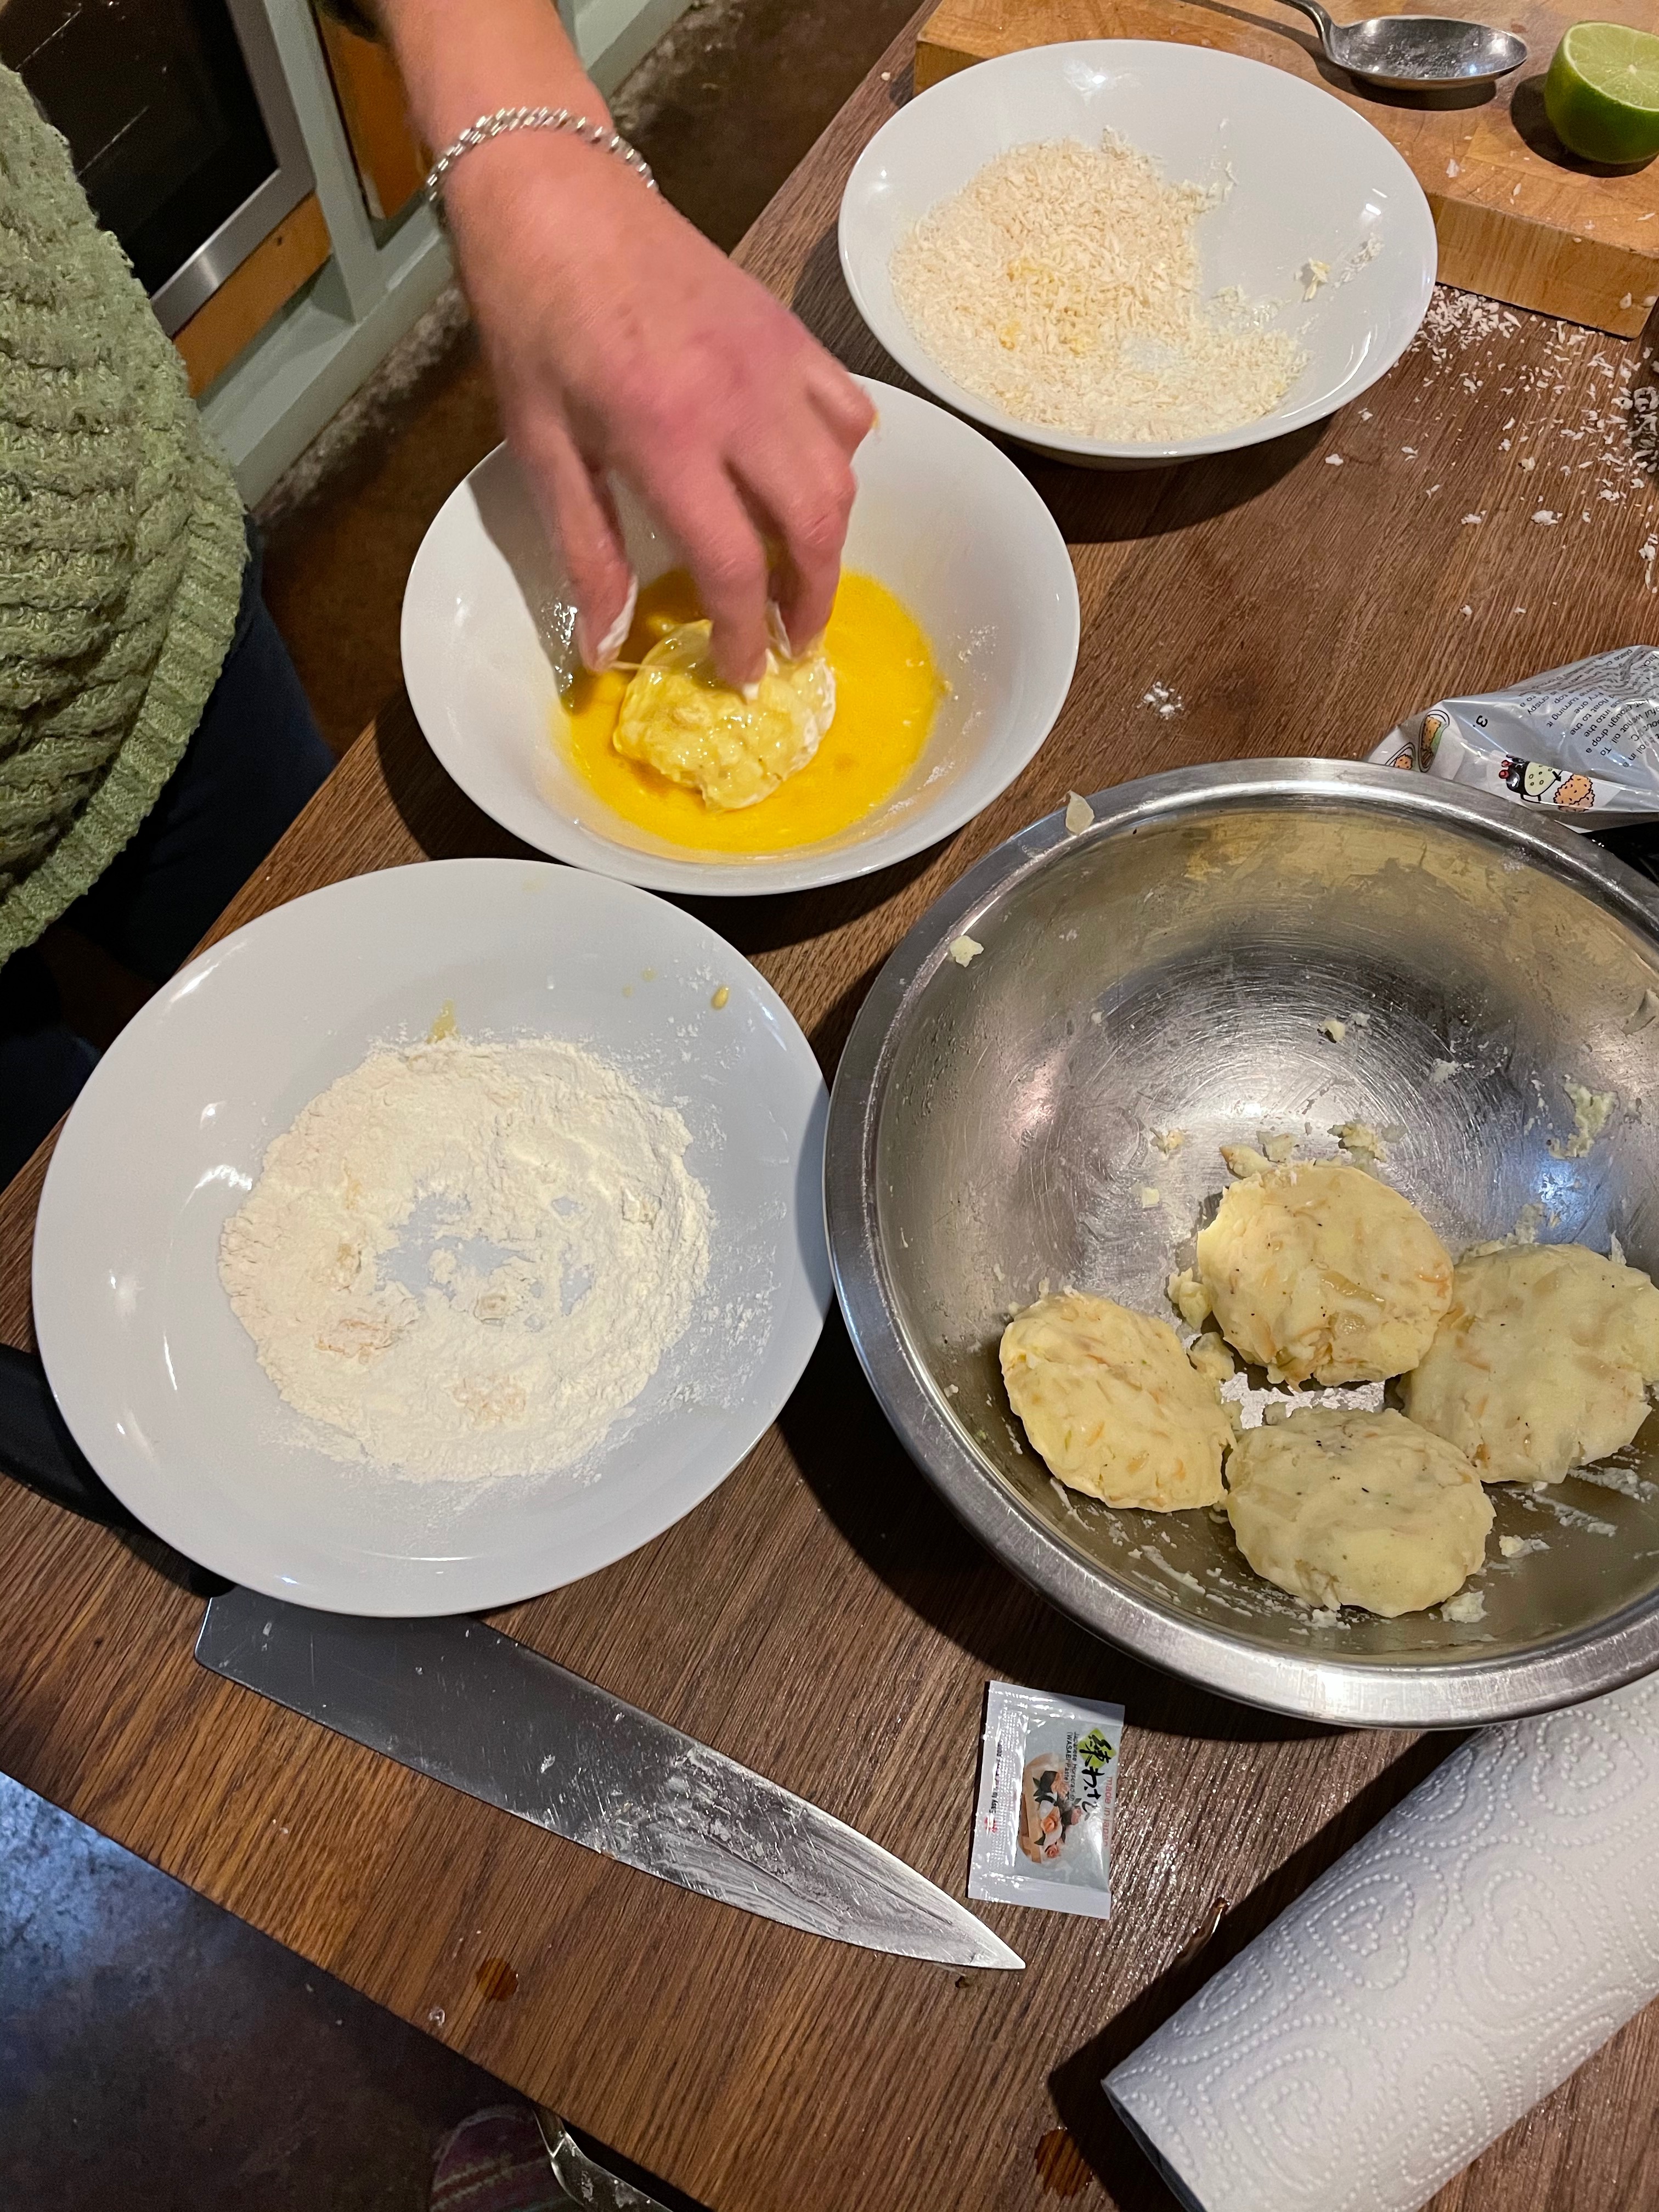
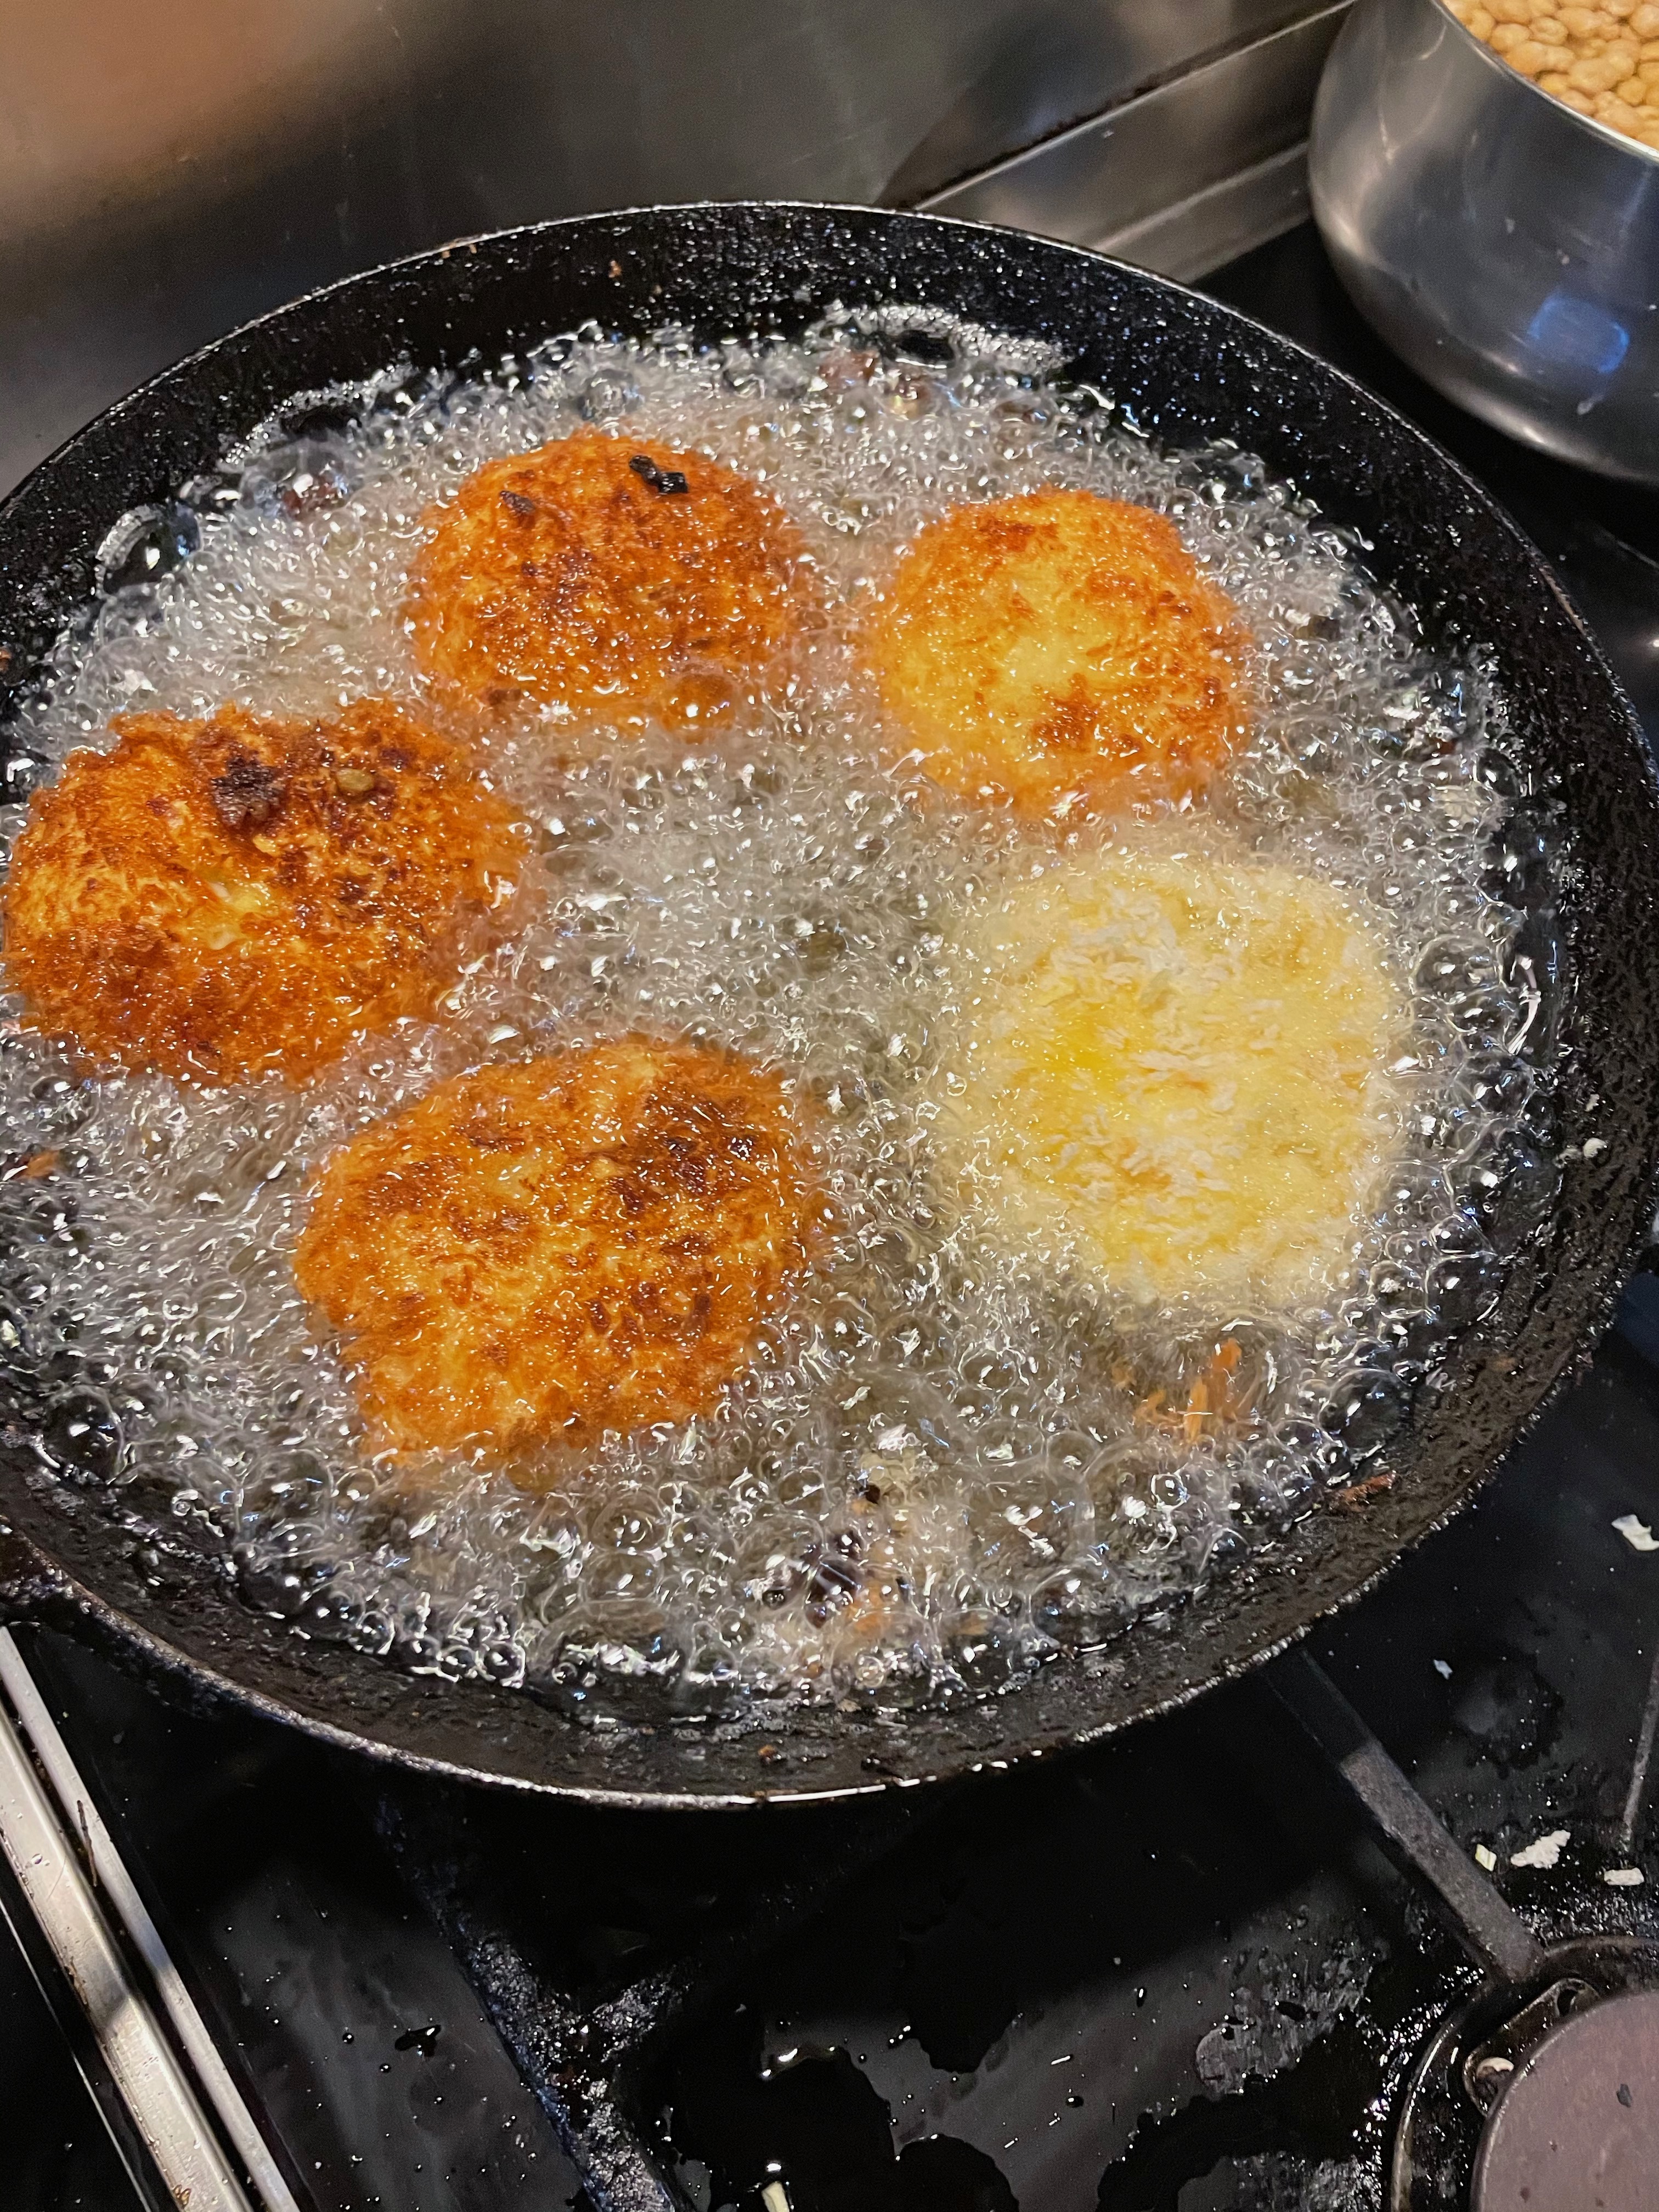
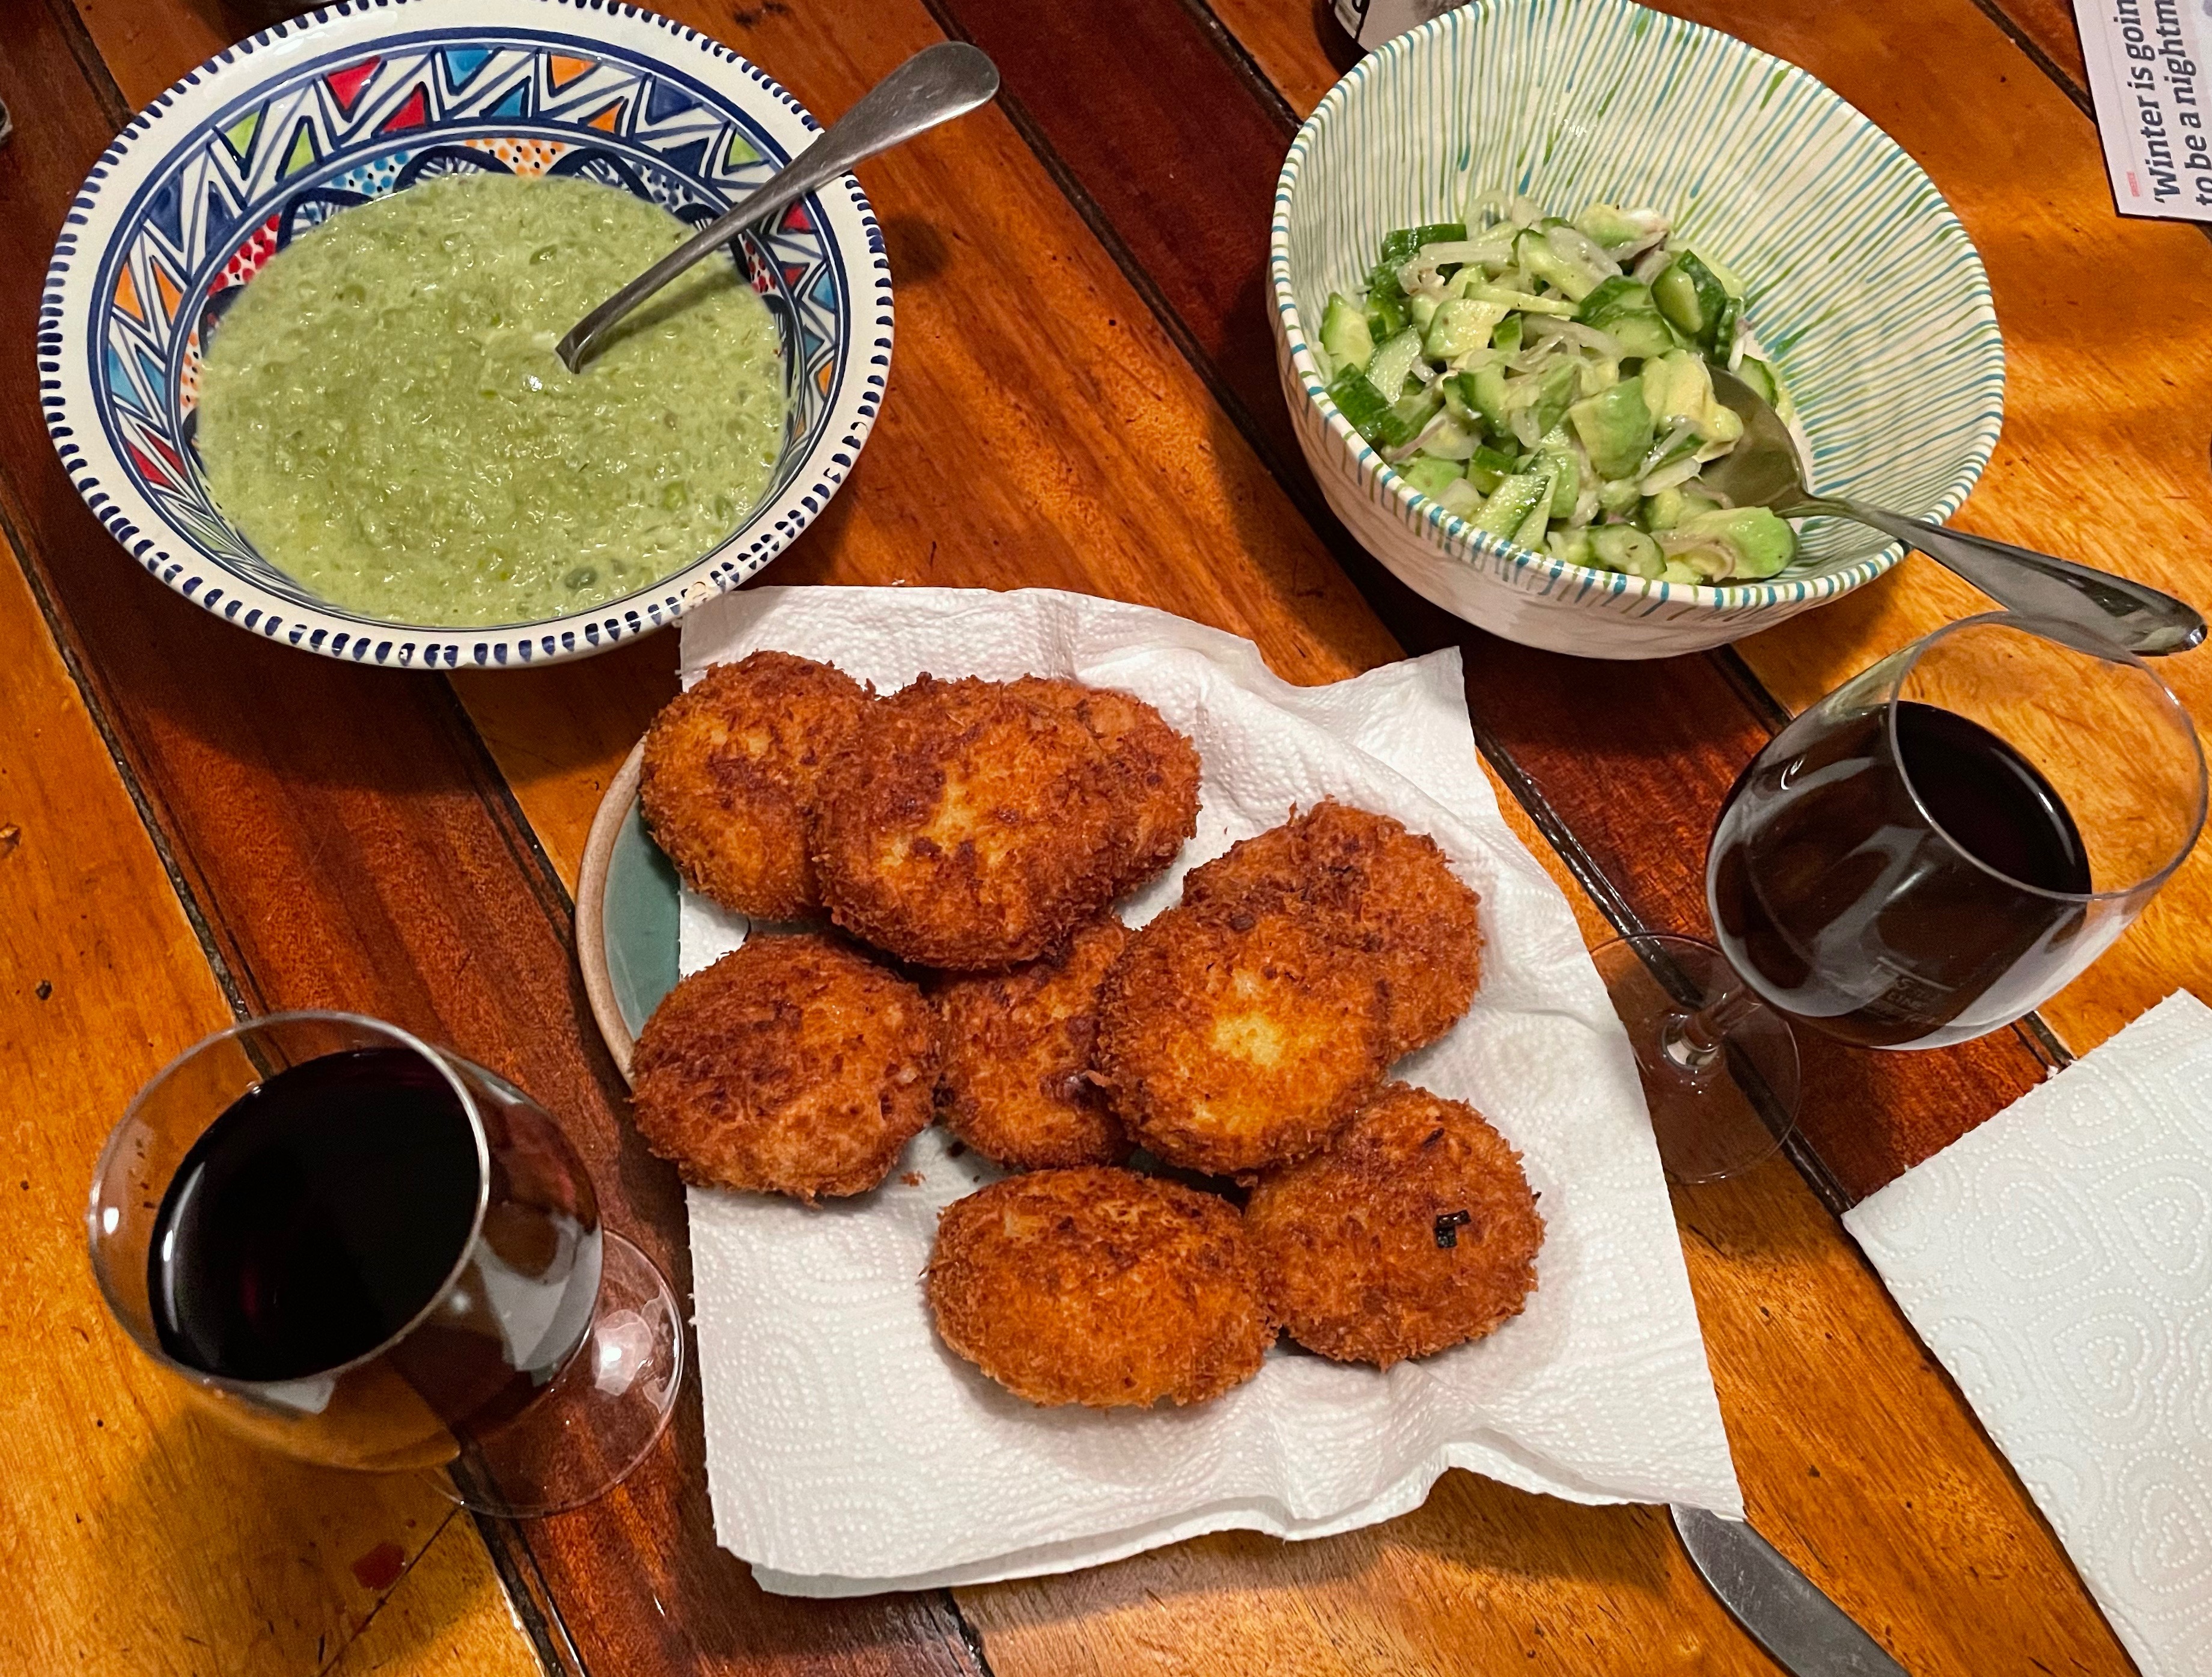
The photos above where not taken on a barbecue as whenever I’ve made barbecues I’m been too busy cooking and socialising to take many pictures but here’s a photo to prove that we do have one!


Tropical Beetroots

May was certainly a blow out, the weather meant we didn’t know whether we were  coming or going. I was sat here one evening with the sun on one side of the house and rain on the other and my husband said it was just like living in the tropics. I love this  optimism-  12c, socks on and we’re in the tropics!

The garden has jungle potential with all the rain and the seedlings have been rather battered but the warmer weather has to arrive soon and hopefully they’ll perk up 

Despite the crazy weather we have plenty growing in the tunnels, lots of salad, spinach, fennel, chard and herbs. The beans and peaches are coming on and the first of the beetroots are ready. Like all home grown vegetables, the first ones are usually the sweetest and greeted with enthusiasm.

Baby beetroots are delicious and we always grow a few different varieties which are great for the colour scheme

In better weather years the peas might be thinking of podding up in June but this year there’s not a chance, they’re hugging the ground but hey ho we have frozen peas to fill the gap. 

We have plenty of mint, it doesn’t mind the weather and we have a big patch growing outside. Mint is one of these herbs that comes back every year, in fact if it wasn’t contained it would invade the entire garden. We’ll be able to pick this all summer long, well into autumn when the cool nights will burn the leaves and it’ll die back for the winter.

A favourite combination is beetroots, peas, lentils, and mint, the earthiness of the lentils complementing the brightness of the beets and peas.


Beetroot, Peas, Lentils and Mint with Whipped Ricotta

200g Puy lentils or lentils vert

½ tsp salt

100mls extra virgin olive oil

4-6 small/medium  beetroots

200g peas, fresh or frozen

Handful fresh mint

1 red onion (optional)

1tsp sugar

2 tbs white balsamic or white wine vinegar

1 tsp Dijon mustard

200g ricotta

Salt and black pepper

Wash the beetroots, trim the greens off but leave a little at the top otherwise the beets will bleed. There are two ways to cook the beets, roasting or boiling. Roasting definitely boosts the flavour but takes three times as long as boiling. For me how I cook the beetroots depends on how organised I am.

To roast the beets, pre heat the oven 180c. Wash the beetroots then rub a little olive oil over each one then put into a small roasting tray and cover with foil. Roast for one and a half hours at 180c then check whether they are tender by piercing with a sharp knife. 

To boil, cover with water, bring to the boil then simmer for 30 minutes. Check by piercing with a sharp knife, if it slips in easily they’re ready, if not give a further 5-10 minutes cooking and try again

Whichever way you cook the beetroot – this can of course be done ahead of time – they need to cool enough for peeling. The skins should just slip off when ready.

To cook the lentils put them into a small saucepan with at least twice the volume of water. Bring to the boil then cover with a lid and turn to a gentle simmer for 20 minutes. Check that they are ready then tip into a sieve and rinse under the tap. Put the lentils into a bowl, season with salt and drizzle a little olive oil over. 

Blanch the peas in boiling water for a couple of minutes then drain and refresh under the cold tap.

If you are using onion, peel it and slice very thinly. I like to rub the onion slices with a little salt. This tenderises and separates the rings.

Rub the peel from the beetroots then dice into roughly 2cm pieces. Season with a little salt. Strip the mint from the stems then chop small. Put all of the above ingredients into a bowl but don’t mix yet. The less mixing the brighter the salad will be.

Make the vinaigrette in a small bowl. Whisk the vinegar and Dijon together then slowly drizzle in the oil whisking continuously to emulsify. Taste to check, if it needs brightening up add a little more vinegar and/or salt. Pour the vinaigrette over the salad and gently toss together. Do not overmix.

For the whipped ricotta, drain any liquid from the pot then tip the ricotta into a bowl. Season with a little salt and a few grinds of black pepper then drizzle over 1-2 tbs extra virgin olive oil then whisk together with a fork and it’s ready to go! (a great trick for pasta too)

Serve the salad with a spoonful of whipped ricotta on top.

, , , ,

Asparagus Days are Here

Our glasshouse is bursting at the seams and the only picture I have of it is photo of myself and a friend enjoying a breakout glass of wine – Semi al fresco, the door was open

There are crowds of seedlings waiting to move to a more spacious location to continue growing. We have just re-covered the tunnel that was destroyed in one of the winter storms so the tomatoes can relocate and the other tunnel is full of infant spinach, chard, herbs and baby beans.

The potatoes are peeping up and the fruit trees are in blossom. It’s such an exciting time of the year in a garden yet the pickings are fairly slim as last years green crops shoot for the sky and go to seed and the new ones aren’t quite ready to be picked.

One vegetable that’s coming into season is Irish asparagus. Sadly we don’t have any in our garden anymore – I dug it up in frustration. After several years of nursing the plants and trying to keep them weed free then only getting a couple of spears at a time I gave up.  I should have researched growing asparagus before wasting so much time as I have discovered that not only do the seedlings need three years on a weed free bed, it also hates slugs and needs warmth and sunshine – a minimum of eight hours sunshine a day! 

I take my hat off to the Irish growers who supply us with this seasonal treat as it takes so much time and effort and ideally a tunnel or covered growing area that is designated to this use.

The Irish asparagus season is short, there are six weeks in May/June when these plants do their thing, growing up to 18cms in a day and funnily enough it’s the male plants that shoot up the spears, the female plants provide the seeds – kind of reverse to humans.

I always enjoy the asparagus when it’s in season here in Ireland. It’s such a seasonal treat and one of the most nutritionally balanced vegetables packed with vitamins and antioxidants.

It’s best cooked simply. My favourite way is grilling on a cast iron pan but I have also discovered roasting in a very hot oven can produce a similar result. The heat seals in the flavours and the asparagus still has a little bite.

We have plenty of fresh eggs and a big bunch of Dunworely asparagus at hand so this month’s recipe is a plate of roasted asparagus over Puy lentils with herb hollandaise. The lentils are simply cooked then seasoned with salt and dressed with the best olive oil and a splash of balsamic vinegar to brighten them up.

Sublime!! It’s very easy to prepare and well worth seeking out the local asparagus for, infinitely superior to asparagus that has been flown half way round the world and sold for next to nothing. Help save the planet, buy local!

Roasted Asparagus with Puy Lentils and Herb Hollandaise

Serves 3-4

1 bunch asparagus –  4 spears per person

200g ripe cherry tomatoes

200g Puy lentils

200g butter

2 egg yolks

Juice of half a juicy lemon

A handful of fresh soft herbs – chives, basil and/or chervil

Salt and cracked black pepper

Extra virgin olive oil

Balsamic vinegar

Pre-heat the oven 220c

Put the lentils into a saucepan and cover with at least twice as much water. Bring to the boil, turn to simmer then cook for 20 minutes. Check them by tasting a couple and if they are still a little hard cook for 1-2  minutes longer but be careful as they should be just done. Drain the lentils, rinse with hot water then dress with a drizzle of extra virgin olive oil, a splash of balsamic vinegar and a little salt. Put the lid back on to keep them warm and put aside.

Whilst the lentils are cooking prepare the asparagus. Wash the spears then trim the woody end. You could snap them but I usually lightly run a sharp knife over the stem working from the stalk up and the knife cuts like butter as soon as you pass the woody bit. Line a baking tray that’s big enough to accommodate the asparagus in one layer with parchment paper. Dry the spears then put them in the tray and drizzle over olive oil. Sprinkle over a little salt and cracked pepper then roll them about so they are all lightly dressed,.

Wash the tomatoes and dry then put them into a baking tray with a drizzle of olive oil and a sprinkle of salt.

Put the tomatoes and asparagus into the oven and set the timer for 7 minutes, toss both then cook for a further 5 minutes.

The Hollandaise is made using a held blender which is a clever trick – no whisking over a bain-marie, just instant Hollandaise.

Put the egg yolks into the beaker or a jug with the lemon juice.

Gently melt the butter and heat until hot.

Chop the herbs finely

Put the blender into the beaker and buzz the yolks and lemon juice together. Add the hot butter in a slow steady stream. When it has emulsified season with salt and pepper and stir in the chopped herbs. If it is too thick, thin with a little warm water. If you are not ready to serve you can keep the sauce warm by putting the jug into a bowl of hot water.

To assemble the dinner put a big spoonful of lentils onto each plate, lay the asparagus on top and pour a little hollandaise across. Put the roasted tomatoes around the sides.


Cauliflower Salad? Pretty Amazing!

We have now eaten our way through fifteen cauliflowers and gifted another five – not an easy thing to do in lockdown. Five remaining and enthusiasm is waning. Most dishes have been successful, the biggest factor in ‘oh no not cauliflower ‘ is when it’s been twice in a row and it has become overkill.

One of the biggest successes was this surprising cauliflower salad. Of course it is blonde and not terribly interesting to look at but the flavours overide all these defects.

Roasted cauliflower, creamy borlotti beans, toasted pumpkin seeds. lightly pickled onions, crispy capers and crumbled feta make a sublime mouthful so if you have a cauliflower in the vegetable basket and the sun is shining I urge you to give this a go.

Roasted Cauliflower Salad

1 small cauliflower

1 red onion

2tbs white wine vinegar

1 tsp sugar

50g pumpkin seeds

2tbs capers

1 can borlotti beans

150g feta

a bunch of parsley would be good if you have some

125mls olive oil

1 tsp Dijon mustard

salt

cracked black pepper

oven 190c

Break the cauliflower into florets. Drizzle over a little olive oil and some salt. Toss well to combine then spread onto a baking sheet. Roast for 25 minutes. Allow to cool then chop the stems and break the florets into smaller pieces.

Peel the re onion, slice thinly. Put the vinegar into a bowl, stir in the sugar and a pinch of salt, add the onion and toss so that the rings separate and are coated in the mix. `leave aside for 15 minutes.

Heat a small dry frying pan, add the pumpkin seeds athen toast gently until they begin to pop and colour. Tip into a bowl and leave to cool

Rinse the capers and dry on a kitchen towel. Put enough oil in the bottom of a small frying pan to barely cover it then add the capers. Fry until the capers are crisp, 4-5 minutes. Tip onto clean sheet of kitchen paper and leave aside to cool.

Drain and rinse the borlotti beans.

Drain the vinegar and onion juices from the pickling onions. Put this in small bowl together with the Dijon mustard, mix together then slowly whisk in the olive oil. Taste and season with a little salt and cracked black pepper.

Put all of the cauliflower, onions, toasted pumpkin seeds and borlotti beans into a large bowl, crumble in the feta, and gently toss together. Sprinkle the crispy capers on top . Adjust the seasoning if you think it needs more salt, it might not need anything as both the feta and capers are salty.

Tonight we’ll be eating cauliflower in panko crumbs with halloumi – a recipe from Jess who writes for the Sunday Business Post. Her recipe was in fact for celeriac but I see no reason why it wouldn’t work with cauliflower. one thing that is certain is that cauliflower pairs perfectly with cheese. I’m looking forward to trying it which says something after our cauliflower binge. That’ll leave four more and who knows we might find a victim to pass one on to.

And now it’s time to set more seeds. We’re aiming for an autumn crop and for sure will try to get a spring crop again. It was a pleasure to have this surprise crop especially as not much else manages to grow over the winter.


Giant Cauliflowers Make Giant Cakes

Finally our cauliflowers have arrived, there’s a colony of them and some are seriously big.

We have waited so long. I was convinced we would have caulis for Xmas but nope, nothing happened . We just had these huge plants on long stems that seemed to be in some kind of animated suspension and now, all at once they are emerging. It’s far from the first cauliflowers that we have grown but usually they arrive rather inconveniently in August or are very welcome in October and November. Last years lockdown meant we got our seeds where we could and I must have picked up this winter variety. I’ve now checked it out and discovered that winter cauliflowers take 40-50 weeks to mature which is quite some time to nurture a vegetable but they are so welcome. A joy to the eye and they’re going to be exciting to eat, or perhaps I should say a challenge.

We regularly make cauliflower fritters and cauliflower pakoras which are both delicious but last night I broke out and and made a cauliflower Sfomato with the enormous cauliflower that I had picked. Sformato looks like a cake which has a touch of a soufflé to it. It’s also enormous, enough to feed 6- 8 for dinner or 4 for dinner and 4 for lunch!

I have feeling we’re going to have cauliflowers coming out of our ears!

Cauliflower Sformato

1 large cauliflower

olive oil to roast the cauliflower

2 red onions, peeled and chopped

90g butter

90g flour – I used rice flour as it’s gluten free

800mls milk

6 eggs

75g grated parmesan or mature cheddar, grated

1tbs Dijon mustard

1/2tsp smoked paprika

Pre heat the oven 190c

Line the base and sides of a 24-26cm loose bottomed cake tin

Break the cauliflower into even sized florets and toss with little olive oil and salt. Spread out on a large baking sheet and roast for 20 minutes. leave aside to cool a little then chop small.

Melt the butter in a large saucepan (mine was little small) then stir in the flour. Cook gently for a few minutes then begin to add the milk. Do this in stages, whisking the milk and roux(flour mix) until it comes together in one mass before adding a little more. You will end up with a fairly thick sauce. Season with salt and cracked black pepper. Stir the chopped cauliflower, smoked paprika, mustard and grated cheese.

Check the seasoning then pour into the prepared tin.

Bake in the centre of the oven for 40 minutes or until a knife comes out clean.

Bake in the centre of the oven for 40 minutes or until a knife comes out clean.

Leave to rest for a few minutes before removing the tin and serving.

It’s not going to win a beauty contest but very tasty!


Spring into Dumplings

In between storms and torrential rain the green things are struggling to come back, valiantly pushing ahead anytime there’s a ray of sunshine. Spinach, chard, rocket, nettles, wild garlic are all growing again. Most of our spinach and chard have weathered the winter outside. At one point, when it froze for a week it looked like they might lose the will to live, their leaves were sad and frost burnt but somehow they rallied on and now look like they’re good to go. The nettles and wild garlic are just emerging and the rocket is as always surging ahead but as the rocket’s in the tunnel it does have an advantage. 

We have learnt from previous winters that it’s always good to have a stash of green things in the tunnel so late each August we plant up little beds of spinach, rocket and kale just to make sure we have a supply of these useful greens.

The new glasshouse is slowly filling up with seedlings and by Easter it will be bursting at the seams and we’ll be off again. Another year in the garden.

I wanted to make a recipe with wild garlic but as I write this there are very slim pickings out there so I’ve modified my plan. What was going to be ricotta gnocchi with wild garlic pesto has morphed into ricotta gnocchi with rocket pesto. It could just as easily been kale pesto or nettle pesto but as I have a choice and I particularly enjoy the fresh pepperiness of rocket, rocket it is. Classic pesto is made with basil but it can in fact be made with a huge variety of tasty leaves. 

The recipe for pesto is pretty fluid – olive oil, nuts/seeds, cheese, garlic and herb/leaves of you choice. I often put in a little lemon juice which prevents the pesto from going Gollum green if it’s not used quickly – it also brightens up the flavours.

Ricotta gnocchi are very easy to make unlike potato gnocchi which take a little more effort. They are often called malfatti (badly made) as they don’t have a  uniform shape – all part of their inner beauty! Just get yourself some of our wonderful local ricotta and a clean bowl and you’re nearly there!.

Ricotta Gnocchi 

250g ricotta

1 egg

nutmeg

50g semolina

75g grated Parmesan cheese

salt and black pepper

Put the ricotta into a bowl and beat together with the egg.

Season with a little grated nutmeg and salt and pepper.

Stir in the semolina, this will give you a soft mass that should hold together

Bring a large pot of salted water to the boil then turn down to simmer. It’s important the water is a quiet simmer as a rolling boil will cause too much agitation and the gnocchi will break apart. 

Wet your hands to prevent the mix from sticking to them then form small balls with the mixture and gently slip them into the water. Leave the gnocchi to cook for a few minutes and when the gnocchi rise back to the surface they are ready. Remove with a slotted spoon and drain any excess water before plating or putting in a serving bowl.

Drizzle the pesto over the gnocchi and serve immediately.

Serves 2-3 

Rocket and Pumpkin Seed Pesto

15g pumpkin seed

50g rocket

25g Parmesan cheese

1-2 cloves garlic

100ml olive oil

juice of 1/2 lemon

salt

Heat a dry pan and gently toast the pumpkin seeds.

Roughly chop the garlic and rocket

Place the pumpkin seeds,  garlic, lemon juice, olive oil, rocket, parmesan and salt into a  jug and using a hand held blender blitz to a smooth sauce. 

Check the seasoning and the pesto is ready . Use what you need then put the remainder into a small pot and pour a little olive oil over the top. This will stop the pesto from oxidising. Store in the fridge and use within the week. Delicious with pasta, grilled vegetables, meat, fish…..perks up everything.


Bright Food for a Dirty Day

Today was not an outside day.

A big wind, very cold and occasional snow flurries, which is a romantic way of describing West Cork’s attempt at snow which is really large drops of frozen rain. After a quick run around to feed the chickens I was back inside again.

It was the perfect day to hang out in the kitchen.

I spent the morning trying a couple of new recipes then turned my eyes to lunch.

We are still ploughing through our rapidly deteriorating frozen by mistake pumpkins. At this stage the chickens are getting as much of each pumpkin as we are but we’re getting places. We’ve been eating them in many guises, today’s collaboration was with beetroots and coconut which made a delicious and warming soup full of antioxidants to beat the bugs

Beetroot, Pumpkin and Ginger Soup

1 large red onion

75mls olive oil

2 sticks celery

300g pumpkin

450g beetroots

1 finger of fresh ginger

700mls vegetable stock

200ml coconut milk

Peel and chop the onion. Heat a pot, add a little olive oil and the onion then cook on a medium heat. Cut the celery lengthways then dice into small pieces. Add to the pot and give a stir.

Peel the pumpkin and chop into chunks, then peel the beetroot and chop into a dice – the beetroots are going to take longer than the pumpkin to cook. Stir these both into the pot and season with a little salt. keep cooking on a medium heat, reducing the heat if they begin to brown or stick.

Peel the ginger and chop small. Add to the the vegetables, cook for a couple of minutes, then add the stock. Bring to the boil then simmer for 25-30 minutes, until the vegetables are tender.

Stir in the coconut milk then buzz everything to a smooth puree. It should be good and soupy but if it’s too thick thin with little water. Season with salt and black pepper and you’re ready to go.

Some fresh chopped herbs would be good but I wasn’t heading off outside to pick any!


Stir Crazy Potato Cakes

It’s a sure sign of going stir crazy when you get super excited about potato cakes.

This past month has left me feeling almost rudderless, apart from our Monday shop painting stints there’s very little structure to our days except for mealtimes

It’s a tricky time of the year when the days are long and grey. The bright days are fine, I hop up and get going but on the wet ones I have to keep reminding myself that there’s no such thing as bad weather, just bad clothing.

Try telling that to the chickens though who are miserably huddled in their muddy run fed up with wading in muck, having eaten anything that had a semblance of green already. They are missing their daily buckets of yummy food scraps that usually come back from the shop. The time is coming when they are going to revolt and hop the fence of the chicken run as it looks so delightfully verdant on the other side.

Our new glasshouse is up and ready to go, the seeds are ordered and in a couple more weeks it’ll be time to start sowing again. I’m very excited but super cautious about beginning in the garden too early though as very cold spells can negate any head start.

One thing I have been enjoying is playing in the kitchen. Working my way through all the odd food in our pantry and trying out new recipes. 

Converting left overs is a great way to be creative. We had a mound of left over mashed potatoes last week and I made these crispy potato cakes. I must say we were impressed. The perfect way to tart up mashed spuds

The ingredient list is short – left over mash, onion, garlic, some kind of melty cheese and breadcrumbs. 

I used panko breadcrumbs (which had been sitting patiently in our pantry). Panko are Japanese style breadcrumbs made from crustless white bread. These breadcrumbs are flakier and drier than normal breadcrumbs and as a result absorb less oil, think of trying to mop up a spill with a dry cloth – it’s not very absorbent. Because they are so dry they cook up super crispy and they have an incredible long shelf life – I guess as there’s no moisture there’s nothing to spoil but for sure they will keep happily in a sealed bag in a dry place so they are pretty handy.

Any cheese that can be grated and melts will work in this recipe. I used smoked scamorza which is a mild semi hard mozzarella type cheese but cheddar, emmental, gruyere, gouda  will all bring their own creamy addition

Crispy Potato Cakes

Serves 3-4 people

450g mashed potato

1 onion – peeled and chopped

2 cloves garlic- peeled and finely chopped

150g smoked scamorza or other melty cheese – grated

150g panko bread crumbs

50g flour

1-2 eggs

Oil for frying

Heat a small frying pan, add 2tbs olive oil and the chopped onions. Cook on a medium heat without browning for 5 minutes. Season with a little salt then stir in the chopped garlic and cook for 1-2 minutes longer. 

Tip the cooked onions mix onto the mashed potato then mix together and add in the grated cheese. Mix well with your hands, giving it all a good squish together. Form the potato mix into small balls then flatten slightly. I didn’t add any salt as the mash was already seasoned but taste your mix to check

Line up 3 bowls. One with flour, one with beaten egg and one with the panko breadcrumbs. Taking the potato balls one at a time turn them first in the flour, then in the egg and finally in the breadcrumbs. Turn until the breadcrumbs cover the potato.

Do this to each potato cake,. At this stage you could pause and put the potato cakes in the fridge for later but it’s perfectly fine to cook them immediately

Put 2cms vegetable/cooking oil in a frying pan. The pan should not be too shallow – the oil should not come more than one third up the sides. Heat the oil then slip 4 or 5 potato cakes in at a time. Keep the heat on medium. If the potato cakes are browning very quickly reduce the heat. After a couple of minutes flip the potato cakes over and cook the other side. You’ll need to cook these in a couple of batches so have a warm plate ready to receive them

Perfect with some salad and salsa or just plain mayo for dunking. 


A Little Sunny Crunch

Winter slaws are the business when you crave something to give yourself a boost, They are bright and crunchy and made with vegetables that don’t mind wintery weather.No need to use fragile jetlagged vegetables as local seasonal vegetables are perfect to shred and dress. The bright oranges, greens and purples are like sunshine in a bowl.

The key ingredients for a slaw are usually some kind of cabbage – red or green and then whatever you have or fancy in the line of  fennel, beetroots, carrots, radishes, onions, endive etc. Apples, oranges, mangoes and pears also make good additions as do toasted nuts and seeds . They can be dressed with vinaigrettes or creamy mayonnaise. The options are endless so you can let your imagination go riot. 

This recipe is for a simple slaw that I made today from our vegetable basket and the remaining red cabbage in the garden. Salting the cabbage briefly makes the cabbage sweat and the juices run, softening the cabbage to a delightful succulent crunch. Ditto with the fennel.

Half a small red cabbage

1 fennel bulb

1 red onion

1 pear

1tsp sugar

2tbs white balsamic vinegar or white wine vinegar

Salt

1tsp Dijon mustard

100mls olive oil

Finely shred the red cabbage – discard the core. Sprinkle it with a little salt, toss well then leave it aside for 10 – 15 minutes. 

Finely slice the fennel and toss with a little salt. Leave aside for 10 – 15minutes

Peel and finely slice the red onion, sprinkle a little salt over then massage until the rings separate. Put the sugar into a bowl, whisk in the vinegar then toss the onions in the mix. Leave aside for 10-15 minutes

Peel and chop the pear.

Put the cabbage onto a clean cloth or kitchen roll then dry well to remove excess liquid and salt, tip into a bowl the repeat the process with the fennel.

Put all the vegetables except for the onions into a big bowl.

Drain the pickling liquid from the onions and use this as  a base for the vinaigrette

Add the onions to the big bowl.

Whisk a teaspoon of Dijon mustard into the onion vinegar then slowly whisk in the olive oil

Pour the dressing over the vegetables then toss everything together. 

The slaw is ready to eat but it’ll also sit happily in the fridge for a day or two.


Blow Your Socks Off Lemon Chilli Sauce

I have finally taken the lemon drop chillies out of the bucket they were sitting so prettily in and am converting them to chilli sauce.

Half are sitting fermenting on the kitchen counter and the rest I made into chilli sauce yesterday

It was quite an epic heat ride.

I chopped the stalks from the lemon drop chillies, peeled red onion and garlic and put them into a saucepan with enough water to cover them, bought them to the boil then simmered for fifteen minutes.

After draining them I buzzed them in the food processor until they were smooth. I made the mistake of taking a good sniff of the salsa to enjoy the aroma – it blew me across the room.

The initial tasting was soooo hot that realistically not many people were going to eat it. I added a mango hoping it would stretch the heat but it didn’t seem to have much effect. I then sieved the sauce in the hope that removing the seeds would do the trick.

Wooo, still extremely hot !

I then incrementally added in

light muscovado sugar ,

honey,

white balsamic vinegar

another mango

and we finally seemed to be smoothing out the edges.

Phew I was getting worried!

It’s a chilli sauce to use with caution but perfect for chilli heads – like good habanero sauce and it’s a fab colour!

I’m not sure what to do with the fermenting chillies …. any ideas?