Category Archives: garden produce

The Great Quinoa Experiment

The great Quinoa experiment began back in the spring.  With all the talk about world food shortages we decided to experiment. We were curious how some of our pantry staples would grow here. 

It was a very domestic experiment. I bought the seeds in Skibbereen market from Brown Envelope Seeds. I had in fact only gone to buy quinoa seed but when I saw the oat and lentil seeds I got very excited and bought a packet of each. 

First we planted the seeds into seed compost in little modules. They all germinated no problem. The oats were very robust and the quinoa grew steadily. The lentils were more delicate with frondy leaves which were more of sprawl than upright so we planted half of the lentils in the tunnel and the rest on the experimental bed outside.

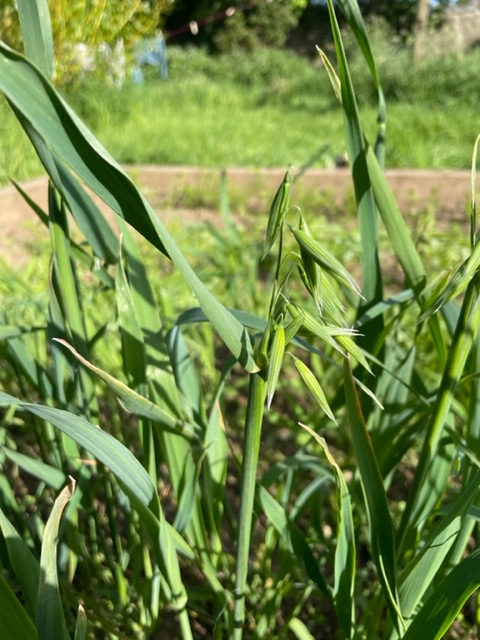
Once transplanted to their onward growing space the oats took off. It was hilarious, in no time at all there were a couple of sturdy rows of oats growing. It was a bit of a no brainer that the oats would thrive in this climate but when I eyed the healthy little crop up I realised I had only grown enough to make a bowl of porridge.

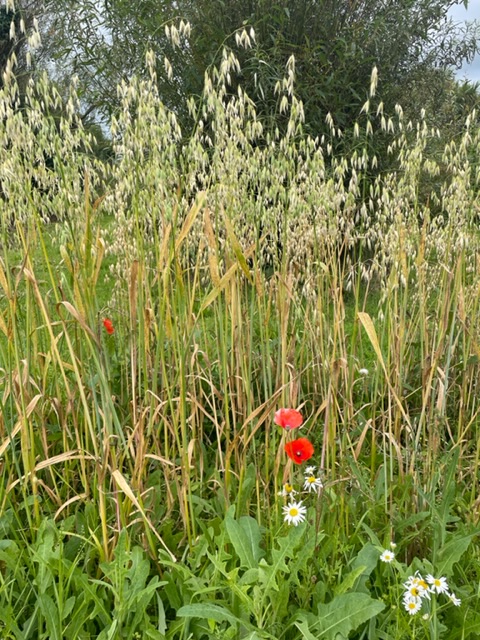
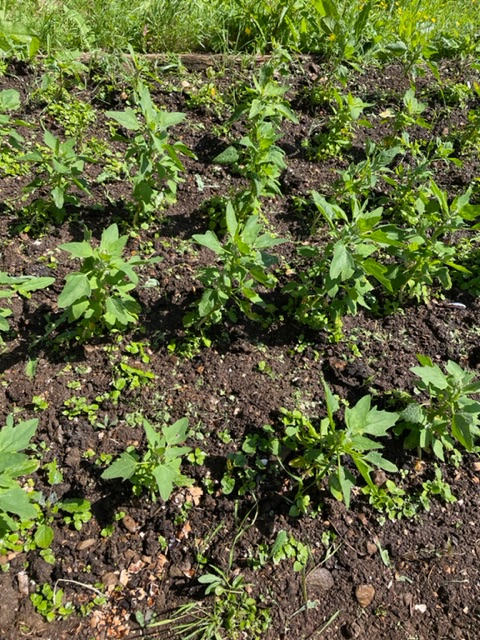
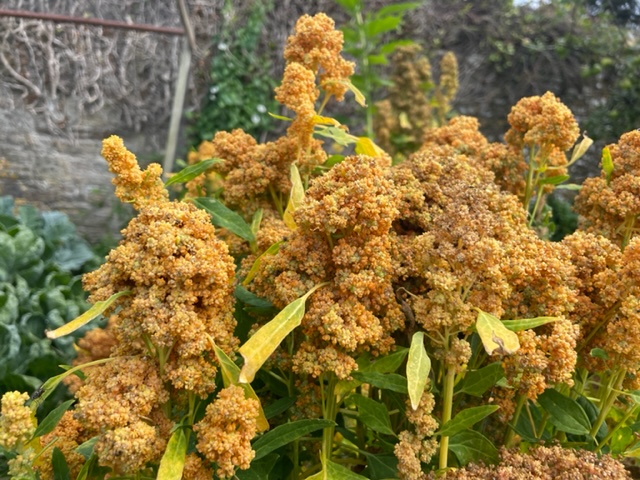
 The quinoa was very happy too. It shot up and enjoyed the weather, I reckon it thought it was in the Andes.

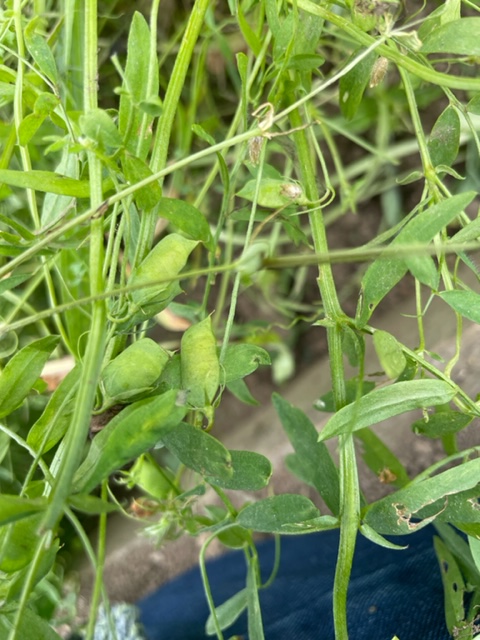
The lentils took their time. In fact the lentils that we planted inside keeled over and died but the lentils outside, once they had their roots established, quietly grew.

All three had the summer of their dreams, plenty of sunshine, intermittent rain and a watering service if needed which was very little as all three were quite happy with minimal water as they ripened. 

Finally the time to harvest arrived.

The oats were ready first. We cut them down, arranged them in bunches and hung then up to dry. They look beautiful, like something from a life style magazine, and I have to admit they are still there. I was thinking to crush the groats with a hydraulic car jack but haven’t been hungry enough to get around to that yet.

The lentils were next and we sat in the sunshine and picked through them – two lentils in each pod!

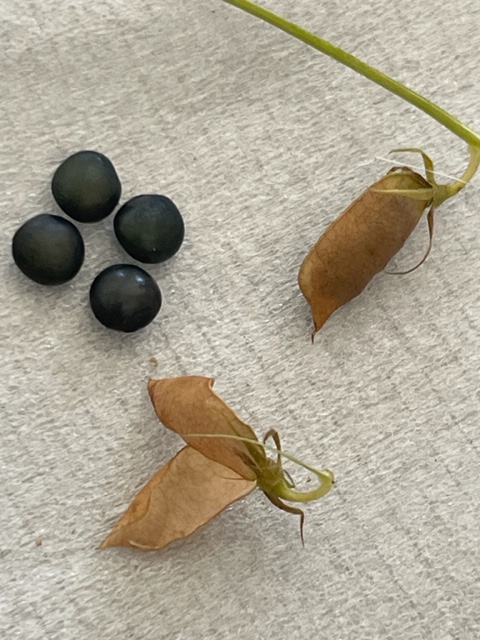
It was tedious but enjoyable, sitting outside chatting and sorting until we produced a medium sized bowl of velvety black lentils. They were very cute and very tasty.

The quinoa was harvested a little later then laid out to dry in the glasshouse. We turned it daily to make sure it didn’t go mouldy and as we had such great weather it dried well.

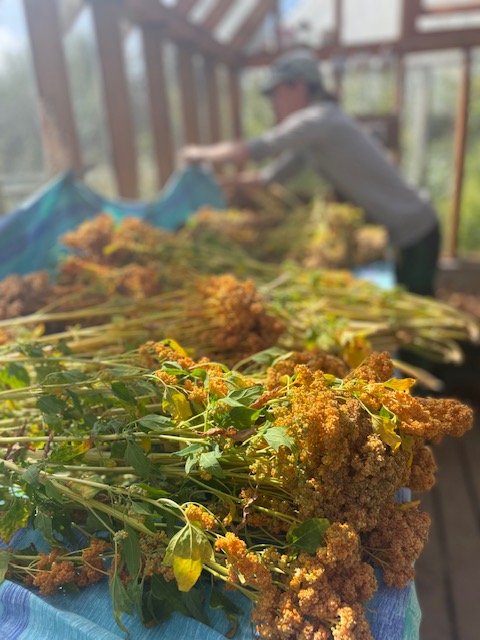
The next task was taking the quinoa seeds from the plant. I tried various techniques and in the end settled for a big metal bowl on my lap, teasing the seeds from the heads.

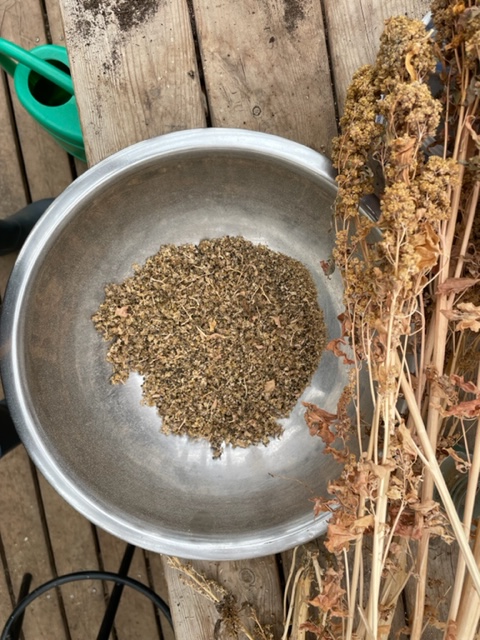
The quinoa seeds landed into the bowl with plenty of chaff which I tried to pick off – not very successfully. Google advised putting it into a bowl of water, which I did.

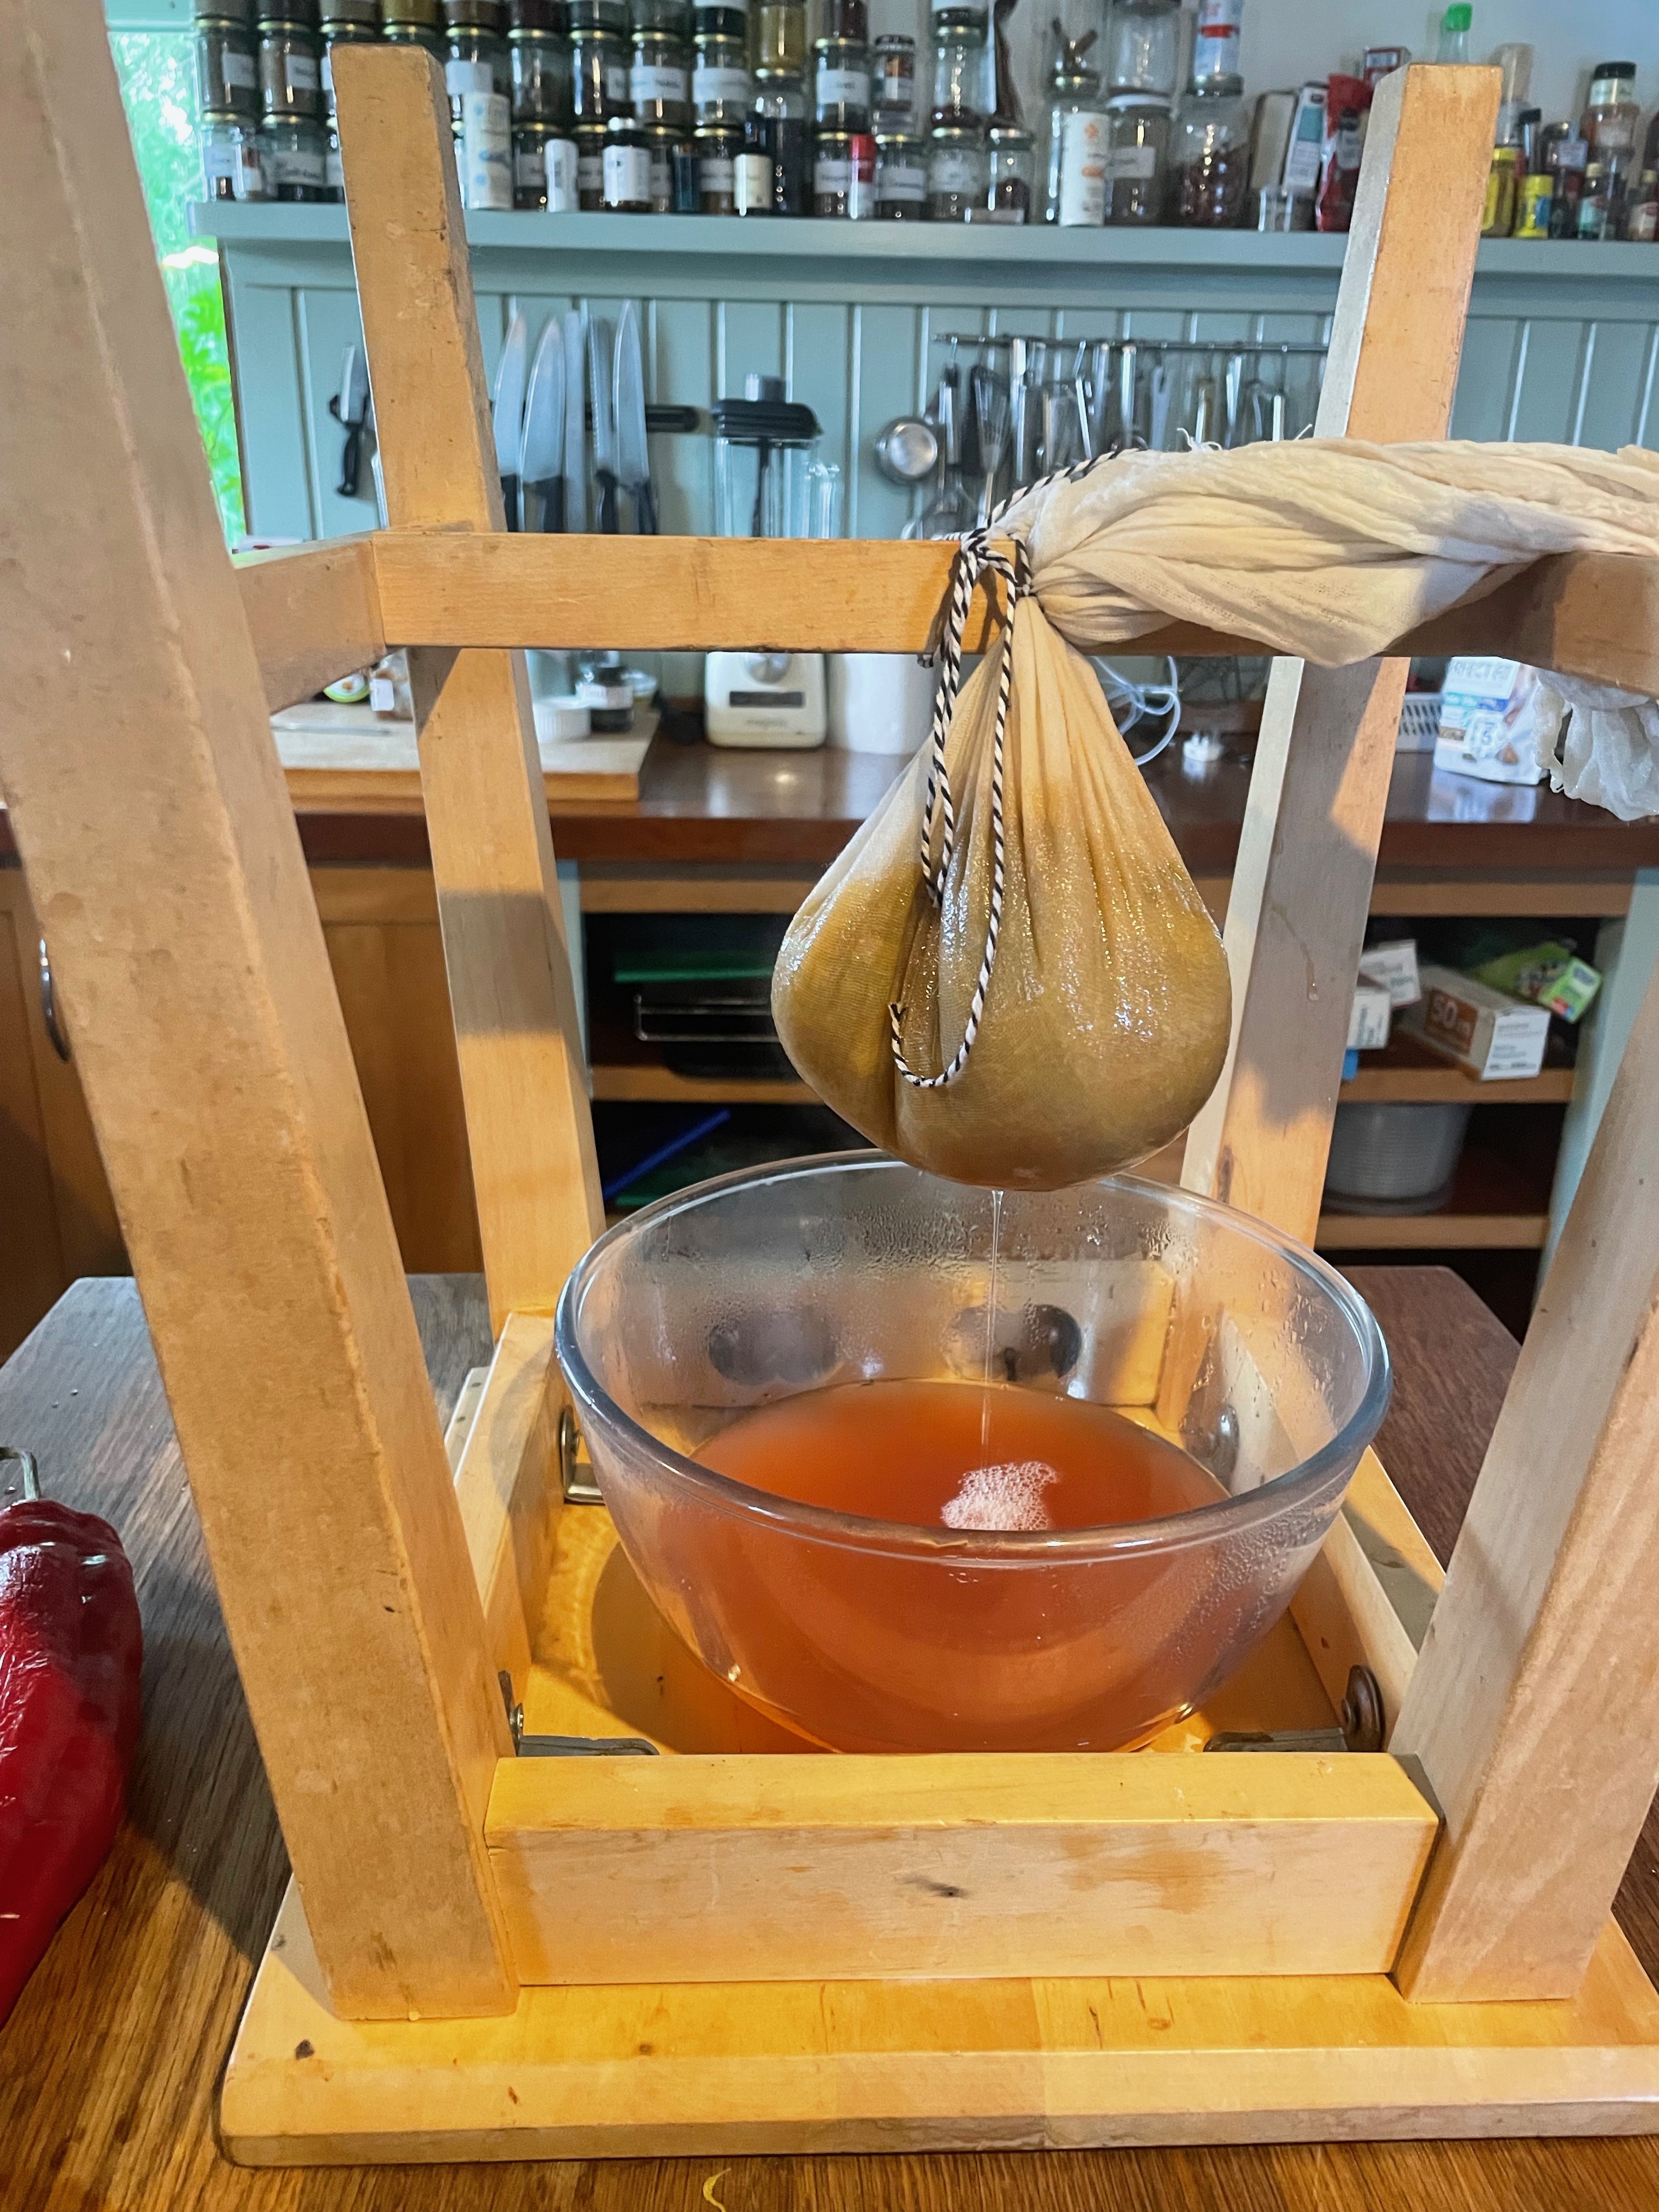
The chaff rose to the surface, I skimmed it off and then vigorously agitated the quinoa in the water before straining it through a sieve and repeating. There’s quite a process to clean quinoa as each piece is covered with saponins, which are toxic. Not toxic enough to kill us but enough to make them quite unpalatable. I left it soaking overnight, then rinsed it again, agitating well, then repeated, soaking again overnight. 

We were on day three of quinoa cleaning at this stage and my curiosity was exceeding my patience so I rinsed and drained the quinoa one final time then laid it out on clean t-towels to dry. 

So far, so good. It looked like the real thing. 

Next it was time to try cooking it. It took a long time to cook. Ordinarily quinoa is cooked in twelve to fifteen minutes but mine was cooked for at least forty minutes and still retained a healthy nuttiness, which I decided was how it was meant to be – the brain can be very fickle at times.  

The final test was the taste test and I have to report that it was absolutely vile. So bad that I had to spit it out and hang my mouth under a running tap. To be sure that it was as bad as I experienced I employed a couple of unsuspecting guinea pigs and in no time at all everyone was running around the kitchen in horror.

We threw the rest of the cleaned quinoa into the chickens, together with the quinoa that we hadn’t yet sorted but the chickens weren’t having anything to do with it. They’ve obviously got good survival genes and we headed of on holiday to Greece!


Think Pink

Berlin in early summer is full of Horse Chestnut trees in blossom. Some of the trees are immense – as tall as five storey buildings, and when the wind blows the pink blossoms come down like confetti, falling everywhere, sometimes landing into the glasses of the people drinking on the terraces and relaxing on river banks. It’s not drinking in a drunken way, just social. The weather has warmed up and everyone’s out. There are little bottle shops around the neighbourhoods which sell a huge selection of beers, soft drinks and snacks and it’s perfectly acceptable to consume them pretty much anywhere. People drink beers and other people pick the bottles up and get the deposit back. It all works very well.

Amongst the selection of beers that are consumed are pink drinks.

Rhubarb spritzers, lemonades and cocktails, all totally delicious.

I checked out how to make rhubarb cordial – the base for all these confections, and I feel like I have discovered a perfect use for rhubarb.

We have a healthy rhubarb patch in our garden and each year, after our initial rhubarb tart enthusiasm it ends up languishing unless I have jam making fit.

Rhubarb cordial is easier to make than tarts, crumbles or jam, the only vaguely complicated part of the process is straining the mix. It can be poured directly through a sieve  but I prefer to line the sieve with a piece of muslin. This ensures a beautiful clean pink juice, no stray bits of fruit etc. which might sneak through a sieve. This is not  a difficult step although it may entail a trip to your local haberdasher to buy a piece of muslin.

The grandchildren love the pink lemonade – rhubarb cordial plus sparkling or tap water, in fact we all do and it’s fun to add to a favourite tipple especially served chilled.

Rhubarb Cordial

500g rhubarb (stems removed)

350mls water

350g sugar

1 orange, zest and juice

1 lemon, zest and juice

2 slices fresh ginger

Muslin

string

Put the water and sugar into a pan. Bring to the boil then turn to a simmer.

Wash the lemon and orange well then pare the peel of the fruits with a small knife or a vegetable peeler. A vegetable peeler works best as it doesn’t cut through to the pith but if you don’t have suitable peeler just use a knife.

Cut two or three slices of ginger, no need to peel.

Put the lemon and orange peel and the pieces of ginger into the sugar syrup and continue to simmer.

Wash the rhubarb well. Discard the leaves and the other end. There’s no need to peel especially as you need the pink skin to colour the cordial. Cut the rhubarb into 1cm pieces, add to the sugar syrup and bring everything to the boil. Turn to a low simmer and cook for 25 – 30 minutes, until the rhubarb has disintegrated.

Leave to cool then strain using either of the following methods. 

A) Just straining

Put a fine meshed sieve over a bowl that is large enough to collect the juice – without sitting in the  juice as it strains. Pour the cooked rhubarb in and leave to strain for an hour  – better a little longer if you have the patience. Don’t poke or squeeze otherwise the cordial will become cloudy

 B) Using a piece of muslin to line the sieve; Cut a piece of muslin so that it’s large enough to sit in your                   sieve/colander and drape over the sides. 

Organise somewhere to hang the muslin bag. I use an upside down stool but  a large saucepan with a wooden spoon across the top to suspend the bag works too. 

Wet the piece of muslin under the tap then squeeze it out and drape it over the colander/sieve – wetting the cloth helps to keep it in place and encourages the juice to flow through., then pour in the cooked rhubarb.

Pull the four corners of the muslin together then gather up so that the rhubarb is contained without squeezing and secure with a piece of string. The string needs to be long enough to tie onto the bars of the stool or the wooden spoon over the saucepan with the bag hanging above a bowl to collect the juice. Leave for an hour or longer if you’re not in a hurry.

This method gives maximum extraction as the weight of the fruit pushes the juice through. Don’t squeeze the bag or the juice will become cloudy.

Put the finished cordial into clean bottles or a large jar and store in the fridge.

Perfect for sunny days!


Garden Gratin

Jerusalem artichokes are easy to grow, they’re part of the sunflower family and are very undemanding on the gardening front. Pop the tubers into the ground and after that they pretty much look after themselves.

We grew Jerusalem artichokes last year and then forgot about them until last week when I went on an exploratory dig and discovered lots of knobbly roundish roots. They were in great condition and there are plenty of them. It’s presented the dilemma of what two do with them. Luckily they don’t all need to be eaten at once , they look quite comfortable in the bucket, muddy but dry, and will hopefully sit for a while whist we eat them up.

First up I made a gratin. I mixed some with potatoes, spinach, leeks and Tallegio cheese. This was adelightful combo, creamy, cheesy and very tasty with the sautéed leeks and spinach layered through and perfect eating for this weeks wet and wild weather. We ate the gratin after a beetroot and blood orange salad which is why the plate is pink.

One of the properties of Jerusalem artichokes is that they have a high content of inulin. Inulin has lots of dietary bonuses; plenty of fibre which in turn is helpful in managing diabetes, constipation and general gut health but they really should come with a warning. These powerful vegetables have great flavour but are also very windy. All that fibre causes mighty flatulence. Our duvet almost hit the ceiling when we went to bed. I guess it’s the type of vegetable to be only eaten with close family or friends – they aren’t known as fartichokes for nothing. Apparently if you eat them little and often you can override this side affect so I guess we need to proceed through the stash and see what happens.

The gratin was delicious!

Garden Gratin

600g potatoes

600g jerusalem artichokes

1tbs olive oil

250g fresh spinach

2-3 leeks

25g butter

a small bunch of thyme

300mls cream

250g Tallegio cheese

salt and pepper

Peel the potatoes and artichokes then slice very thinly. Put them into a big bowl. Drizzle over little olive oil, season with salt and pepper and add the thyme. Toss well .

Clean the leeks then slice small. Wash the spinach and trim any big stalks. Put a saucepan with little butter on the heat, add the leeks and when it begins to sizzle turn the heat low and cover with a lid. Shake very couple of minutes until the leeks soften then stir in the spinach. Cover again with the lid and cook for 2-3 minutes until the spinach has wilted down. Season with salt and pepper.

Pre heat the oven 190c

Rub a little butter or olive oil around a gratin dish put in a layer of half the potatoes and artichokes then add the spinach and leeks. Break the tallgio into small pieces and distribute over the top then layer up the remaining potatoes and artichokes.

Put the cream into a small saucepan and bring too the boil. Pour the cream over the vegetables. Cover the gratin dish with a piece off aluminium foil then bake for 50 minutes. Remove the foil and bake for another 15-20 minutes or until the top of the gratin is golden.

Allow to sit for 10 minutes before eating. The ideal amount of time to consume a salad.


Marvellous Leeks

It’s like there is a switch in the middle of January which kicks everything into action again. Those few more minutes of extra daylight  give out a message that even our geriatric chickens respond to. Suddenly we have eggs and all the green things in the garden perk up. 

We have plenty to eat in our garden. Not a great deal of choice but we do have lots of kale, cabbage, brussels sprouts and winter salad. We have a mighty crop of leeks too with long white stems that we are very proud of and we’re still munching our way through last year’s pumpkin harvest. 

The spinach and chard will begin to grow again in the tunnel soon and providing there isn’t a big freeze we’ll be picking outside by the end of March.  

We have enjoyed many wintery feasts of soups, stews and gratins often complemented by the fresh crunch of slaw and our imagination and memories are always on the go wondering how else we can cook these ingredients.

One dish that we resurrected is Poireaux al la Greque. 

This long forgotten recipe was from a time when we worked in a restaurant in Belgium. It was a fairly fancy bistro which served leeks braised in white wine with coriander seeds, olive oil and lemons. The cooked leeks were then split down the centre and served with a line of creamy pink tuna piped down the middle. I could always live without the tuna part – which was simply tuna, mayo and tomato puree to make it go pink, but I did enjoy the leeks. 

To celebrate our marvellous leeks I began to play with the recipe again and we ate them piled on top of mash – any mash will do but I used carrots, celeriac and potatoes all buzzed to a puree with a generous amount of butter – served with crispy caramelised lentils strewn over the top.

This way of cooking the leeks elevates them to star status. They can be eaten with the combination that we had or can be simply served as a starter or alongside chicken or fish using the braising liquid as a sauce.

Poireaux a la Greque

6 leeks

1 large glass white wine

2tbs olive oil

½ lemon

1 tsp coriander seeds

Salt and pepper

First clean the leeks. Trim the ends, cut off the green part – put the greens aside for something else – you could use them in a soup or stew. Rinse the white part of the leeks under the tap, shake dry then line them up in the bottom of a large saucepan that has a lid.

Pour over the white wine, it should come roughly half way up the leeks. Drizzle over the olive oil, sprinkle over the coriander then squeeze over the lemon juice. Put the squeezed lemon in with the leeks. Season with salt and black pepper. Put the pot on the heat and when it comes to the boil cover with a lid, reduce the heat, then gently simmer for 30 minutes.

To serve, strip off the very outer layer of each leek, lay on a plate or over mash then spoon a little cooking liquid over or around. 

Crispy Caramelised Lentils

125g lentils

20g butter*

1 tbs olive oil

1tbs light muscovado sugar

2tsps white wine vinegar

Salt.

Put the lentils into small saucepan, cover with at least twice the volume of water then bring to the boil. Turn the heat to low so that they are simmering gently then cover with a lid. Cook for 15-20 minutes or until the lentils are tender – try a few to check.

Drain the lentils, rinse under the cold tap then shake dry.

Put a small frying pan on the heat. Add the butter and olive oil and when it foams up stir in the lentils. Season with a little salt. Cook on a high heat stirring until the lentils begin to colour. Add the muscovado sugar and white wine vinegar. Mix well then continue to cook and shake until crispy.

* If you would like to make this dish vegan omit the butter and use a little more olive oil