The thing to remember about woofas (willing workers on organic farms) is that they don’t necessarily know anything about vegetables and to send them on a picking mission unaccompanied is dodgy. The shop requested a bucket of spinach and a bucket of chard for tomorrow and our lovely woofa volunteered to go picking. This was such a tempting offer that after a brief ‘do you know’ conversation, off she went armed with two buckets. Some time later she returned with a beautiful bucketful of rainbow chard and a large pile of baby rocket. I was horrified, as for a moment I thought she’d destroyed the fledgling crop of rocket, but it’s fine. In fact it didn’t harm the rocket at all, as it does like to be picked, and I certainly wouldn’t have had the patience to get down and pick such baby leaves singularly. So no harm done and after having a spinach identifying and picking lesson we have the added bonus of rocket pesto with linguine for our dinner.
Yum!

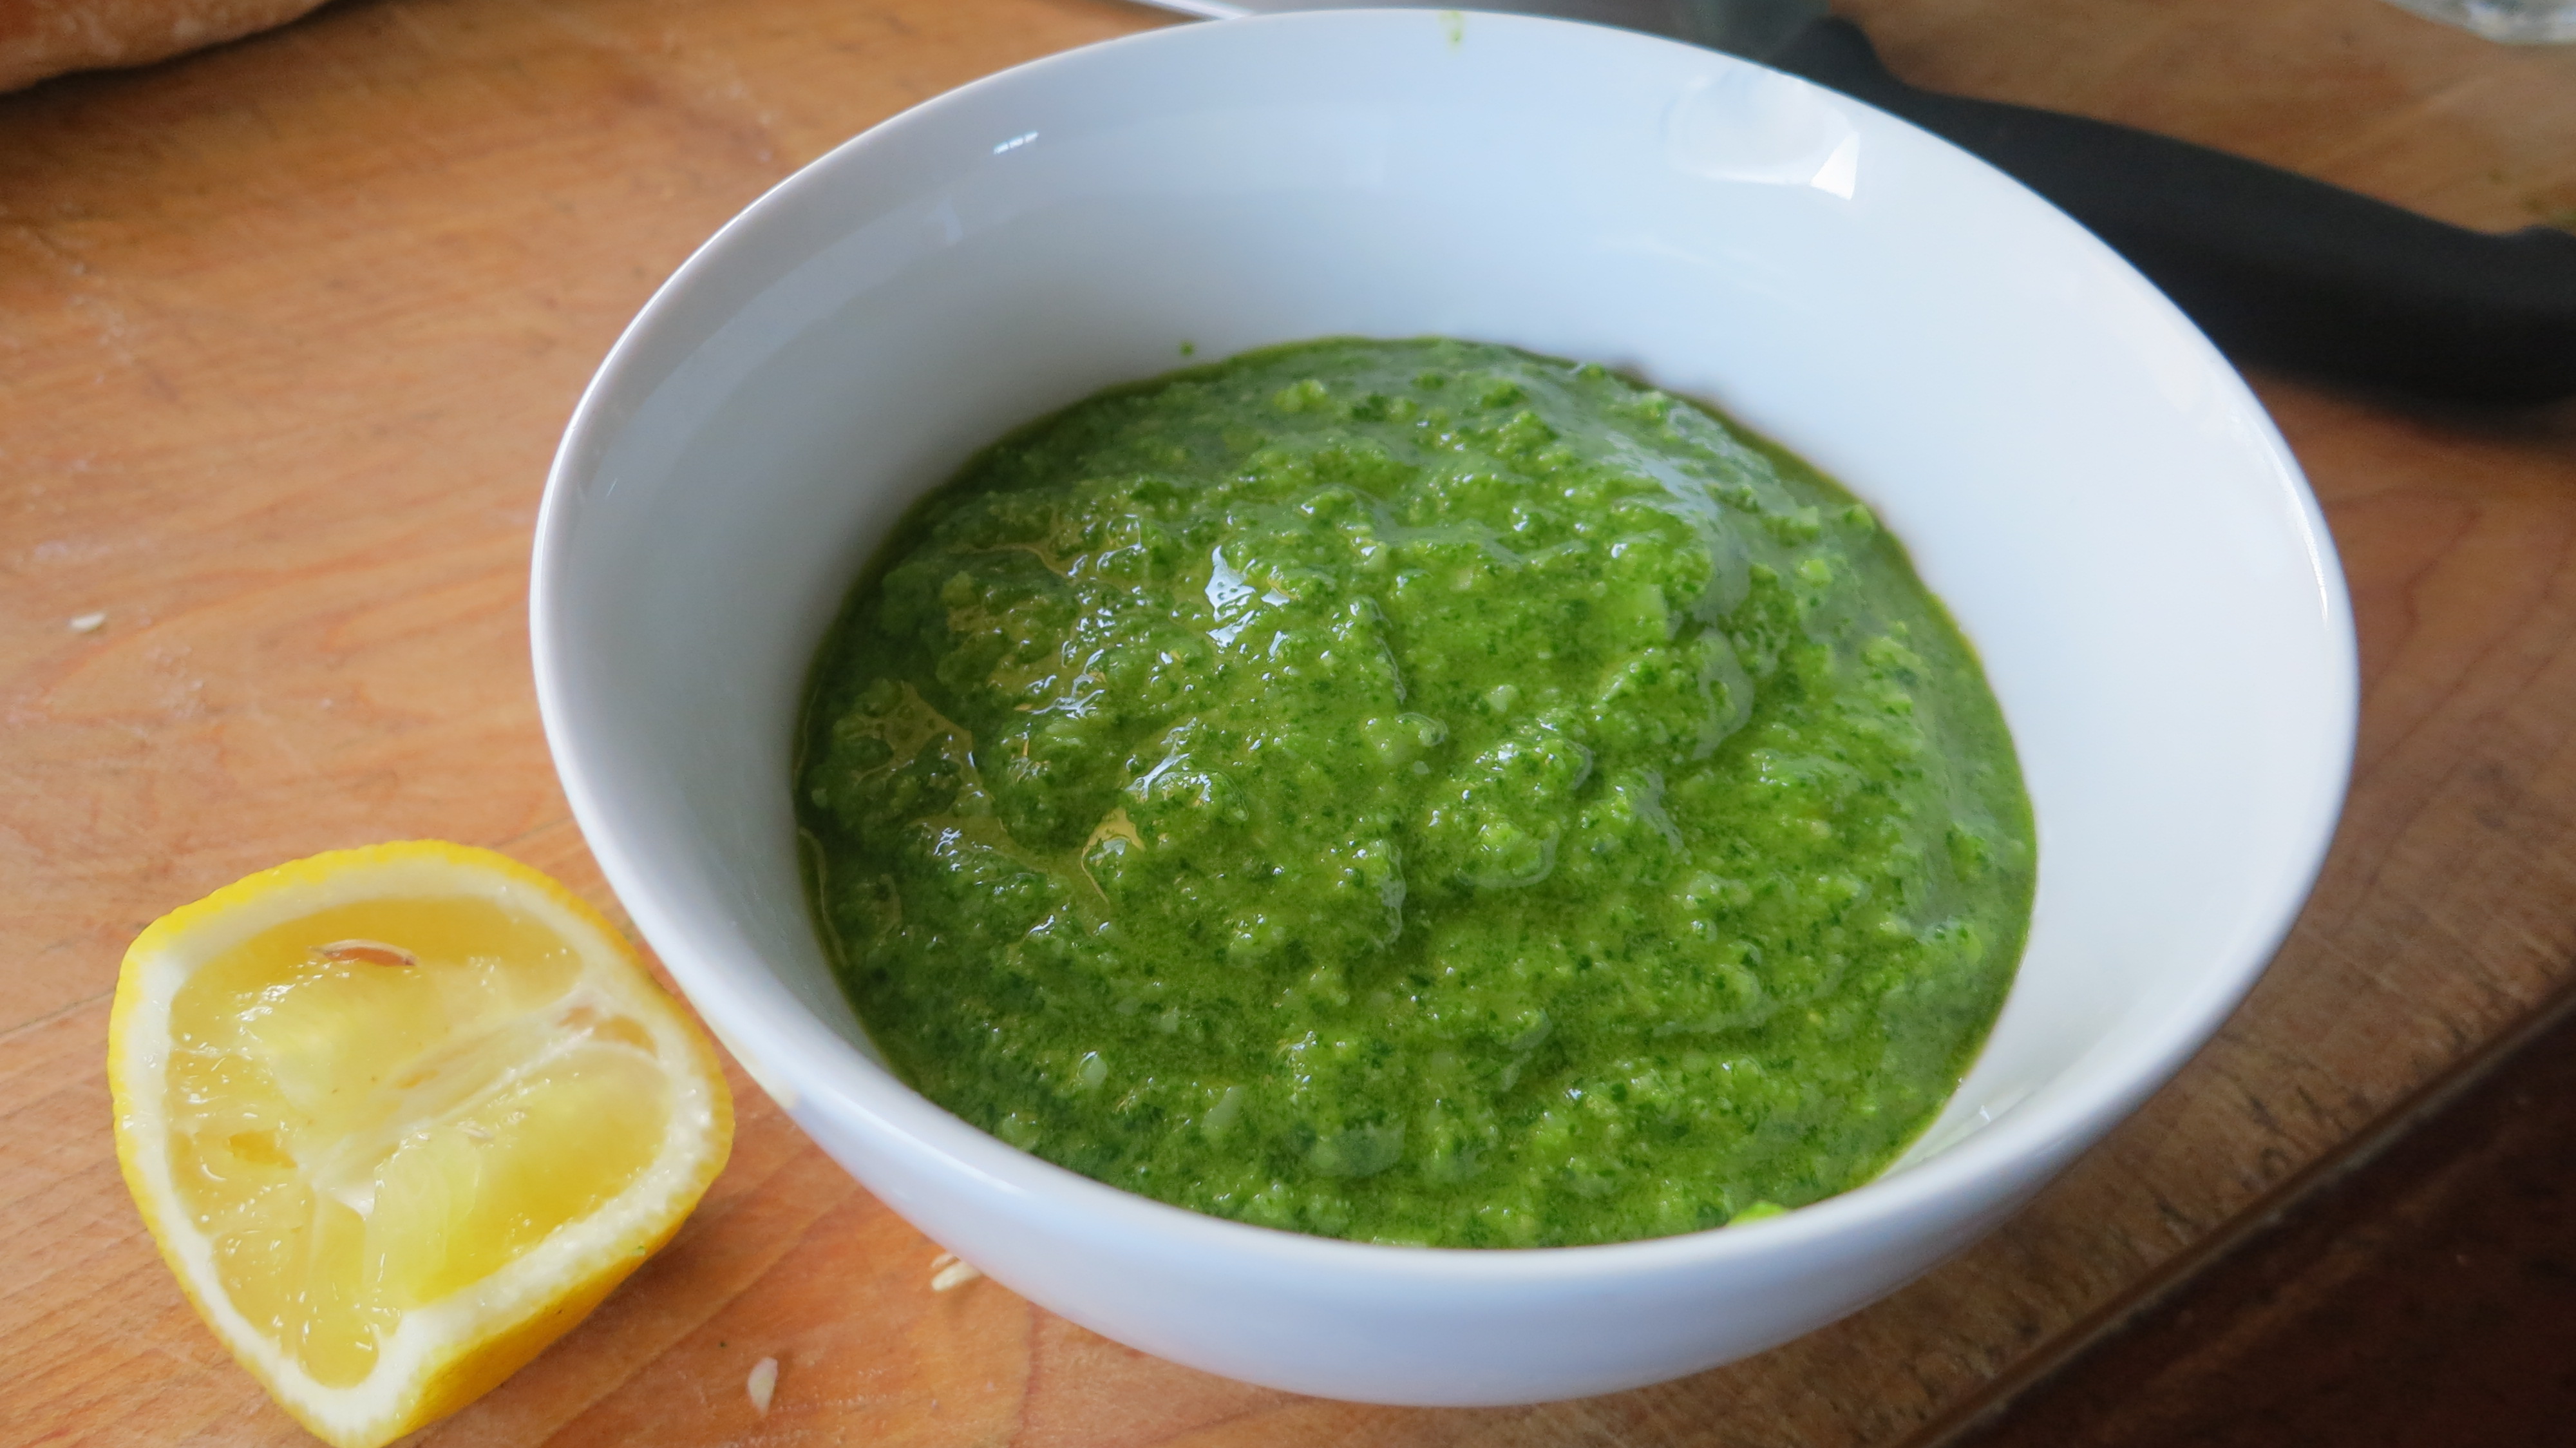
Rocket Pesto
20g sunflower seeds
20g pinenuts
150g rocket
50g Parmesan cheese
1-2 cloves garlic
approx 100ml olive oil
juice of 1/2 lemon
salt
Place the sunflower seeds and pinenuts into a food processor with the garlic and blitz until fairly finely ground. Add the rocket and slowly pour in the olive oil and lemon juice. Add the Parmesan and mix well. Season with a little salt and adjust the consistency by adding a little more oil if necessary. Tip into a bowl. Put a layer of olive oil over the top if the pesto isn’t going to be used immediately. This will stop the pesto from oxidising. Use within the week.